Everybody wants to get into composting, but if you live in a rental or apartment where that’s not exactly appreciated, then starting a DIY rubbermaid worm bin could be a good alternative. However, even if you’ve got your own property, a worm bin is useful, and you can even feed some of the worms to your animals as a supplemental food!
Worm bins won’t have any smell if managed correctly, and it’s pretty easy to get started on the cheap. I looked at several methods before starting my project, and this was the simplest version.
DIY Rubbermaid Worm Bin Material List
- 3x Rubbermaid Containers
- 1x Rubbermaid Lid
- Cooler Drain
- Drill w/ Paddle Bit
- Soil
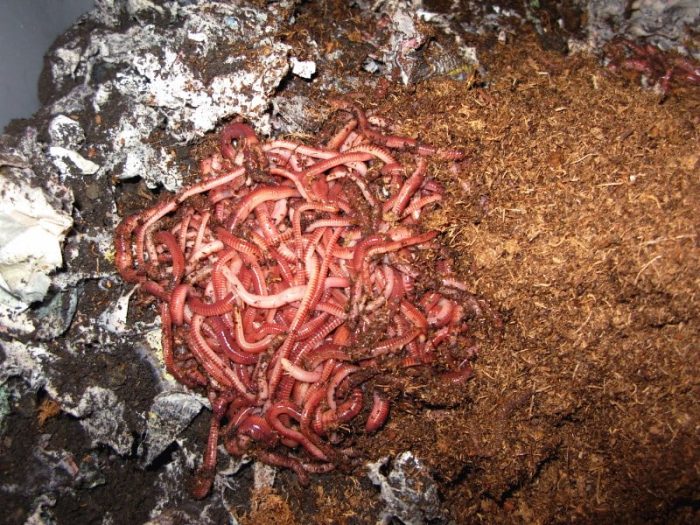
- Red Wiggler Worms
- Food Scraps
It’s perfectly possible to make a worm bin using only a single tote, but by using a stackable system, it makes it much easier and less messy to manage it. Why? Well, in a single tote system harvesting the worm casting for your plants and drain any leachate is kind of a chore and the stacking system makes it easier.
How To Make It Step-By-Step
Drill Holes In The Bottom Of TWO Totes
Get your drill and fill the bottom of two of the totes with holes. These holes let your worms move between totes to get the food scraps AND they let your liquid waste drop down into the final bin (the one without holes in it).
Drill Holes In The Side Of The Totes
After stacking your totes together, you should see how they will stick up slightly above each other when stacked. In the top of the two totes you drilled holes for in the bottom, also drill holes a long this side edge.
Your worms need oxygen and holes in the sides will provide them with plenty of air. Putting them at the top makes sure that there is now seepage of nasty stuff on to your floor.
Add Your Cooler Drain Plug To The Bottom Tote
Now take your bottom tote (the one you didn’t drill holes in) and use a paddle bit to make a hole for the drain plug. This goes in the front of the tote on the bottom. The tote will need to slightly hang over the edge of a shelf or table so that you can use the drain plug to drain access liquid from your worm bin.
How To Use The Rubbermaid Worm Bin
When you start out with this system, only your top tote will have anything in it. This is where your worms, soil, and scraps will go. If you’ve already got a smaller worm bin, you can dump the contents right in here.
Continue to add material until your tote fills up and then move it to the second position in the stack, moving the empty tub up to the top position. Eventually, the worms will run out of food in the middle tote and move up into the top tote through the holes you’ve drilled to get to the food.
Once this happens, you’ll be left with only premium worm castings for your garden in the middle tote, which you can then empty and start using for your vegetables, fruits, and trees.
The bottom tote is for collecting liquid. Worm bins need drainage for the health and success of your colony. However, this liquid is not the same as “worm tea”, and while it can be safely dumped into your compost. Worm seepage is unlikely to be very beneficial to your plants directly because it only occurs in overly wet conditions which can lead to the production of bad bacteria.
How To Properly Set-Up and Layer The Bin
Creating a worm bin is not as simple as throwing stuff in there and hoping for the best! If you don’t have a game plan, it’s easy to create an environment which is toxic to your worms and kill them. Start slow and add more stuff to your bin carefully until it is well established.
Establish A Base Layer
When you first start your bin, you need to establish a base layer. The base layer is where your worms hang out and this needs to be a worm-friendly environment in order for them to thrive. Start by mixing shredded paper and soil together and add some water to dampen but NOT soak everything.
You want just enough moisture to keep the worms from drying out but not enough that they will drown. This bottom layer of the bin should be about 3 inches deep.
Then, you can add in the worms and allow them to acclimate to the bin. Don’t add any food scraps yet. Leave the worms in the bin for 24 hours and then proceed to the next step.
Add In Food
Worms need food, but NOT too much food. Start out with a small handful of scraps until your worm bin starts getting larger. As your worms breed and make new worms, then you can slowly start upping the amount of food which you can throw into the bin for them to consumer.
Dig a small hole in the center of your base layer. Sprinkle some shredded paper in the hole, and then pile your bit of food scraps (veggies, fruits, coffee grounds, etc.) on to that paper pile. You’ll then want to cover the food scraps with the dirt you removed from the hole.
Covering the food scraps helps them to not stink up your home or garage. Remember to moisten any paper which you add to your worm bin. Repeat these steps as needed until your bin is full and processed by the worms.
How To Easily Harvest Compost From A Full Bin
When it looks like your bin is getting full, start ONLY feeding your worms on one side of the bin for a couple of weeks. This action will draw them all over to that side of the tub to get the food, and then you can begin safely scooping out compost from the opposite side to use without hurting them!
Make sure to leave enough in the bottom for them to live and begin your tub over again. (Leave more than 3 inches this time, because you’ll have a LOT more worms in there!) Then, repeat the process with more scraps and moist paper to begin creating more worm compost.
Photo: Jeff Schuler

Bob learned about farming from his grand dad. So, the decision to leave the city and start homesteading was not a difficult transition. He now lives with his wife and two kids on their 30 acre property in Ohio.