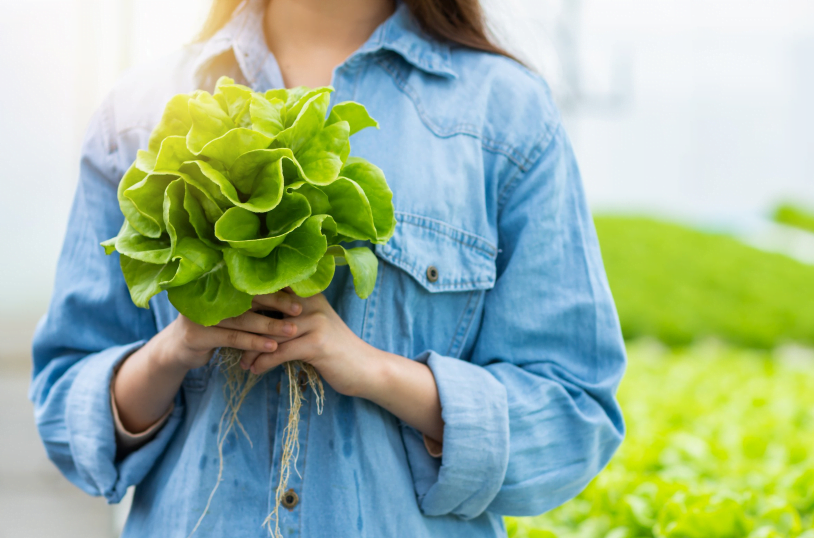
If you’re interested in getting started with hydroponics it’s easy to get lost in the details. There’s a lot to learn and even more stuff to buy in a huge number of price ranges. But, the truth is, you don’t need a super expensive or complicated system to get started learning about hydroponics.
That’s why in this article, we’ll be talking about the easiest hydroponic grow system you can put together for home use. It’s called the Kratky Method, and it’s perfect for learning the basics without spending a ton of cash.
Note: This article will be focused on explaining a particular hydroponic grow system, but we’ve also done several articles explaining hydroponics vs soil and hydroponics vs aquaponics if you want to learn more.
The Kratky Method Explained
The Kratky method is a “passive hydroponics system”. It’s also the simplest method and can be done with very little in the way of equipment. In fact, you might already have almost everything you need at home to do it!
Using the Kratky method can be as simple as putting a mason jar with herbs and liquid nutrients solution into a window so that it can gather light, but there are, of course, many ways to do it. The below video shows a great way to get started very cheaply which I am using to grow indoors over winter.
Essentially, you need three things for a successful hydroponics setup: oxygen, light, and nutrients.
The Kratky method provides all of these without the use of soil, or even electricity if you are growing outside! This makes it not only simple but also cost-effective and easy to scale if you have access to outdoor grow space.
PROS
- Easiest Method
- Can Be Done Without Electricity
- Easy To Scale
- Space Saving
- Great For Leafy Plants
CONS
- Doesn’t Work Well For All Plants
- Vulnerable To Mosquitoes
- Not Practical Commercially
For the everyday grower, Kratky Hydroponics is ideal for learning, and it may even be your final stop if you prefer it. However, it does have some negatives, namely the fact that it’s not possible to grow root vegetables, or heavier plants in a setup such as this one.
This type of setup can also attract mosquitoes if you are growing outdoors, because the water is stagnant. With other setups, you will be using pumps, which while they will have costs from the electricity used, prevent this.
Other systems such as NFT hydroponics are more common for commercial grow set-ups due to their efficiency, and they can also be great for home growers. This system is also fairly affordable, and it’s easier to fit more plants into a smaller space if you’re working in a smaller area.
How To Do Kratky Hydroponics On The Cheap
If you want to get started with Kratky Hydroponics, here’s what you’re going to need.
Start Your Seedlings
Soak your rockwool starters until they have absorbed a good deal of water. Then set them up in your clear plastic tote (seed starter) and place 3 seeds per cube. We’ll be trimming the extra seedlings later, but using 3 makes sure we get at least one that grows.
Put the lid on to your starter and either place it next to a window where it will get enough light. Make sure that there is a bit of water in the bottom of the container to make sure it stays moist inside.
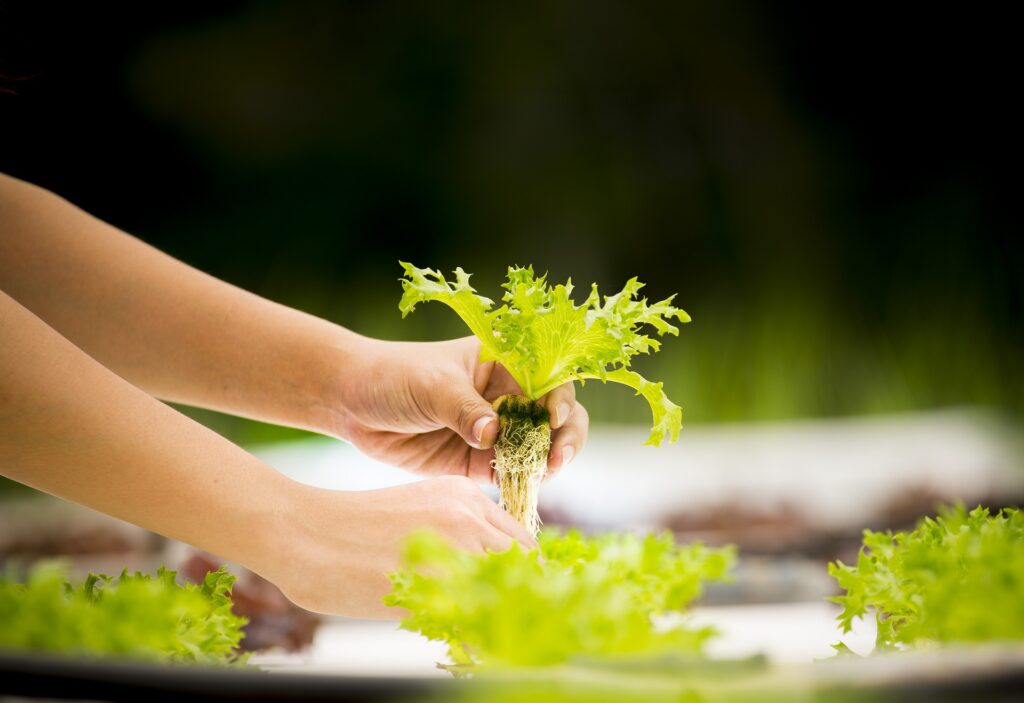
When your seedlings look like they have some roots appearing on the bottom, they should be ready to transplant into your hydroponics mason jar planters.
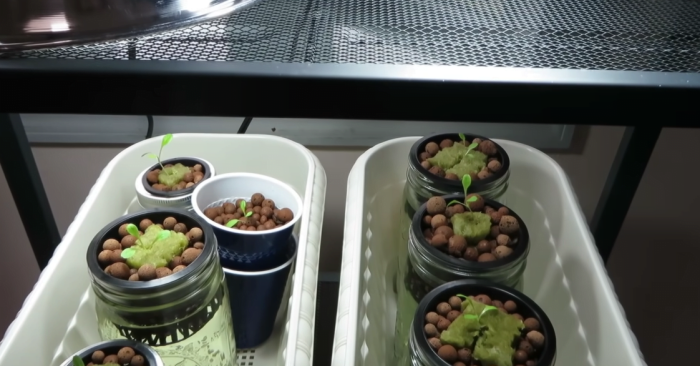
Fill Your Mason Jars
Set up your 32 oz mason jars and place a net cup inside the rim. You will now want to begin filling your jars with your grow big nutrients solution. It’s important not to overfill the jars. Since we are not using a pump to aerate the water, the plants will be gathering oxygen by sticking partially out of the water.
The water level in your jar should come just up to the bottom of the net cup so the plant can get to the liquid.
Place your starter plant (rockwool and all) into the net cup. You’ll then want to start filling in the sides around the rockwool with the clay pebbles, with the goal of covering any areas where light can enter from the top.
Cover Your Mason Jars With Paper
Kratky jars can easily grow algae from the combination of light and still water. Algae growth competes with your plants for nutrients, so we want to limit that as much as possible. (We already did part of this with the clay pebbles.)
Wrap paper around the sides of the jar, attempting to cover as much of it as possible to limit light growth.
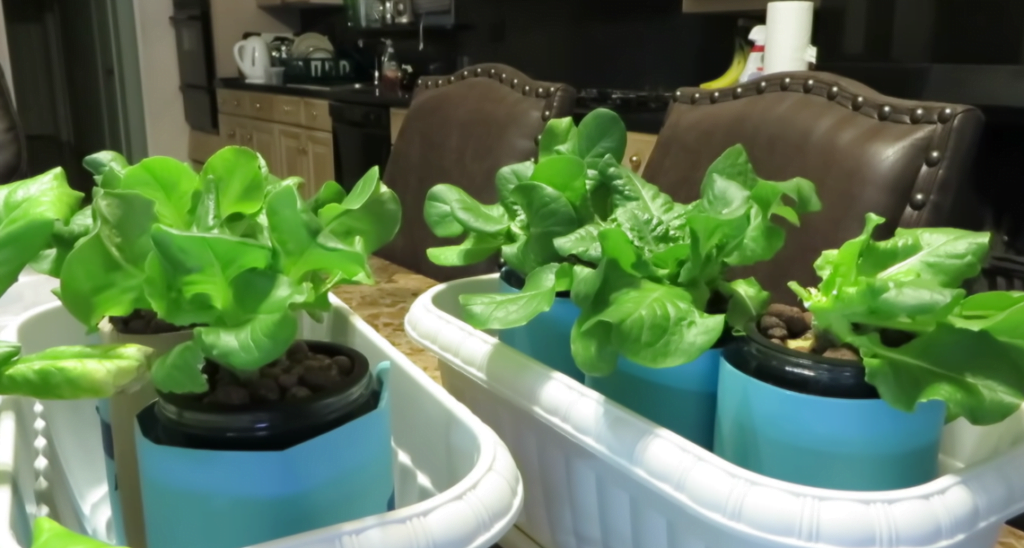
Place Your Plants Under Your Light Source
Some plants may grow in a window, but others will likely need full-spectrum lighting. I linked to the grow bulb I purchased above in the materials list. Place your seedlings on a shelf or table under your grow light and monitor their progress.
However, plenty of people also grow plants using the Kratky method outside during spring/summer if you’d like to do this without the use of any power sources.
Check On Your Plants From Time To Time
Using this method, you should not need to add additional nutrient solution to the jar. However, you will want to monitor the condition of your plants. Check for root development by lifting the cups, check the health of the leaves to make sure they are getting enough light, and enjoy watching them grow!
In closing, while there are plenty of commercial hydroponics systems that can be purchased, there’s not really a reason to buy them. It’s just as easy to use the Kratky method to get started and it won’t cost you hundreds of dollars.
PS. Hydroponics is not the only way to grow either! Take a look at this article to read about hydroponics with fish (aquaponics)! And learn how even your aquarium can help you to grow healthy garden herbs.

Bob learned about farming from his grand dad. So, the decision to leave the city and start homesteading was not a difficult transition. He now lives with his wife and two kids on their 30 acre property in Ohio.