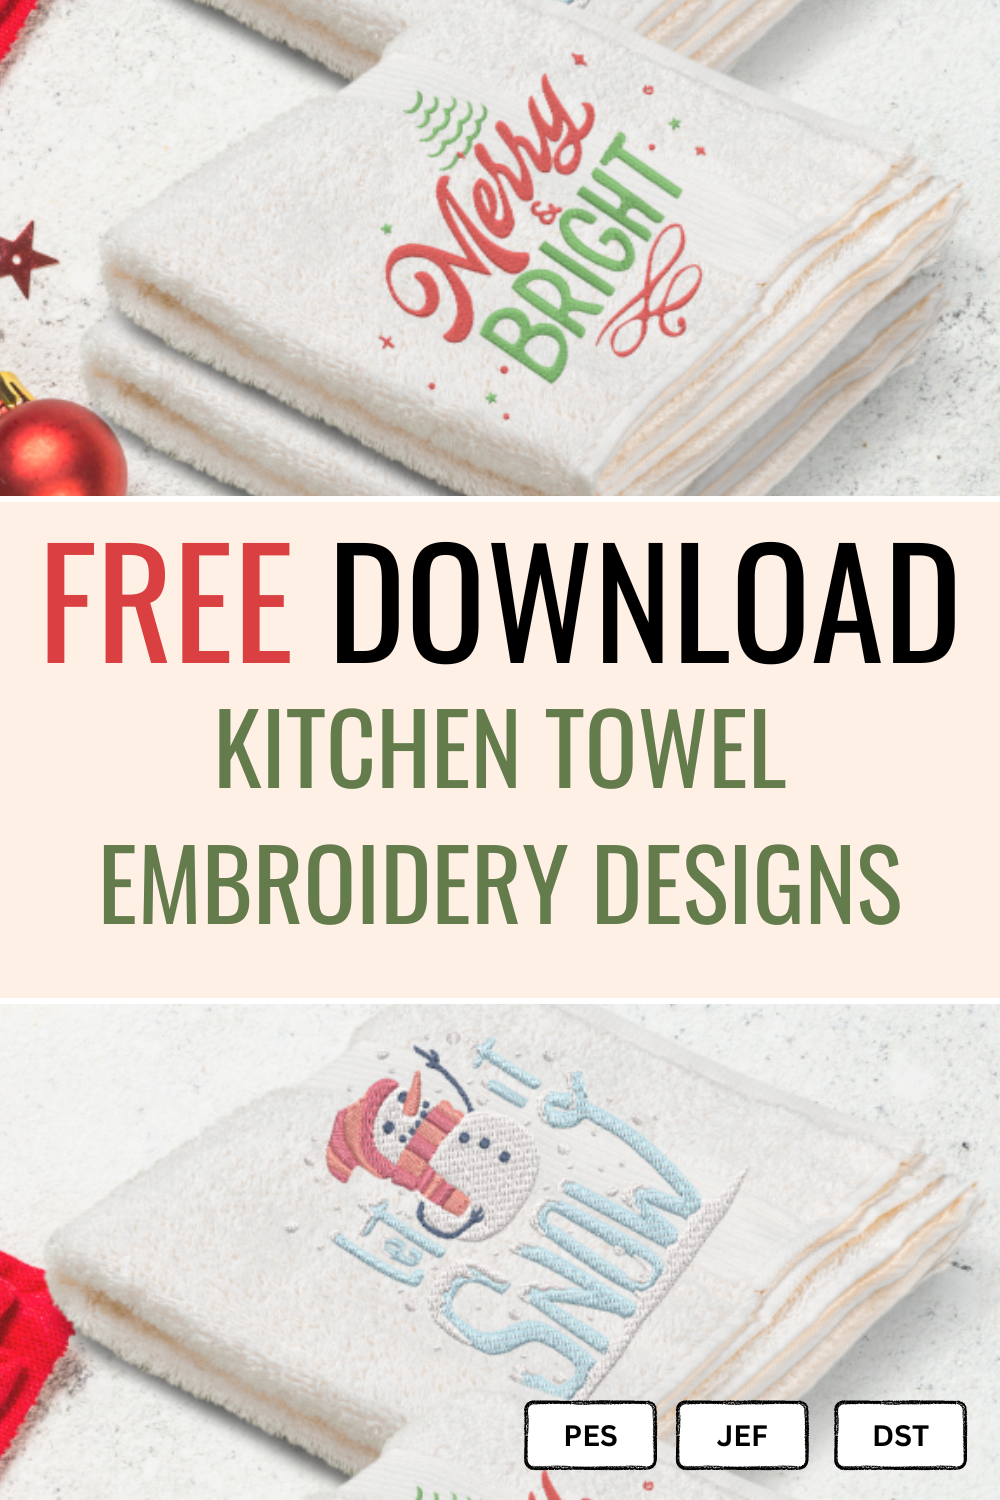
Looking to embroider some kitchen towels or decorative bathroom towels? Well we’ve whipped up a few free embroidery designs for kitchen towels to get you started on this fun, beginner friendly project. Let’s get crafting!
Recommended Products For This Project
Tear Away Stabilizer
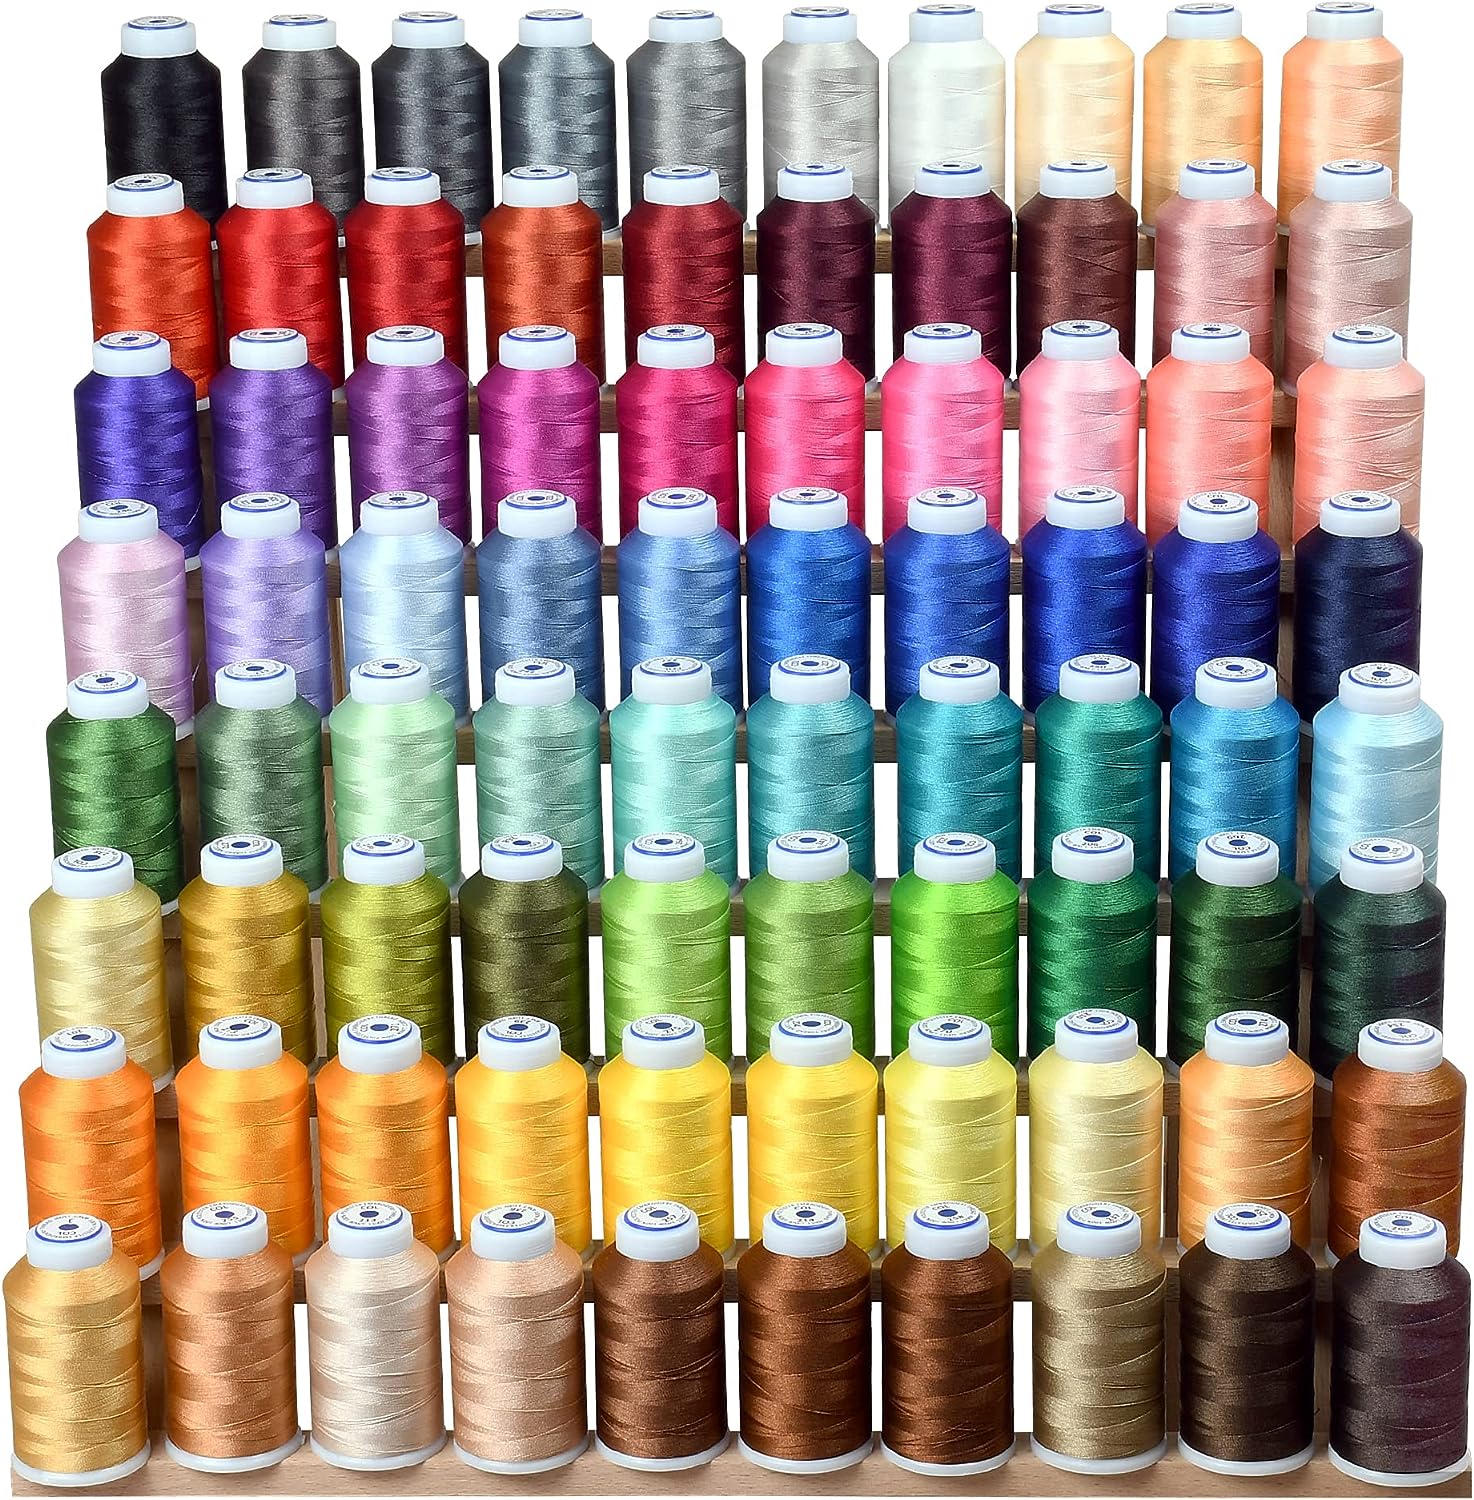
40wt Polyester Thread Value Set
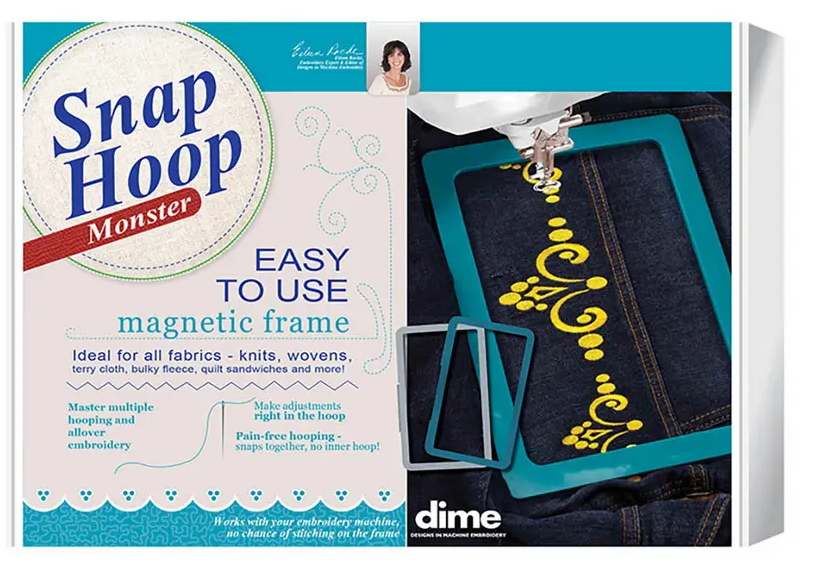
Dime Magnetic Embroidery Hoops
Free embroidery designs for kitchen towels
Let It Snow Snowman

Free Halloween Decorative Towel Embroidery designs
We’ve also got several different designs sized for decorative Halloween towels! 4″ x 3″ and 4″ x 4″ sizes would be best for this project, but there are also some larger 7″ x 5″ design files too.
These designs are also available in PES, JEF, and DST and free to download. It’s the perfect DIY Halloween craft! Click on a design to go to that design’s download page – or click here to see our entire freebie Halloween machine embroidery collection.


Free Christmas Greetings Towel Embroidery Designs
We also have some more general purpose Christmas designs for kitchen and bathroom towels to download! These cute Christmas lettering designs make great decor for your home, or as part of a kitchen gift basket.
Again, 4″ x 4″ is probably the best size for towel decorating, but we’ve got a couple larger sizes in these designs as well for other uses too! Click on a design below to go to the download page, or click here to see all of our free Christmas embroidery designs.


How to use the designs
All of our designs come in a zip file. This zip file contains all of the formats and sizes! This makes it really easy to share them online with you, but you will need to do a bit of work before you can transfer them to your machine.
- Find and download the file you want by clicking the ‘download button’ on the product page
- Right click on the zip file that you’ve downloaded
- Scroll down to where it says “extract all”
- Click on it and a window will ask you where you want to extract the files to
- Select a location and click okay
- A folder will open up, these are the extracted files. They now ready to use.
- Insert your USB into your computer
- The computer will ask you if you want to open the drive. Say yes.
- A folder will open up. This is your USB drive’s storage.
- Locate the correct file type for your machine
- Drag and drop the desired file formats and sizes to the USB drive
- Wait for your machine to finish copying the files
- Next, look to the right and find your desktop’s icon tray
- Locate the USB drive’s icon and right click
- Click eject on the icon (This helps prevent data loss)
- Your USB is now safe to eject form the machine
- Transfer your USB to your embroidery machine
- Consult your manual for the transfer process
Embroidery machines can vary in procedure from this point on. You may need to consult your manual or look for a tutorial for your machine on YouTube if you get stuck. If you’ve got a Brother machine, the instructions can be found here. However, in most cases, the process is pretty straight forward!

Barb, our resident quilter and embroidery aficionado, weaves a thread of creativity through our collection. Serving as the curator of machine embroidery content, Barb infuses each design with a touch of her artistic expertise. The free embroidery patterns you discover on our site often bear the mark of Barb’s craftsmanship. Let’s get crafting!