Can you undo embroidery? For sure. However, the success of your embroidery removal project will depend on a multitude of factors, and the process could be more trouble than it’s worth.
Whether you want to repurpose a thrifted item, or save a blank so you can re-do a botched embroidery job, here’s what you need to know about removing embroidery from clothing items.
Can you undo embroidery?
Yes, you can undo embroidery. In some cases, this can even be done very successfully, and it’s a great way to save nice items which have been personalized with a name, or plastered with an ugly company logo. You can also save your own projects from botched embroidery to re-use them.
However, it’s important to be realistic with your expectations. While embroidery removal works great for many items, it may not do so well on thin fabrics, leather, or faux leather. It’s also possible to destroy a valuable garment if you don’t proceed carefully!
Can You Remove Embroidery From A Jacket?
Yes, you can! In the below image you can see where embroidery was removed from this jacket. The success of the removal will depend on the fabric type of the jacket and some will respond better than others.

And, if your plan is to remove embroidery to resell an item, be aware that the fabric may not be pristine when you’re done. For example, in the above image, you can see a jacket where the embroidery design was removed. It looks pretty good, but there is still some indication that a design was there.
However, if this bothers you (and the item is for your personal use), it’s always possible to remove a design and then embroider over that same space to hide it!
Recommended Product
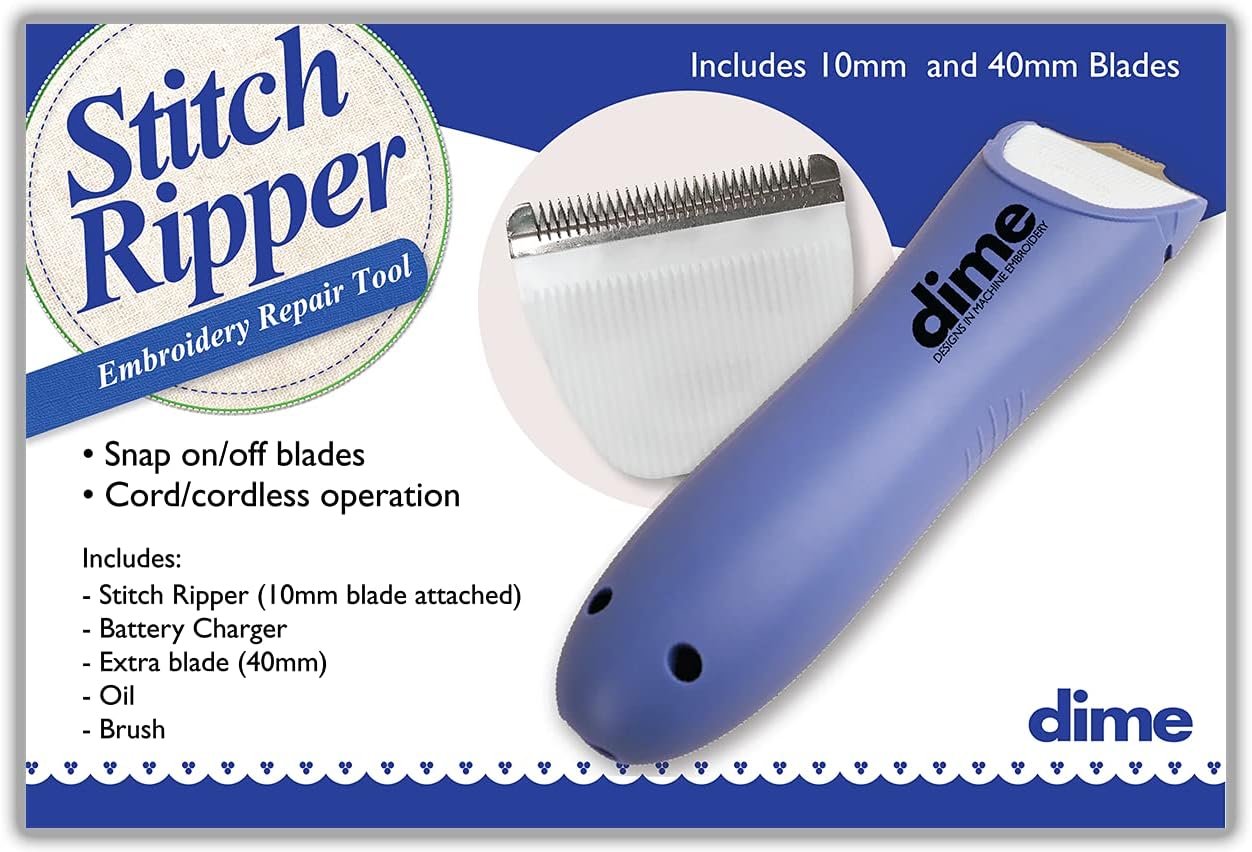
Dime’s Stitch Ripper
Finding yourself needing to remove unwanted or botched embroidery frequently?
Dime’s Stitch Ripper can save you a lot of time and help you save your garments for future embroidery or resale.
Methods of removing embroidery
Use a stitch eraser
This is by far the easiest method, and it’s one that professional shops use. A stitch eraser is a specialized tool that shaves off embroidery threads from the back.
Doing so helps to prevent damage to the garment, and it allows you to more quickly removed botched embroidery jobs, unwanted logos, and personalization on jackets and shirts you want to salvage.
Investing in a stitch ripper could be a good move if you have an embroidery business and you find yourself needing to remove a lot of botched embroidery, but is likely not worth the investment if you only need to remove embroidery designs from garments occasionally.
If this is the case for you, then you could attempt to try using a shaving razor to accomplish something similar. Though, it may not be the best or most efficient way, it might help you out in a pinch.
Use a seam ripper
This is the cheapest method, but it takes the longest. The results may also not be quite as clean. However, for some items, like a jacket with thick fabric, you could get a decent result doing it this way.
Keep in mind that you’ll need a LOT of patience, as this is a time consuming process. You could spend hours removing embroidery this way to get a decent result.
This may also be your only option if you do not have access to the BACK of the embroidery design and you need to try and remove it from the front. It’s tedious process, but worth it for rare and valuable thrift finds like the one in the video. You can get a similar seam ripper on Amazon for pretty cheap.
Covering it up
Can you cover up the embroidery instead? If it’s a small logo, or the garment is very likely to be damaged by removing the stitches, covering it is always an option!
This is likely the best choice for delicate, thin fabrics, unfortunately. And, while not ideal, it’s still possible to make an item look good by covering the design with an iron on patch or something similar.
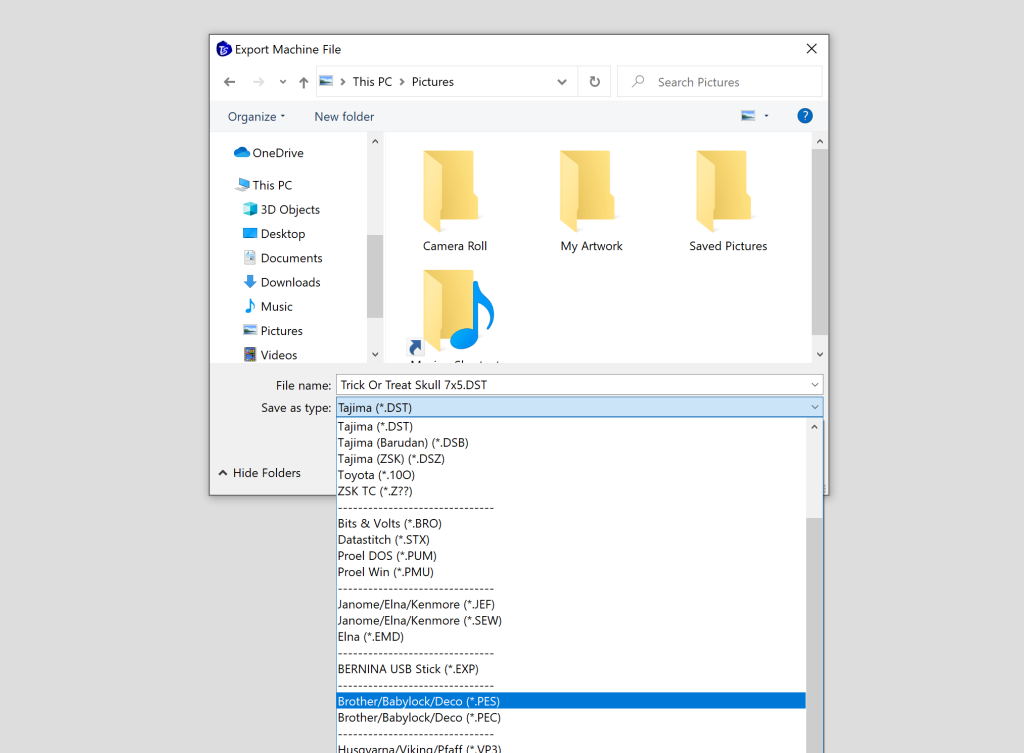
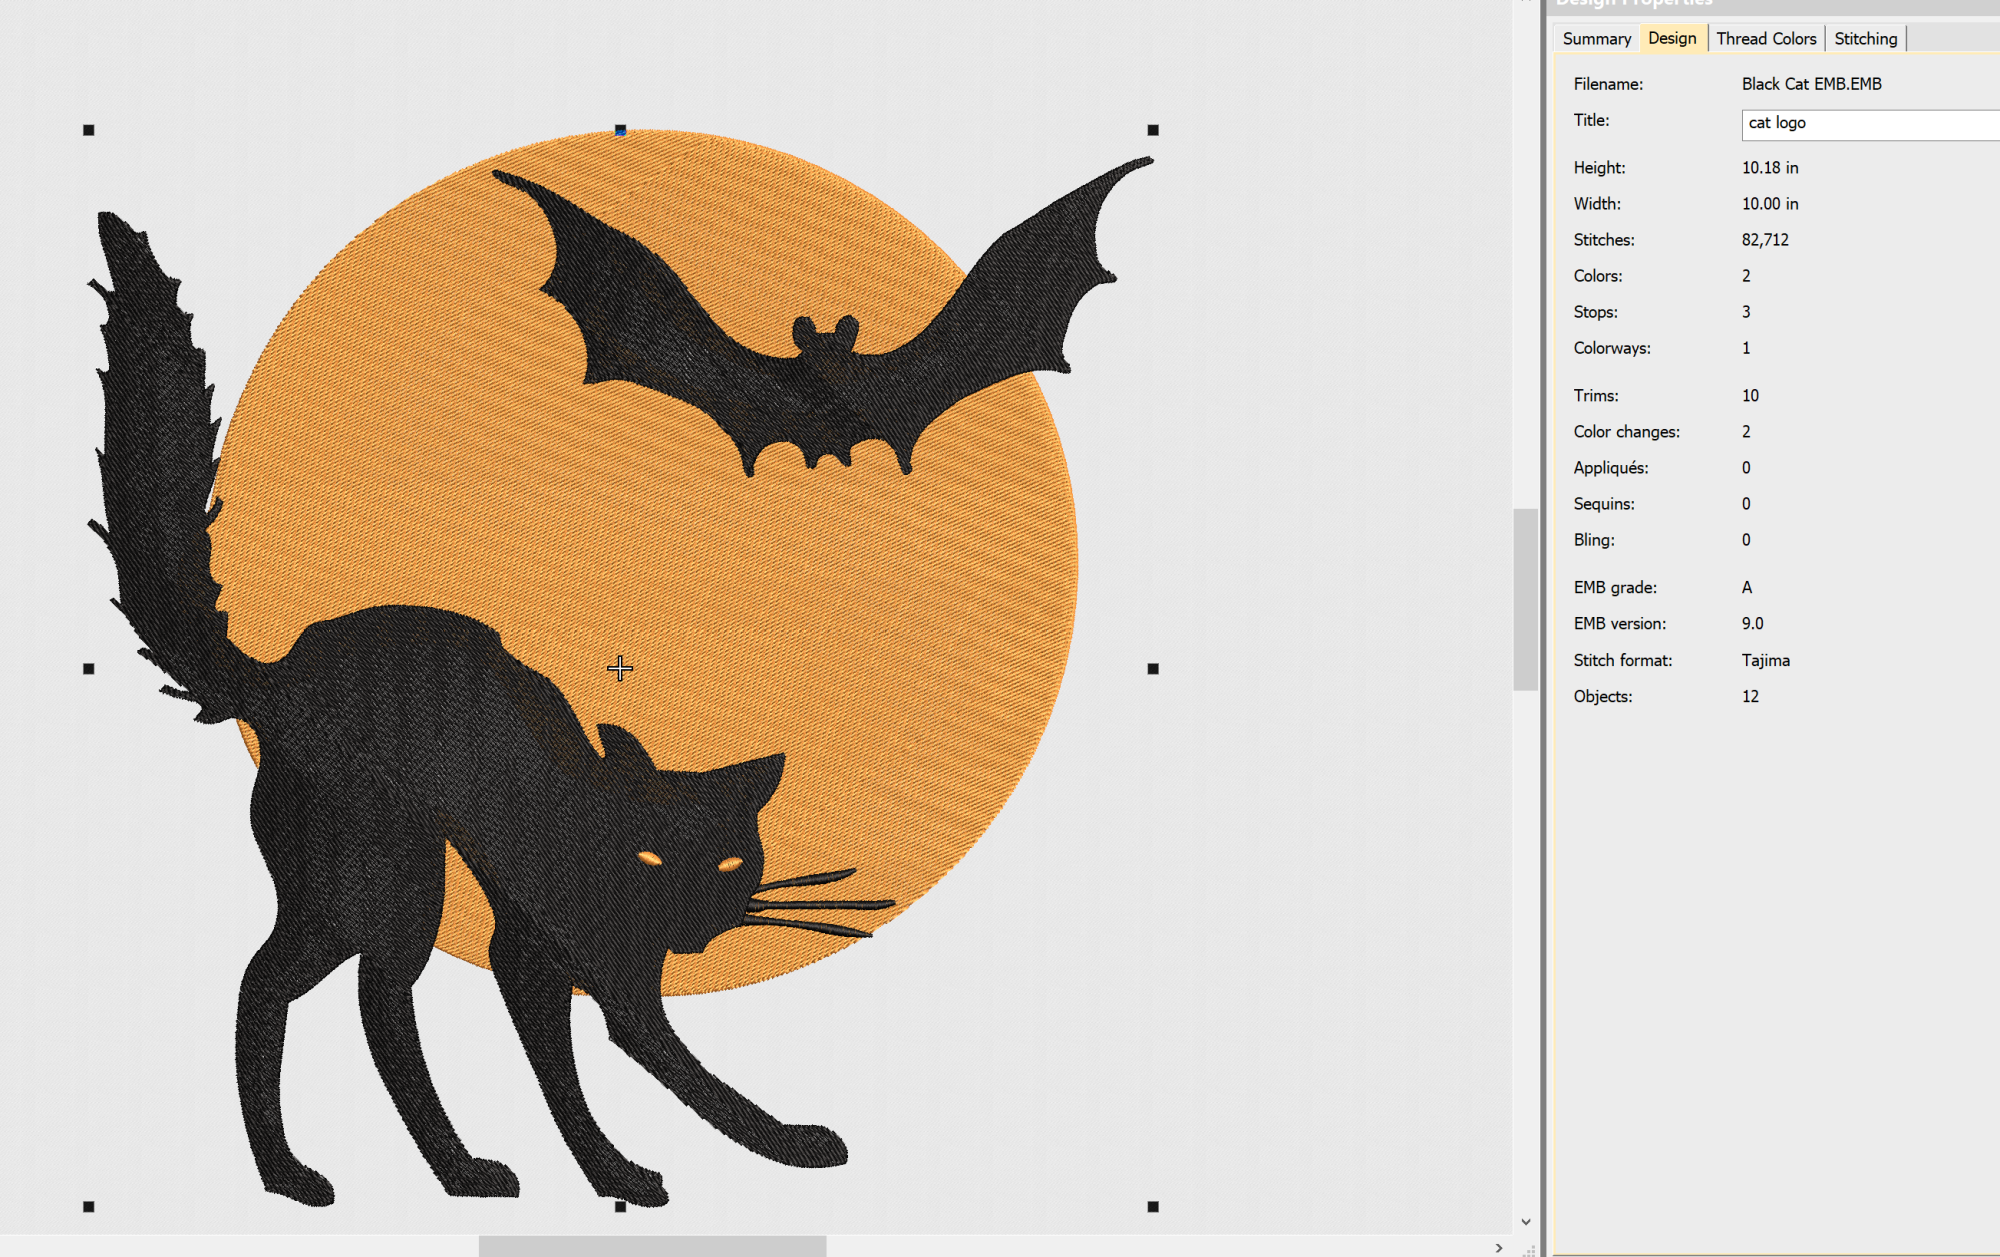
PS. If you do remove the embroidery and find it doesn’t look how you want, it’s possible to cover that with an embroidery design you DO like! If you have an embroidery machine you can make custom designs, or download free designs to use.
How to remove embroidery logo from shirt or jacket
Ready to give removing your embroidery a shot? Here’s how to remove embroidery logo from shirt. Keep in mind that the thickness of the fabric plays a big part in your success. Be sure to evaluate carefully whether embroidery removal should be attempted!
For example, a thicker polo shirt or a jacket is a great candidate for embroidery removal, but a thinner t-shirt could end up turning into a mess and covering it up might be a better option.
Turn the clothing item inside out
Removing embroidery from a shirt is done by cutting the stitches on the back! This helps to prevent damage to the fabric. Cutting the bobbin thread (the stitches underneath) will release the top stitches for easier removal. So, if possible… always start here. Fortunately, this should always be an option for shirts with embroidered logos like work polo shirts.
Start slowly cutting the back stitches
Use your stitch eraser and begin carefully cutting the back stitches against the grain. Move the stitch eraser gently back and forth until you start to see the backing of the embroidery design.
Make sure you don’t apply too much pressure, this is a delicate process. For fill stitches, you may need to also use the stitch eraser on the front of the garment.
Tweeze out the stitches from the front
Once you have cut the stitches in the back, you can begin gently pulling them out of the front of the shirt. You can use your fingers for this, a pair of tweezers, or gently pull on the threads with a seam ripper.
Clean up the garment with a lint roller
You’ll likely have some fabric and thread bits left behind. You can use a lint roller on the front and back of the design to help clean these up.
Wash the garment
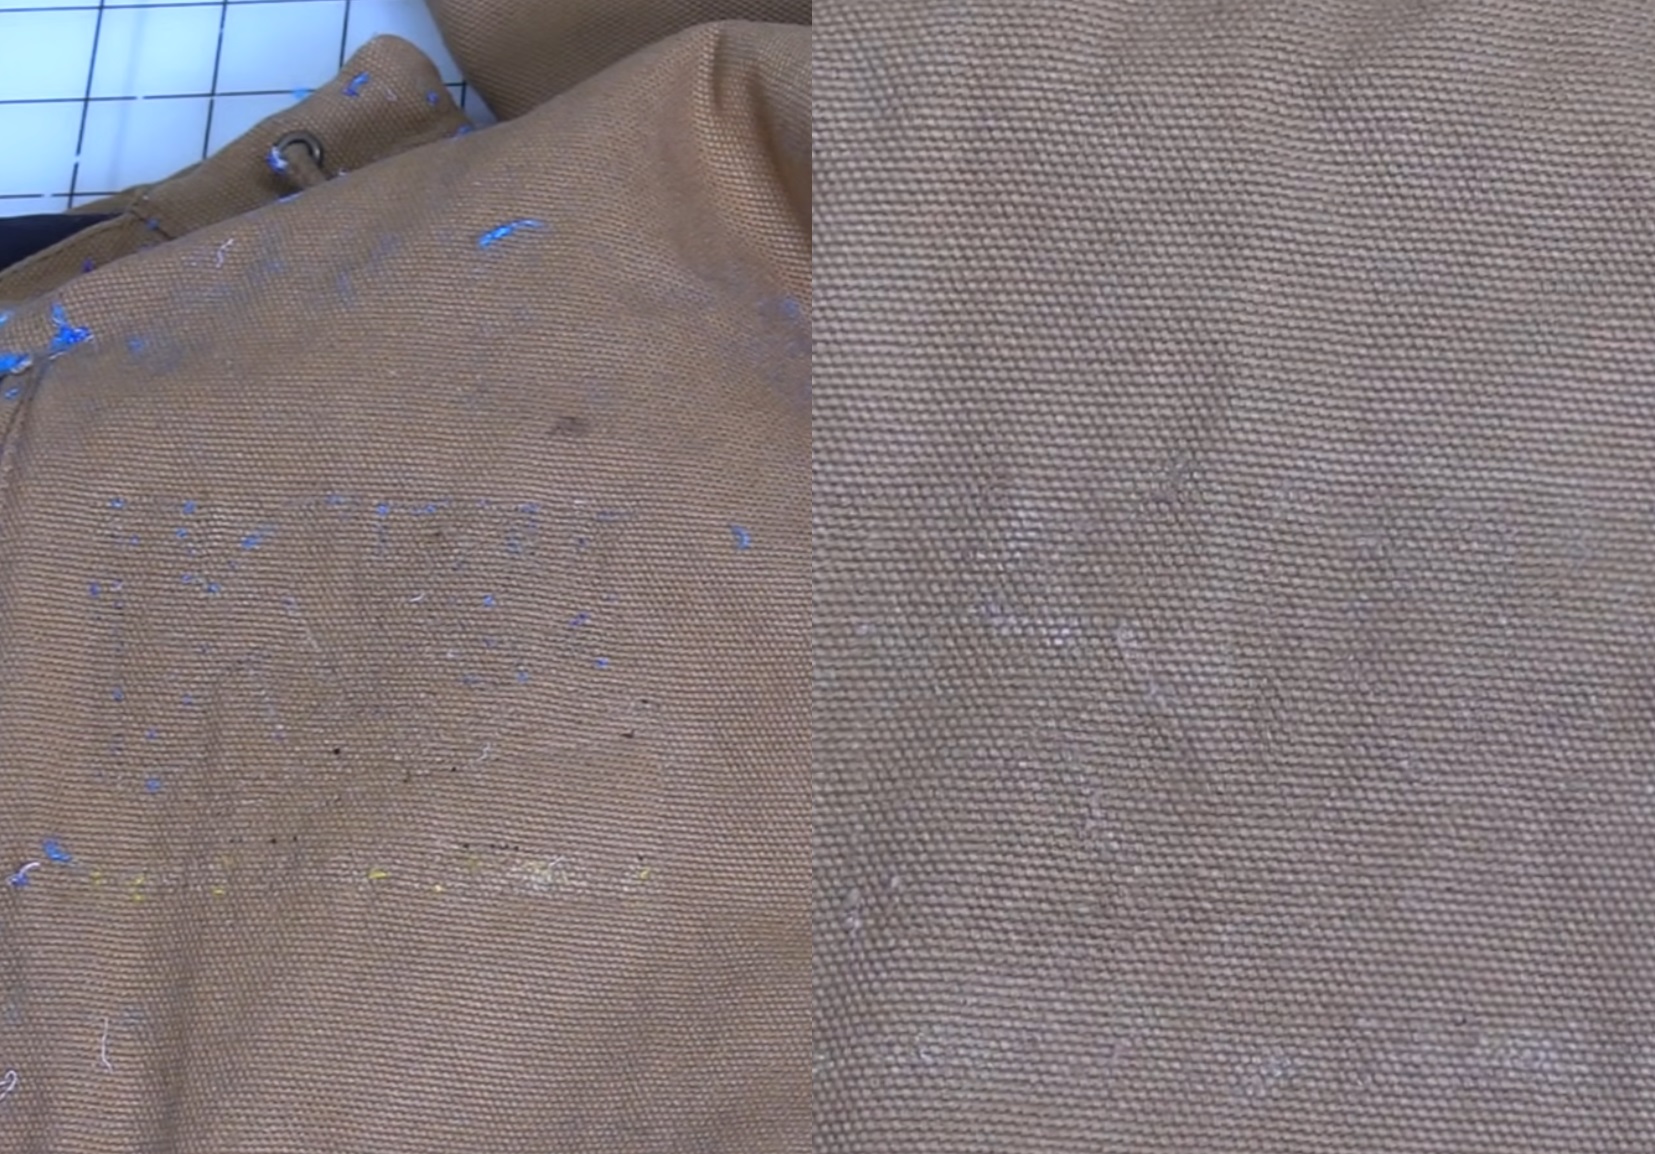
If the garment looks off, try throwing it in the wash. In the above image you can see a before and after of a removal after the jacket has gone through the wash to remove the excess fabric bits. The outline is still slightly visible, but it looks much better!
No matter which method you choose, it’s important to remember to be patient! Don’t mess up in the last 15 minutes of the removal process because you got frustrated. Take a break and come back if you have to.
Will removing embroidery leave holes?
This depends on the fabric. For example, if the item is leather or faux leather… there’s going to be damage. It’s impossible for the fabric to hide the holes. But, for a fleece, you likely won’t be able to tell at all that the embroidery was there because of the nature of the fabric.
You’ll need to judge for yourself whether or not removing the embroidery is possible based on how thick the fabric is, how delicate it is, what the fabric’s texture is like, etc.
In closing, while it is possible to remove botched and unwanted embroidery, your success depends on many factors. And, the truth is, some projects just won’t be worth the time you’ll need to invest in removal.

Tanya, both a nurturing stay-at-home mom and a skilled crafter, is the creative force behind our blog. As the co-founder of Romney Ridge Farms & Crafts, she’s the editor and curator. She also runs the Romney Ridge Farms & Crafts social media accounts where we post new patterns for you to enjoy.