Embroidery is a fun hobby, but getting into it isn’t cheap!! While having an expensive multi-needle embroidery machine is cool – even the cheapest multi-needle embroidery machine is more than you’d want to spend on an entry level machine!
That’s why today, we’ll be talking about the CHEAPEST embroidery machines! Yes, these machines will offer you the quickest and least expensive way to enter into the custom embroidery hobby. Whether you need a shirt embroidery machine, or something to customize hats and polos, even an inexpensive embroidery machine can handle the job. But first…
What to know before you regret buying a cheap embroidery machine
There is, of course, one major issue with buying a cheap embroidery machine. While the best low cost embroidery machine will embroider just as well as a more expensive one, all of the cheaper machines will have limitations when it comes to embroidery area.
If you only plan to do smaller 4×4 pocket logos or hat designs, this isn’t an issue. But, a cheap machine can quickly become limiting if you don’t get one that has at least a 5×7 embroidery area in my opinion. Whether this matters or not is, of course, up to you, but it is important to mention!
Top 4 Cheap Embroidery Machine Picks
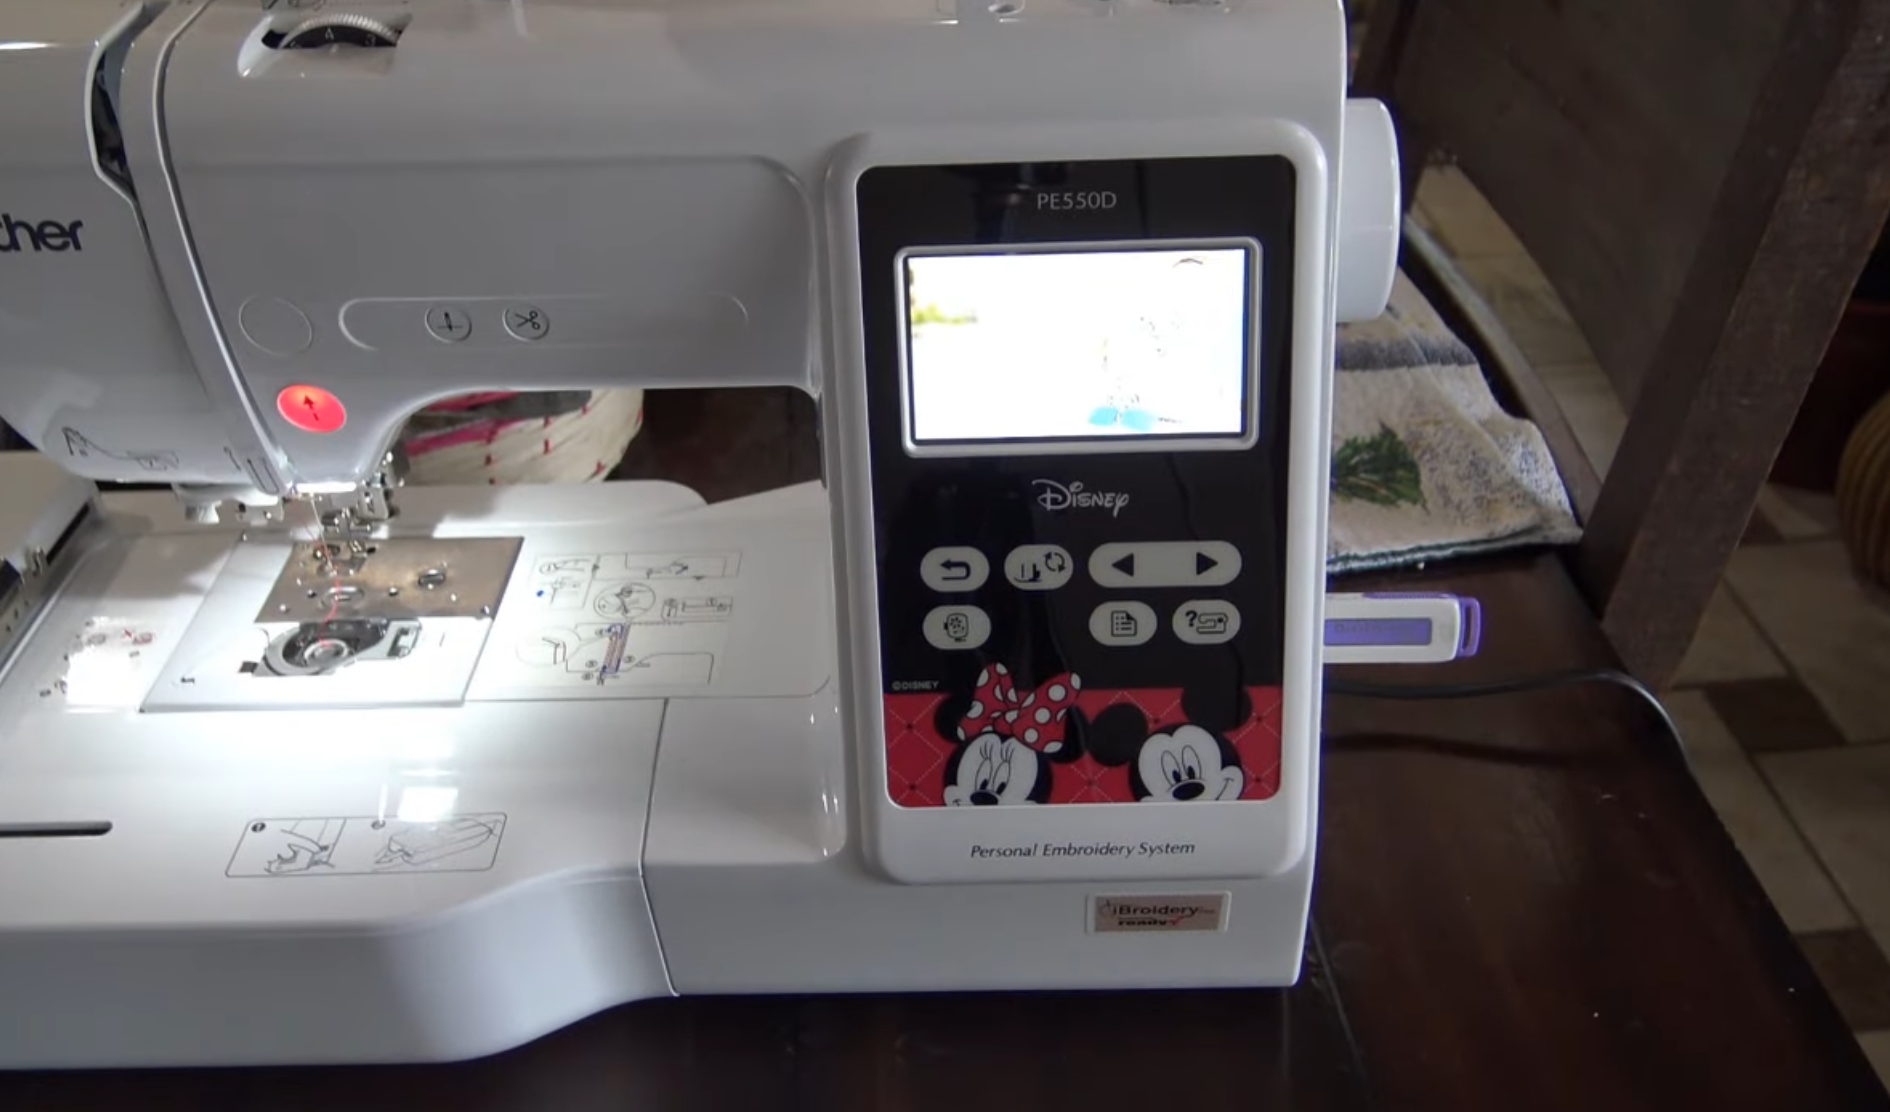
Brother PE550D – $439
The Brother PE550D is the cheapest new machine you can get your hands on. This excellent little entry level embroidery machine makes it affordable for anyone to get started with machine embroidery.
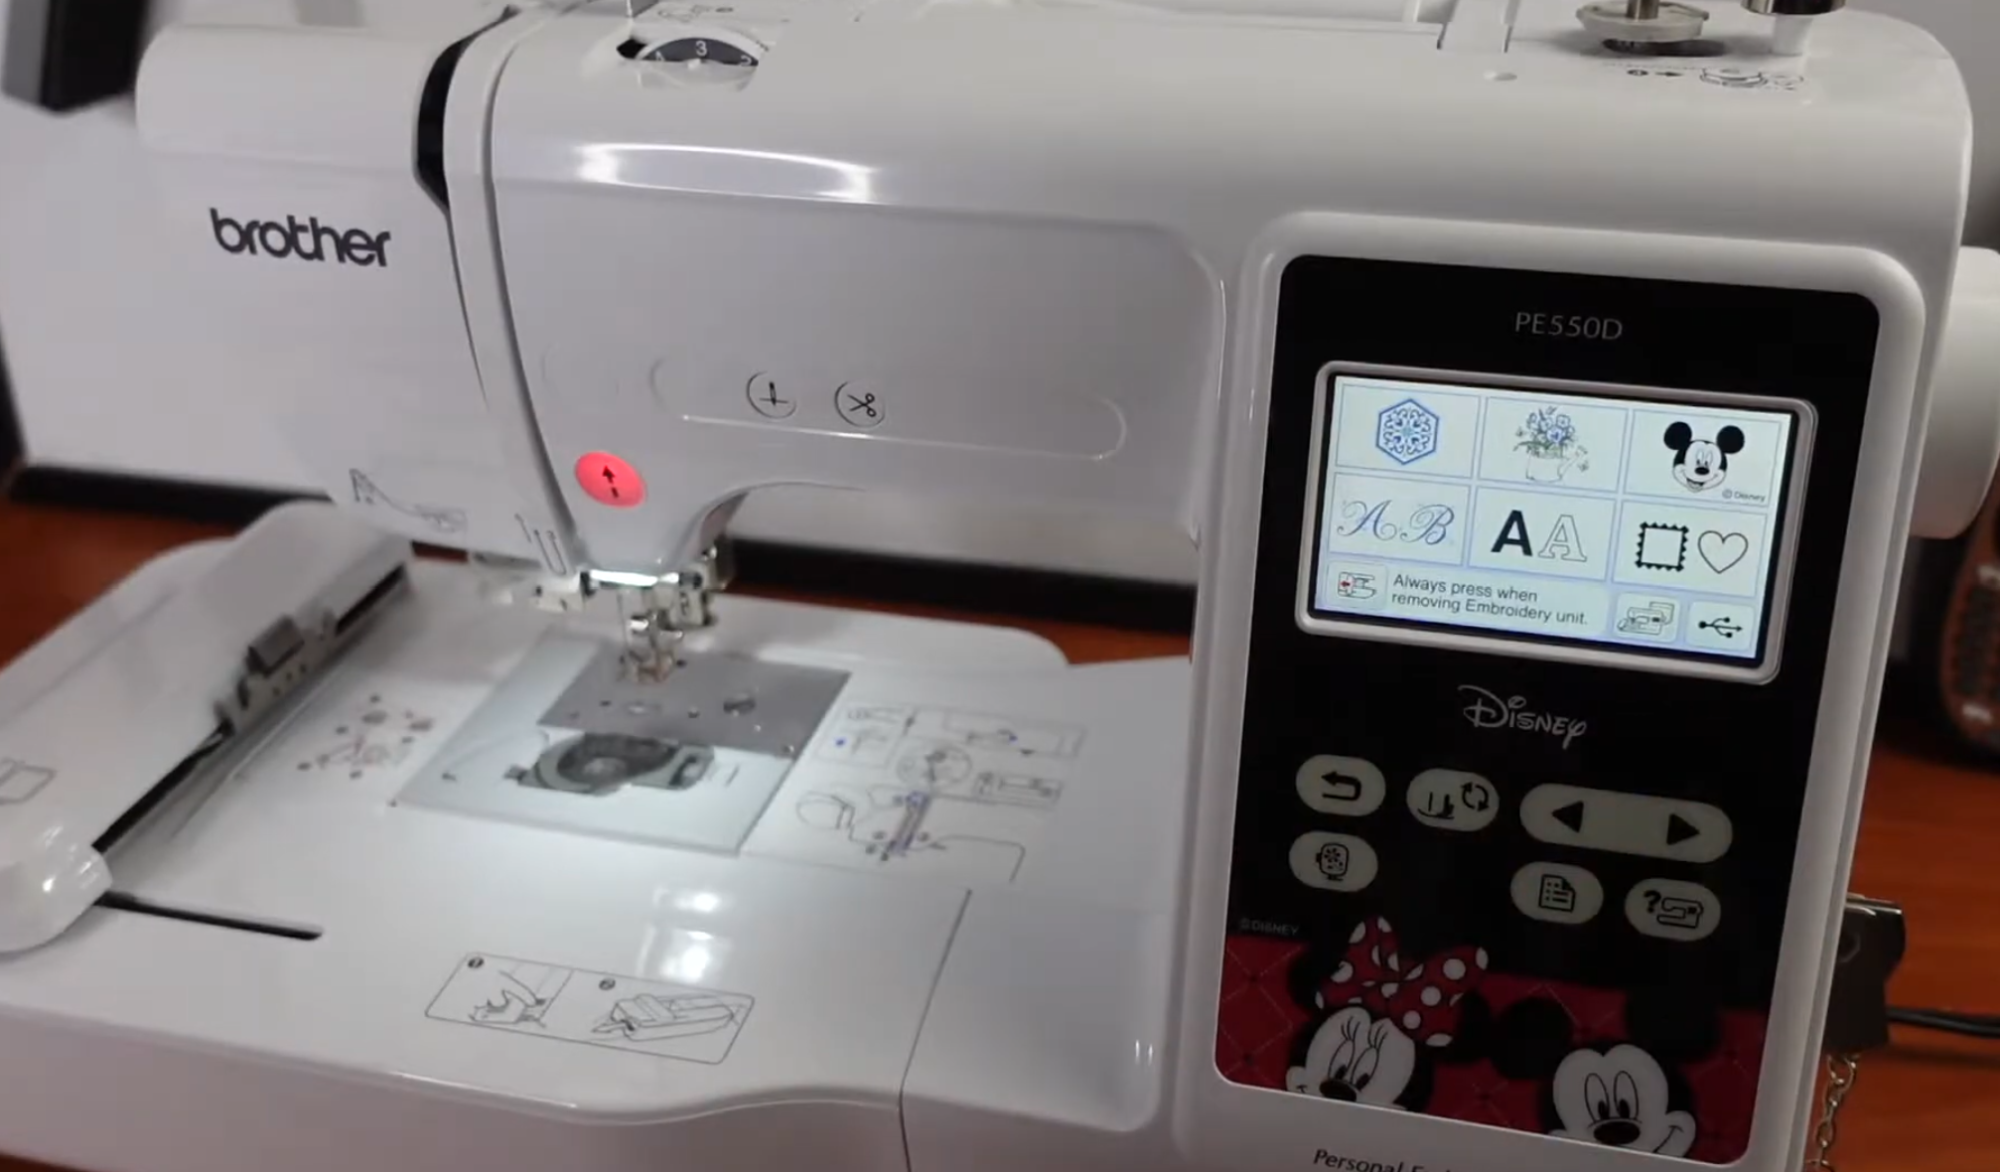
The machine has a 4″ x 4″ maximum embroidery area, and it comes with 45 free Disney designs for your projects, a definite bonus if you’re a Disney fan1 This size embroidery area is great if you need a cheap embroidery machine for hats or a machine for patch making.
You’ll also get 9 built-in fonts (including 3 Japanese fonts for anime fans!) to play with, and the machine’s USB port allows you to quickly and easily upload your own custom designs to the machine, making it one of the cheapest embroidery machines for custom designs, as well.
BUT, just to be clear, this machine does not come with a free embroidery program. Honestly, almost no machines come with digitizing software, and you’ll need it if you want to make your own embroidery files.
So, why would you NOT get the PE550D? Well, 4″ x 4″ is great for hats, patches, pocket logos, and monogramming, but if you want to create larger designs… this could quickly limit your creativity. If that’s the case, you may consider purchasing a machine with at least a 5″ x 7″ embroidery area for more creative freedom.
But, if you’re okay with that limitation – this is the best deal you’re going to get on a new embroidery machine!
Click here to get the best price on the Brother PE550D
Brother SE625 – $369
This machine can sometimes be found for even less than the PE550D. So, why didn’t this inexpensive embroidery machine make the first spot? Well, this machine is an older model and availability is pretty limited in a lot of cases.
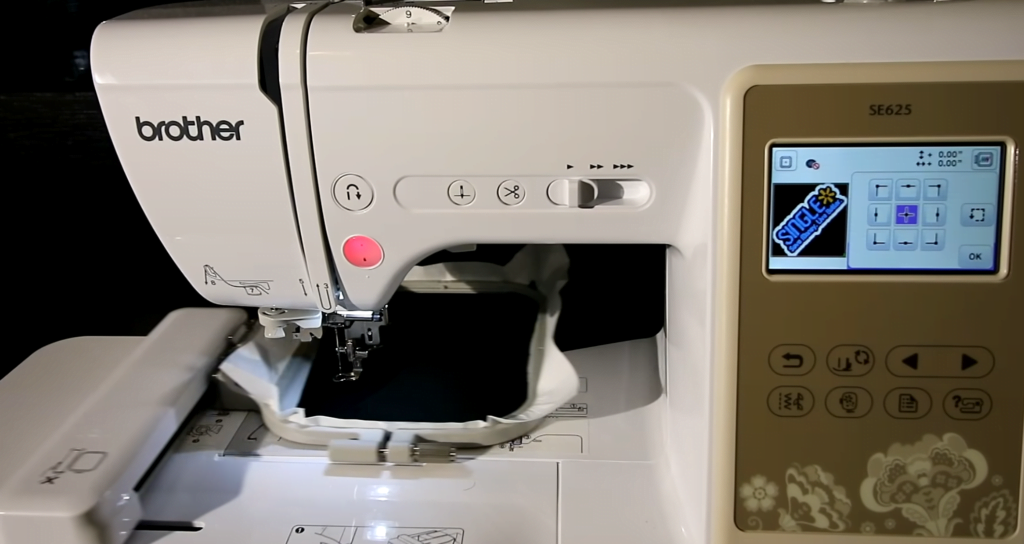
However, it’s still a great machine, and there’s really no reason not to use it if you can find one! It embroiders beautifully, and it has all the features you’d need to make some great embroidery projects.
If you’d like to own an SE625 though… you’ll likely have to buy used and that means being patient. Obviously, used machines are not always available, and you’ll have to wait for someone who’s ready to upgrade to an embroidery machine with a larger hoop to let go of it.
By the way, the SE625 is NOT just an embroidery machine. It also sews! So, if you need a sewing machine that does embroidery… it might be worth the wait! It’s a solid machine and definitely a great purchase if your budget is really tight.
And, as the above photo and video show, there’s absolutely no reason you can’t make high-quality products using this machine! As long as you know your limitations, it’s a great, inexpensive embroidery machine to get you started in the hobby.
Click here to check for used SE625 machines
Brother PE800 – $699-$899
This is one of the most popular embroidery machines around, and for good reason! The PE800 offers an upgraded 5″ x 7″ embroidery area when compared to the SE625 or PE550D. This makes it a much better fit if you need an embroidery machine for sweatshirts or hoodies.
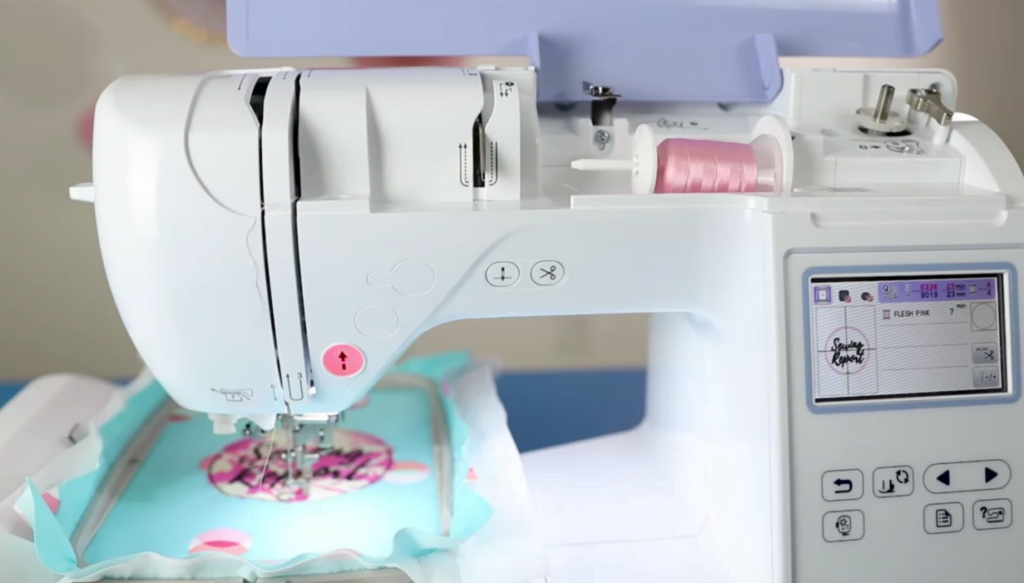
The machine sells new for $899, but if you’re patient… you could save $200 if a used one pops up.
And while the PE800 is an excellent and affordable machine, possibly the best thing about it is that due to its popularity there are tons and tons of tutorials online to help you learn! YouTube is filled with useful video tutorials that help you troubleshoot issues and get the most out of this workhorse of a machine.

All of this content and the large embroidery area make this machine one of the cheapest embroidery machines for custom designs, and uploading your custom digitized designs via USB is easy too.
In short, the PE800 is a fantastic starter embroidery machine that will grow with you. The only bad thing about it is that it’s frequently sold out due to its insane popularity among entry level embroidery enthusiasts! So, snap it up when you find one.
Click here to get the best price on the Brother PE800
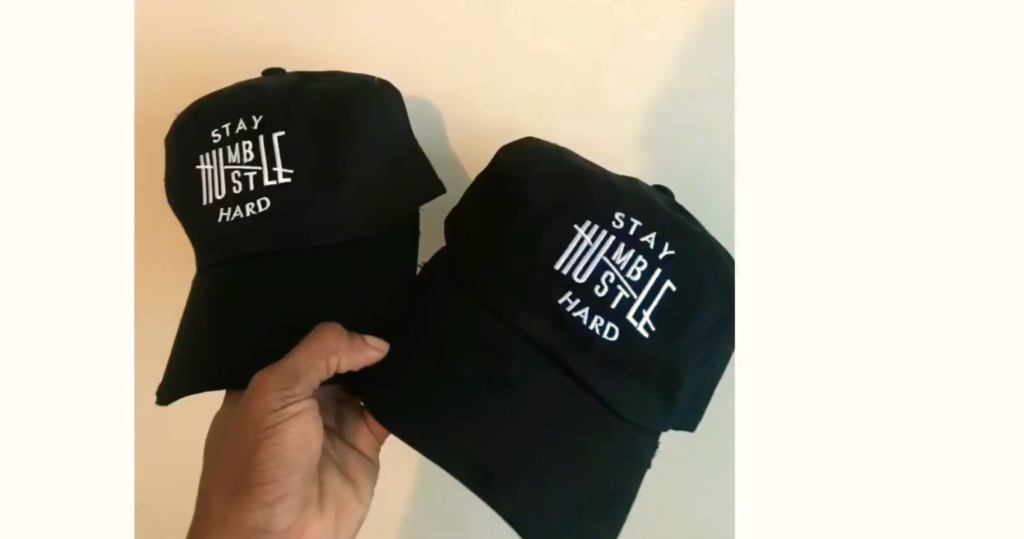
Brother NS1150 – $899
Unfortunately, due to the popularity of the PE800… it can sometimes be hard to find the machine in stock! If that’s the case for you, then consider the Brother NS1150 – which is almost identical.

The only real differences between the PE800 vs 1150E is built-in memory and automatic thread tension. Neither of these are a big deal and the 1150E is a great machine.
Just like the PE800, this machine also has a 5″ x 7″ embroidery area, leaving you a lot of possibilities for creating custom designs on your embroidery machine. In the above video, you can see how beautifully the NS1150E embroiders a custom hat.
However, you can also use this fantastic and affordable machine to make tons of other custom items too. A 5″ x 7″ machine is perfect for embroidering custom sweatshirts, tote bags, hoodies, t -shirts, and more.
Click here to get the best price on the Brother NS1150
What makes an embroidery machine cheaper?
Wondering if you’ll be getting your money’s worth with these cheaper machines? Here’s what you need to know.
A cheaper machine does not mean that it is less capable, especially if it’s a quality brand like Brother. When it comes to pricing, here are the things that matter the most for embroidery machines.
Embroidery field size
The biggest factor which determines price is the size of the embroidery field. Smaller 4″ x 4″ machines are the cheapest, but they will also be limiting as you gain experience and want to take on new projects.
For this reason, I’d recommend at least a 5″ x 7″ machine, even if it’s your first one. But, if you really can’t swing it, then you can always sell the 4″x4″ machine later when you need to upgrade.
Single or multi-needle (or multi-head!)
All the machines in this list are single needle. This means that you can only set up one thread color at a time. So, when the machine finishes stitching, red for example, and needs to move on to blue – it will stop and you’ll need to manually re-thread with the next color.
Multi-needle machines allow you to set up multiple colors at once so you don’t need to keep changing them manually. This obviously makes things a lot quicker, especially if you’re filling orders for your store.
However, these machines are really expensive, and if you don’t have $5,000+ to spend… you’ll be getting a single needle.
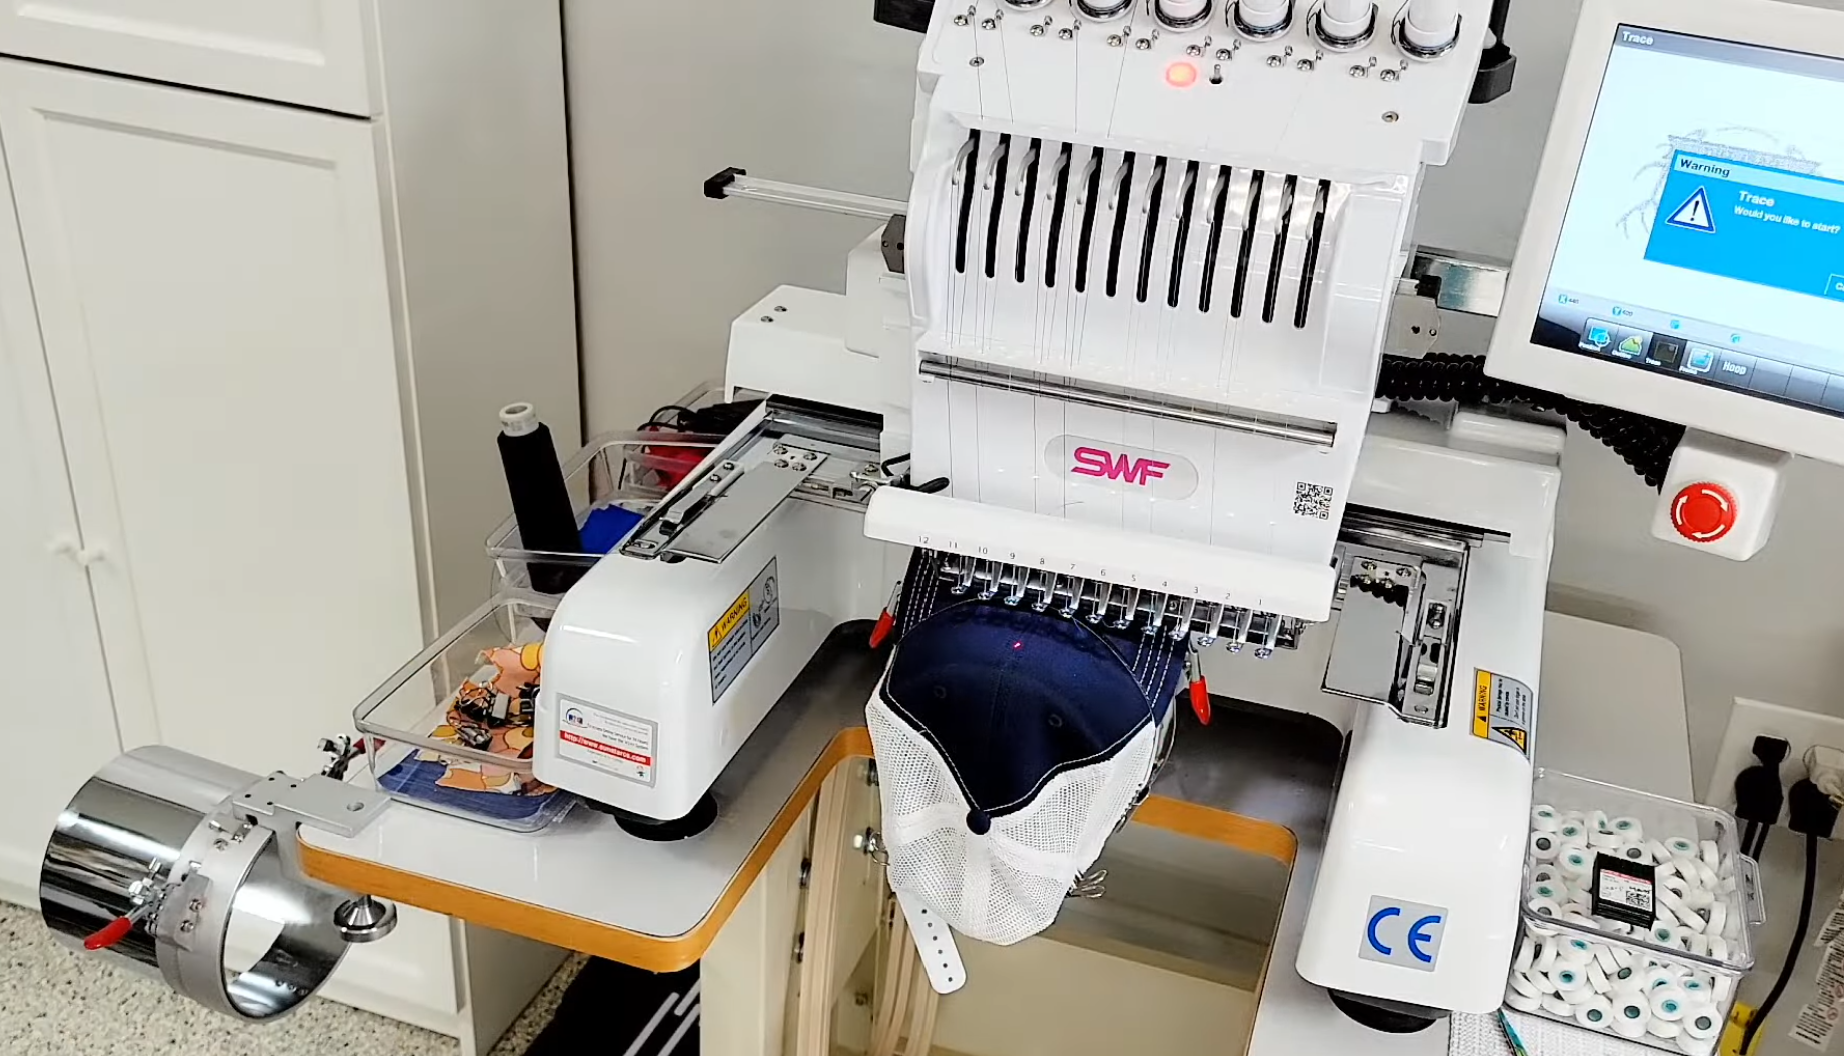
The priciest machines in this category are actual multi-head machines! These are commercial machines that can not only use multiple needles, but they also can embroider multiple items at once.
What features does it have?
It’s important to think about what kind of items you want to embroider on before investing in a machine. Cheaper machines are ALL flat bed machines. That means any items you need to embroider need to be smashed flat in the hoop. This works fine for stuff like patches, shirts, hoodies, and even dad hats.
But, it can be a problem if you want to embroider on things like flex fit hats, socks, sleeves, pockets, or bulky items which will have a tough time either fitting under the needle of the machine, or be damaged when hooped.
A pricier free-arm machine makes this a much easier task. Allowing you to connect things like cap drivers that let you embroider all the way around a hat, but this feature also adds to the cost of a machine significantly. The cheapest free-arm machine I’ve found will cost you upwards of $4,000.
In closing, there’s absolutely nothing wrong with buying a cheap embroidery machine! While you may miss out on some fancier features, cheaper machines will embroidery just as well as expensive ones. Some of these pricier machines may have some fancier features, but the truth is, you don’t really need most of it! Especially when you’re just learning how to do machine embroidery.
And, if you invest in a good brand, it’s easy to sell an entry-level machine later and upgrade should you wish to have these features. Hopefully, this article was helpful to you in making your selection, and until next time – Happy crafting ya’ll!
Barb, our resident quilter and embroidery aficionado, weaves a thread of creativity through our collection. Serving as the curator of machine embroidery content, Barb infuses each design with a touch of her artistic expertise. The free embroidery patterns you discover on our site often bear the mark of Barb’s craftsmanship. Let’s get crafting!