If you’re looking for a way to instantly convert a JPG to a PES embroidery file… you’re out of luck, sorry! But, if you want to learn how to make an embroidery file from scratch, this article can point you in the right direction.
While it’d be really awesome if you could instantly convert images to embroidery like that, it doesn’t really work that way. Embroidery machines are more complicated than they may seem at first glance, and stitches need to be carefully planned out to make the magic happen. Here’s what you need to know about making embroidery files.
Embroidery Files Explained
An embroidery file is a specialty file used by embroidery machines to stitch out designs. Your embroidery machine can’t read image files like JPEG or SVG, it needs a special file to understand how the image should be stitched out on to your clothing items.
Different types of embroidery files
There are also a few different types of machine embroidery files you should be aware of.
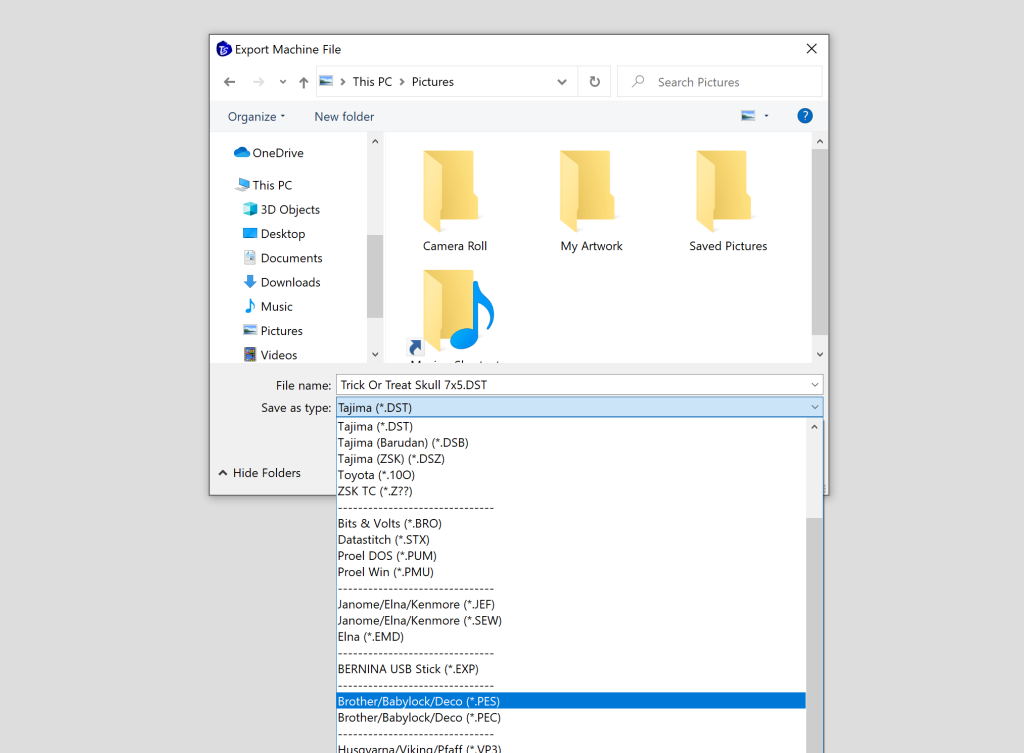
Machine files
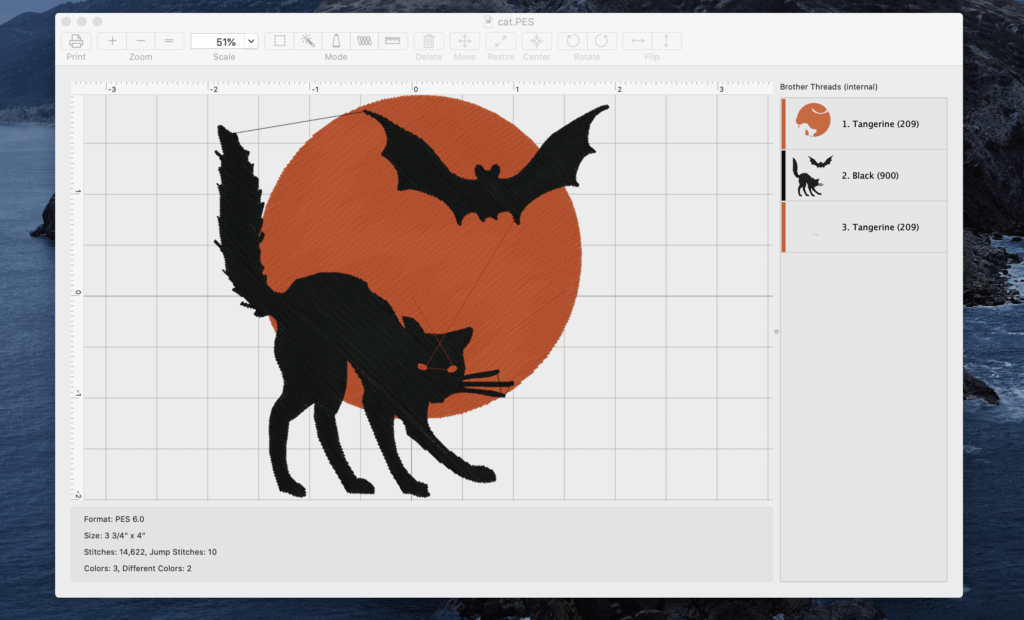
Machine file formats are the files which are read by your embroidery machine. Every embroidery machine brand has its own preferred format. For example, Brother machines use the PES format. So, if a design you want to use is not in PES format, you’ll need to convert the design to PES before it’ll work.
Non-machine
There are also native embroidery file formats. These are formats used by embroidery software such as Hatch. When you save a design in one of these programs, you’ll be saving it as that software’s native file format, and then you export it to a machine format for your machine.
If you plan to create your own embroidery designs, you’ll definitely want to save one of these native formats! You’ll need it if you want to have full editing control of a design later, like being able to resize a design beyond the standard 20% that machine formats are capable of.
You can learn more about embroidery file formats and which machines use which formats here.
What is embroidery digitizing?
‘Digitizing’ is the process by which an image, like an SVG or JPEG, becomes an embroidery file. In many cases, professional digitizers painstakingly plot out each stitch by hand. However, modern software has also seen the rise of “auto-digitizing”, a process where the software attempts to automatically translate images to embroidery stitches.
Manual vs auto-digitizing
However, auto-digitizing is not always as great as it seems. While it works very well for simple logos and shapes, intricate designs will require manual digitization work.
Why? Well, while the software tries its best to plot out the appropriate paths and machine embroidery stitch types, it doesn’t always quite get it right. Sometimes it may use a stitch type that looks bad, shapes could be connected weird, the design could be too dense, and a plethora of other issues.
That’s why, despite improvements in software, professional digitizing is still a thing. When a professional digitizer creates your embroidery design you are benefiting from their years of experience in creating designs that not only look good inside the program, but also look good on the finished product.
If you’re keen to learn manual digitizing yourself, then there are a few cheaper embroidery programs out there as well that are a little more user friendly than the freebies, but they won’t cost you $1,000+.
How To Make An Embroidery File
Okay, so how do you make an embroidery file? Well, for starters you’ll need something called embroidery digitizing software. You can sometimes get free embroidery programs that do this, but a lot of them leave much to be desired in the way of features.
Regardless of which software you choose those, you should know that embroidery digitizing is not a quick and easy path to success. It takes a LOT of time investment to get good at digitizing.
Choose an embroidery digitizing software
If you want to learn how to make your own embroidery files, you’ll need to purchase some embroidery digitizing software. This software is not cheap, and for the best embroidery software you can expect to pay $1,000+.
While there are some free embroidery software options out there, the learning curve is steep and they don’t have the same auto-digitizing functions as something like Hatch or Floriani Total Control has.
Recommended Embroidery Software Products
Floriani Total Control
Embrilliance Stitch Artist
Dime Perfect Embroidery
But, if you just want to get your feet wet for a grand total of $0, then you can try using Ink Stitch, which is an open-source embroidery software tool. Be warned, the learning curve is steep, but YouTube has plenty of tutorials out there for this software since it’s free.
Be prepared to learn the software inside and out
Learning to digitize takes a lot of commitment. While there are lots and lots of quality tutorials on YouTube to help you get started, you’ll need to be passionate enough about it to actually learn the software.
The below video offers a great introduction into digitizing and can help you get started with everything that you need to learn. I’d recommend watching this before you invest in any embroidery software so that you know exactly what you’re getting into.
Choose your images wisely
Some images will be easy to digitize and some of them will be really, really hard. If you start out trying to digitize a photo you’re in for a very bad time.
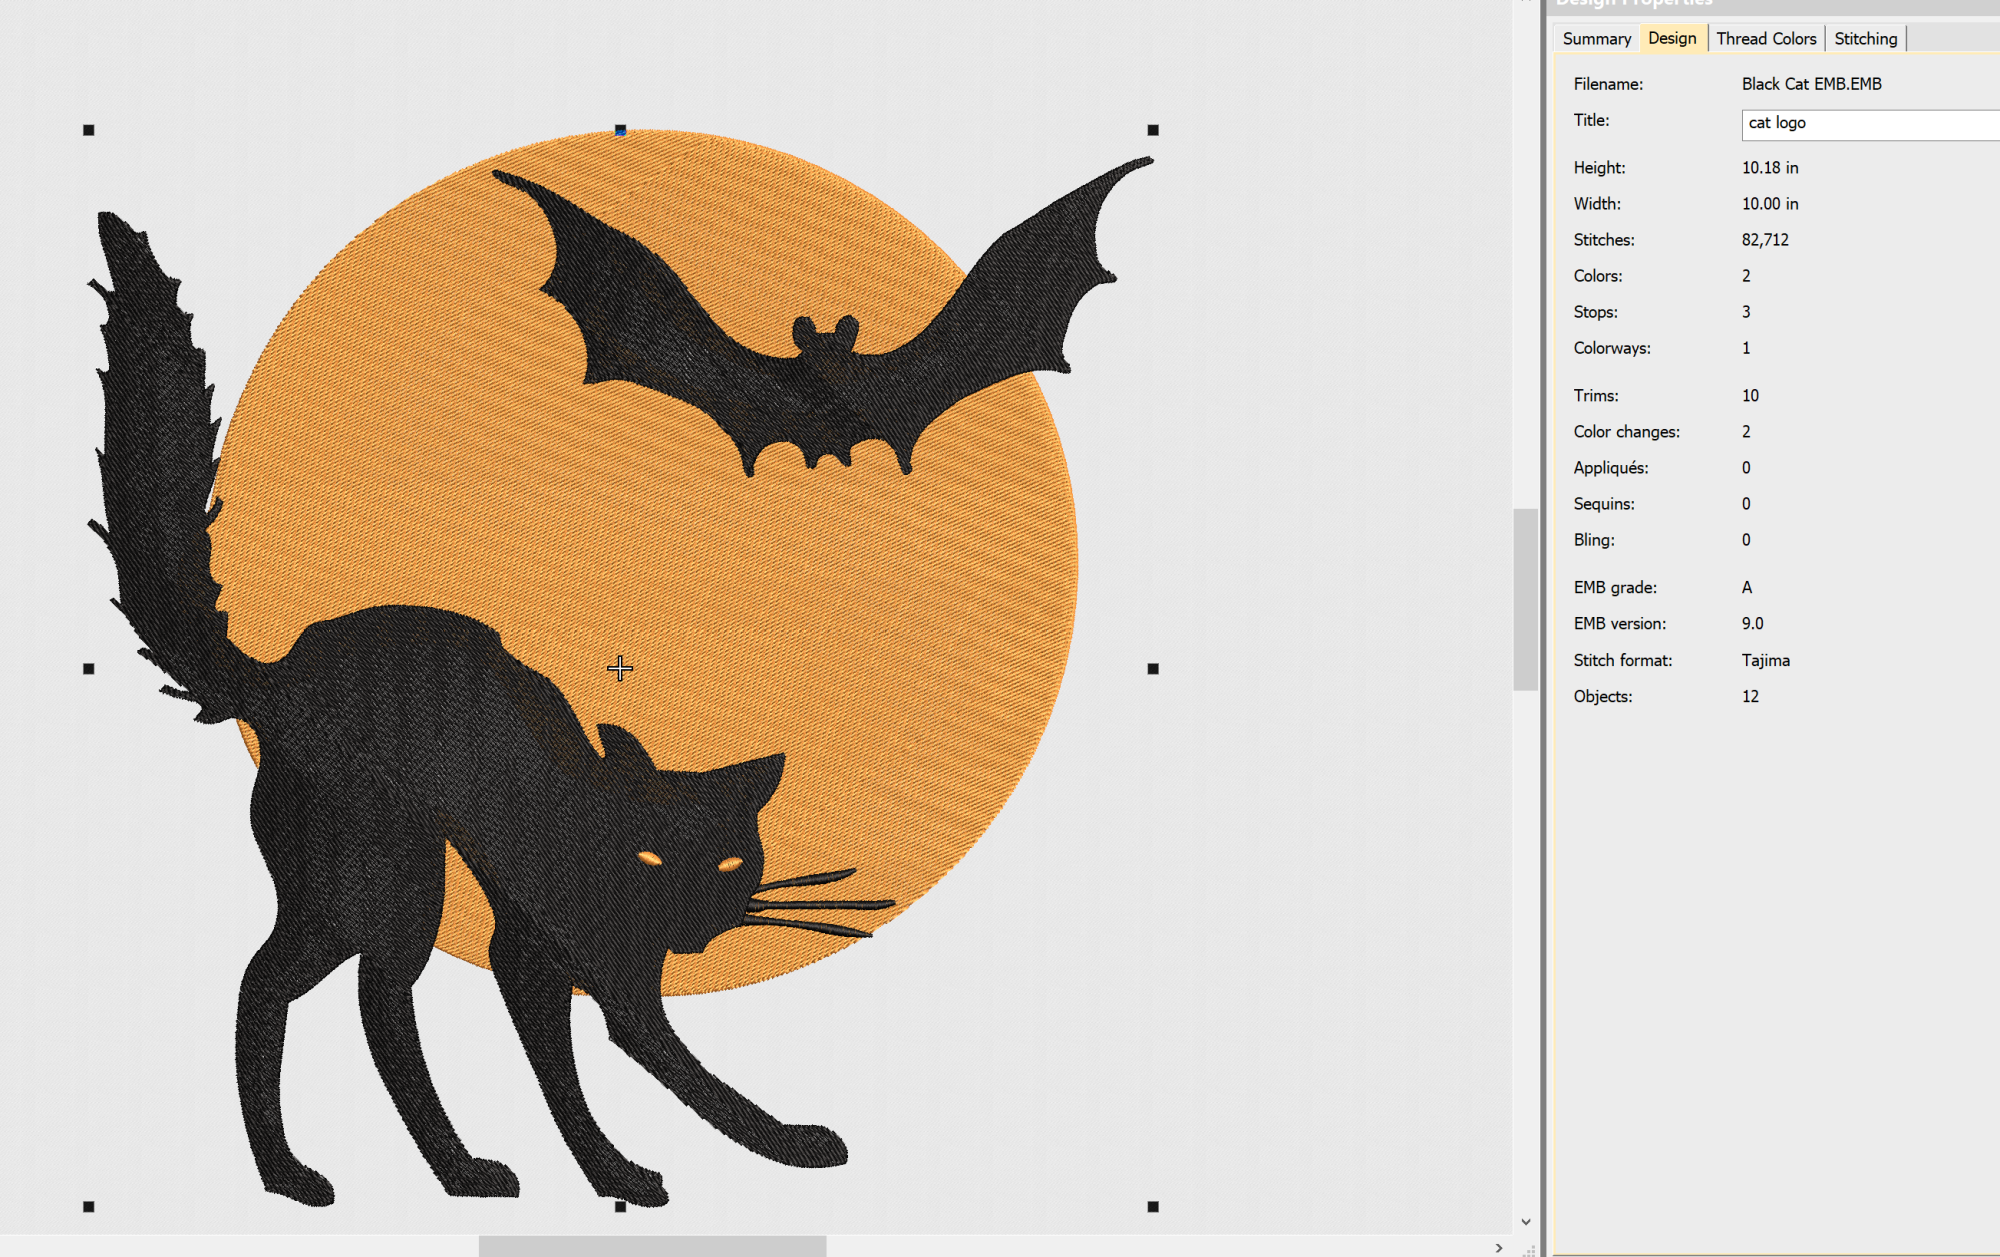
Instead, start out with simple shapes, preferably in clean vectors or SVGs where the colors can be more easily mapped out. In machine embroidery, you need to digitize each color so the machine can set a corresponding thread when it sews.
Choosing an image that is low quality, has complicated shading, many intricate details, or too many colors is a recipe for disaster. Though, many embroidery software suites, such as Hatch, do have features which can help you reduce the colors of an image to make it easier to digitize it.
You can also do this for free in a software like Inkscape by using the trace function. The above video helped me a lot with learning how to use Inkscape to make cleaner vector images to use.
In this video, they are creating a vector from a photo, but you can also use this software to transform illustrations, grainy logos, or other images into clean vectors to make it easier to convert them to embroidery.
Do you really need to learn to digitize?
Learning to digitize is hard work and the software expensive. If you only plan to digitize a few designs, such as a logo for your business, then you are more than likely going to be better off just hiring somebody to do it for you!
However, even if you have an embroidery business and you want to digitize designs for your customers, you’re still likely better off hiring a professional and rolling the cost into your products.
Hiring a digitizer saves you a lot of time that could be spent doing things that actually makes you more money, rather than learning a frustrating piece of software you don’t really care about anyway.
In short, if you’re not truly passionate about learning to digitize, it’s honestly better to hire someone to do it.
Barb, our resident quilter and embroidery aficionado, weaves a thread of creativity through our collection. Serving as the curator of machine embroidery content, Barb infuses each design with a touch of her artistic expertise. The free embroidery patterns you discover on our site often bear the mark of Barb’s craftsmanship. Let’s get crafting!