Learning to digitize images for embroidery is no easy task, and one of the most important things that many beginners miss is learning when and where to use different machine embroidery stitches! Here are the three machine embroidery stitches you should know, and when to use them in your embroidery digitizing in order to get the best results when you stitch out your projects.
What are the different types of machine embroidery stitches?
Run Stitches
Run stitches are great for things like outlining or creating light decorative designs – like you’d see on a quilt. They don’t pull on the fabric as much as other stitches. You would likely use this stitch for something like red work, or other very detailed one-color designs as well, like a sketch style art piece.

However, it can also be used in conjunction with other stitches to give detail to a piece, such as to add shading that would be awkward or strange looking with other stitch types.
Satin Stitches
Stain stitches are often used for text, because they offer a ‘raised’ look with a sheen effect. However, they can also be used to add dimension to your text-less embroidery designs to make them less flat and boring.
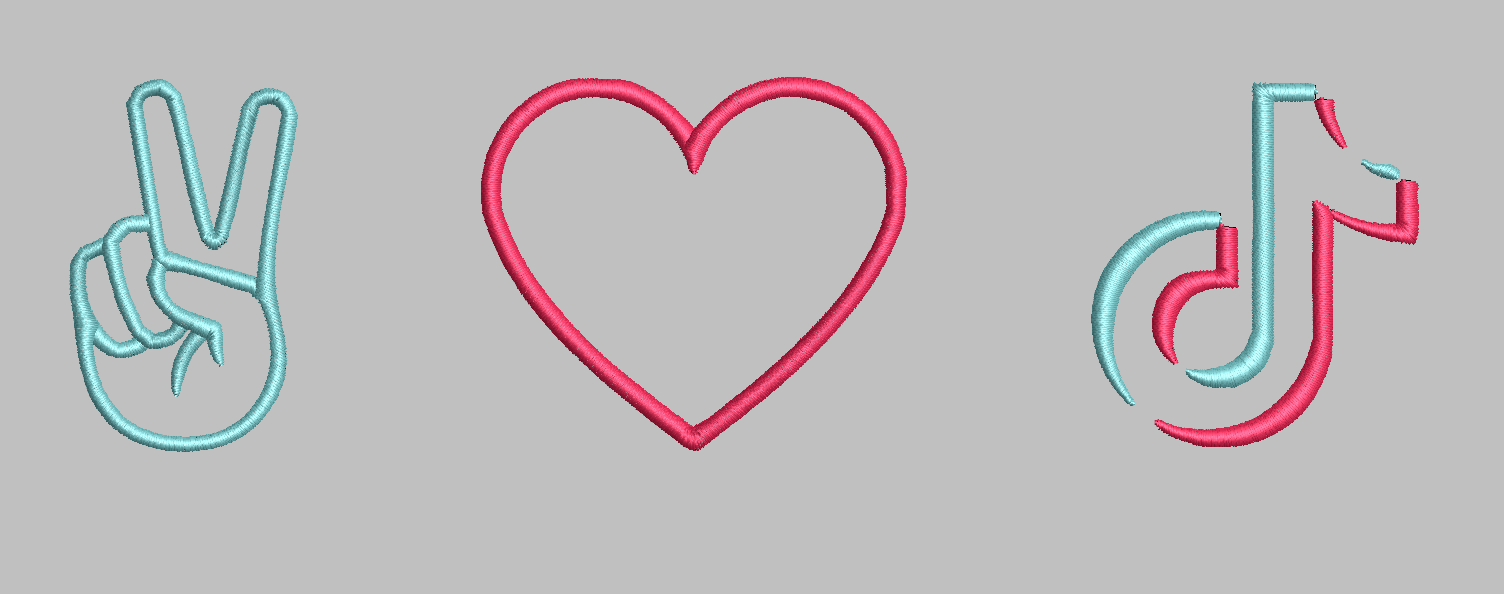
For example, you could make a one color design look more 3 Dimensional by using satin stitches on certain parts of it, or you could use it to create raised outlines on logos or emblems to enhance their look.
Unfortunately, stain stitches don’t look great when used to cover a large area. For this reason, you should find ways to use them creatively as details or add-ons to your design.
Fill Stitches
Fill stitches are made of many straight stitches woven together. You can use this stitch to cover large areas of a design, and this avoids issues you may face with satin stitches creating an ugly “ripple effect” when they overlap each other.
However, fill stitches, while easy, can be very boring if over used. Designs can appear flat and lifeless, though in some instances I actually enjoy a flatter look in my embroidery. It really just depends on the look you’re trying to achieve, and it’s not necessarily wrong to do it one way or the other.

You can also do some cooler stuff with fill stitches, like color blending, when you reach a more advanced level with your embroidery digitization software. Though fills can also be a lot more dense and pull on the fabric more, which can cause puckering if not properly compensated for. For a newbie embroidery hobbyist, this can create some confusing problems to solve in the beginning of creating custom embroidery designs.
Combining different stitches
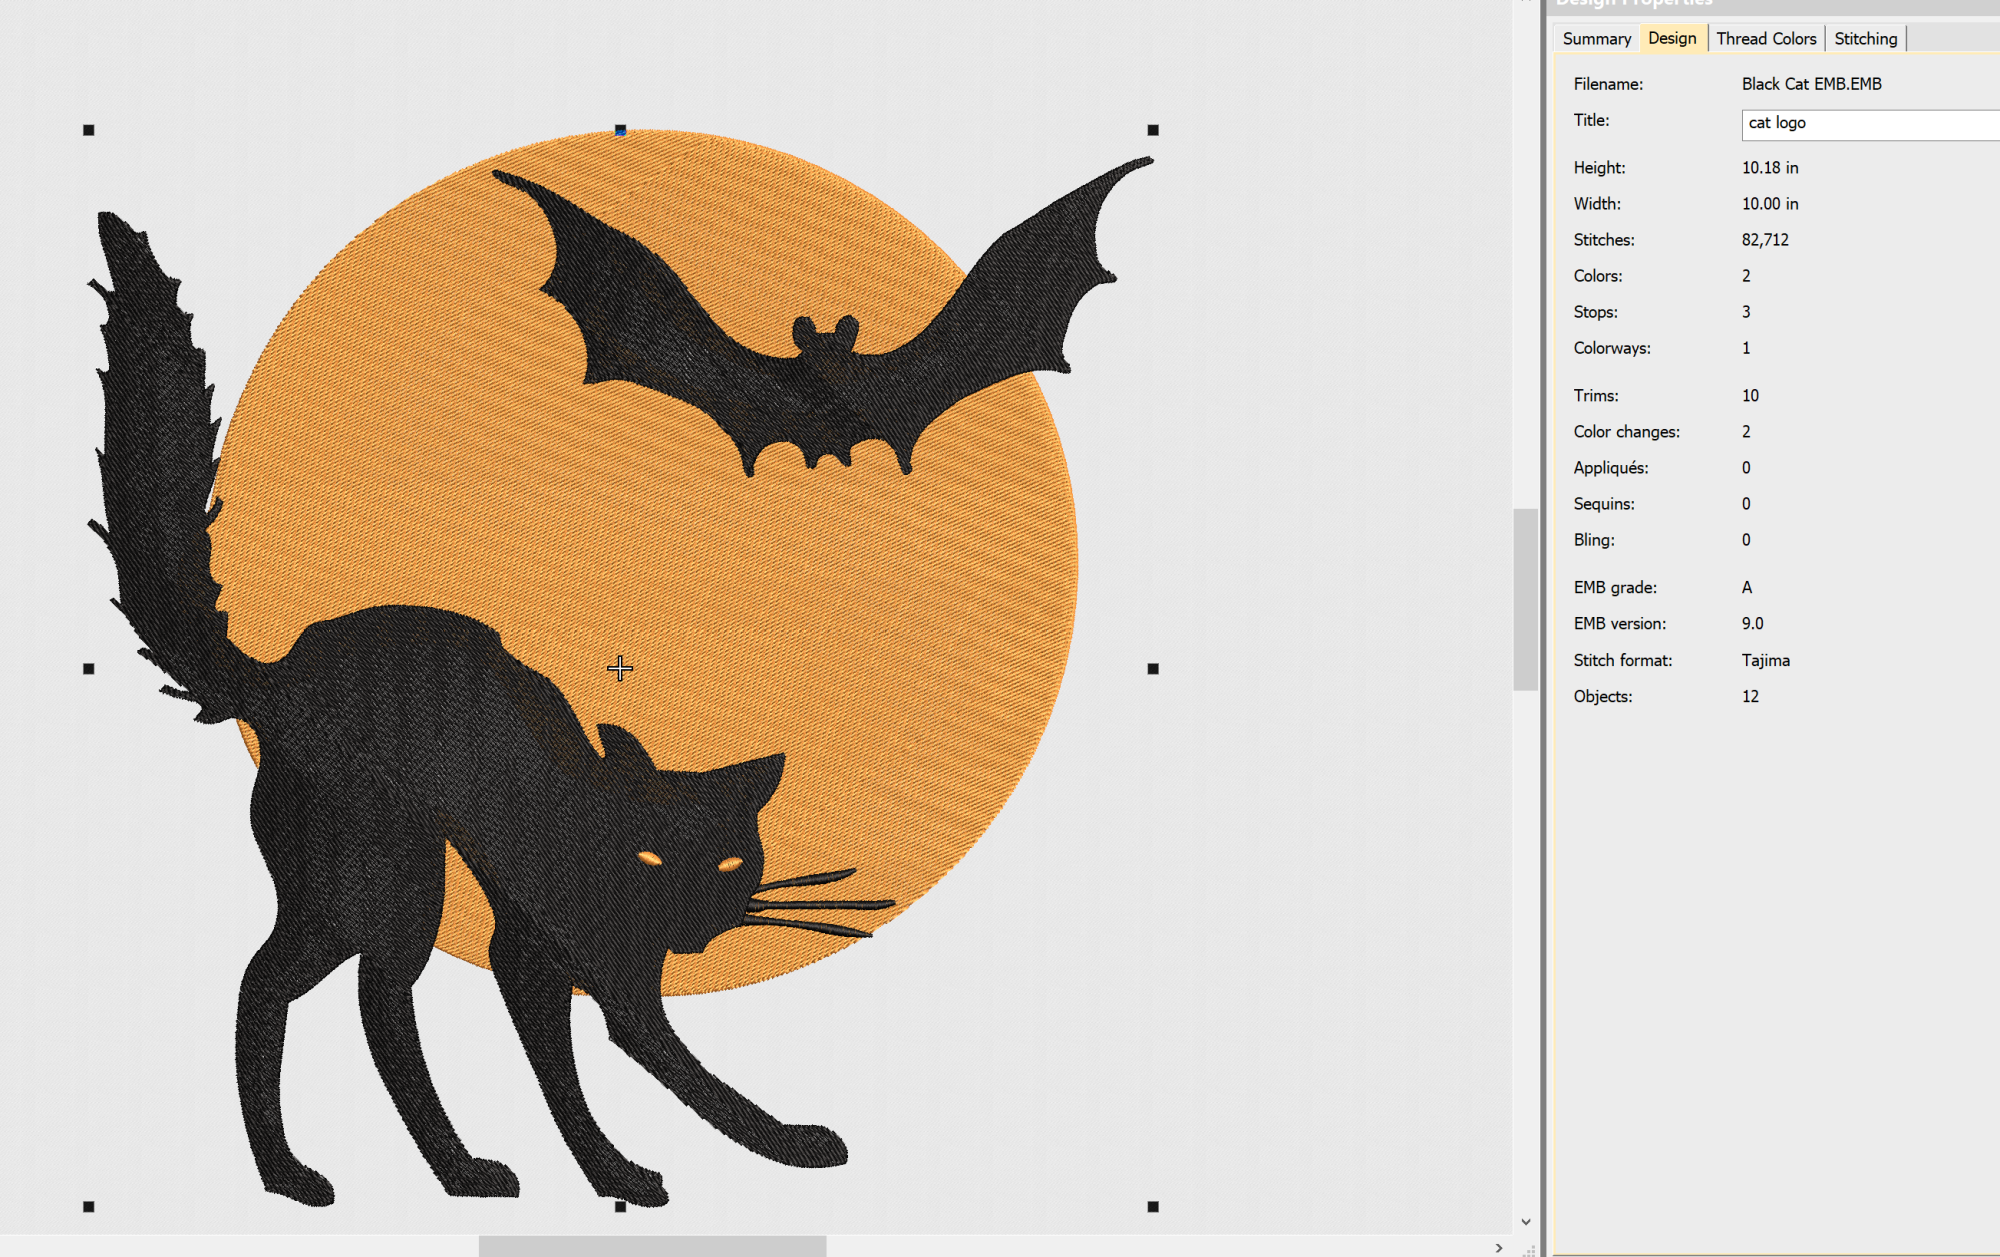
You should not feel limited to just one stitch type! Combining stitches together is what makes your designs more interesting. Even the fairly simple design below is instantly improved by adding a satin stitch outline.
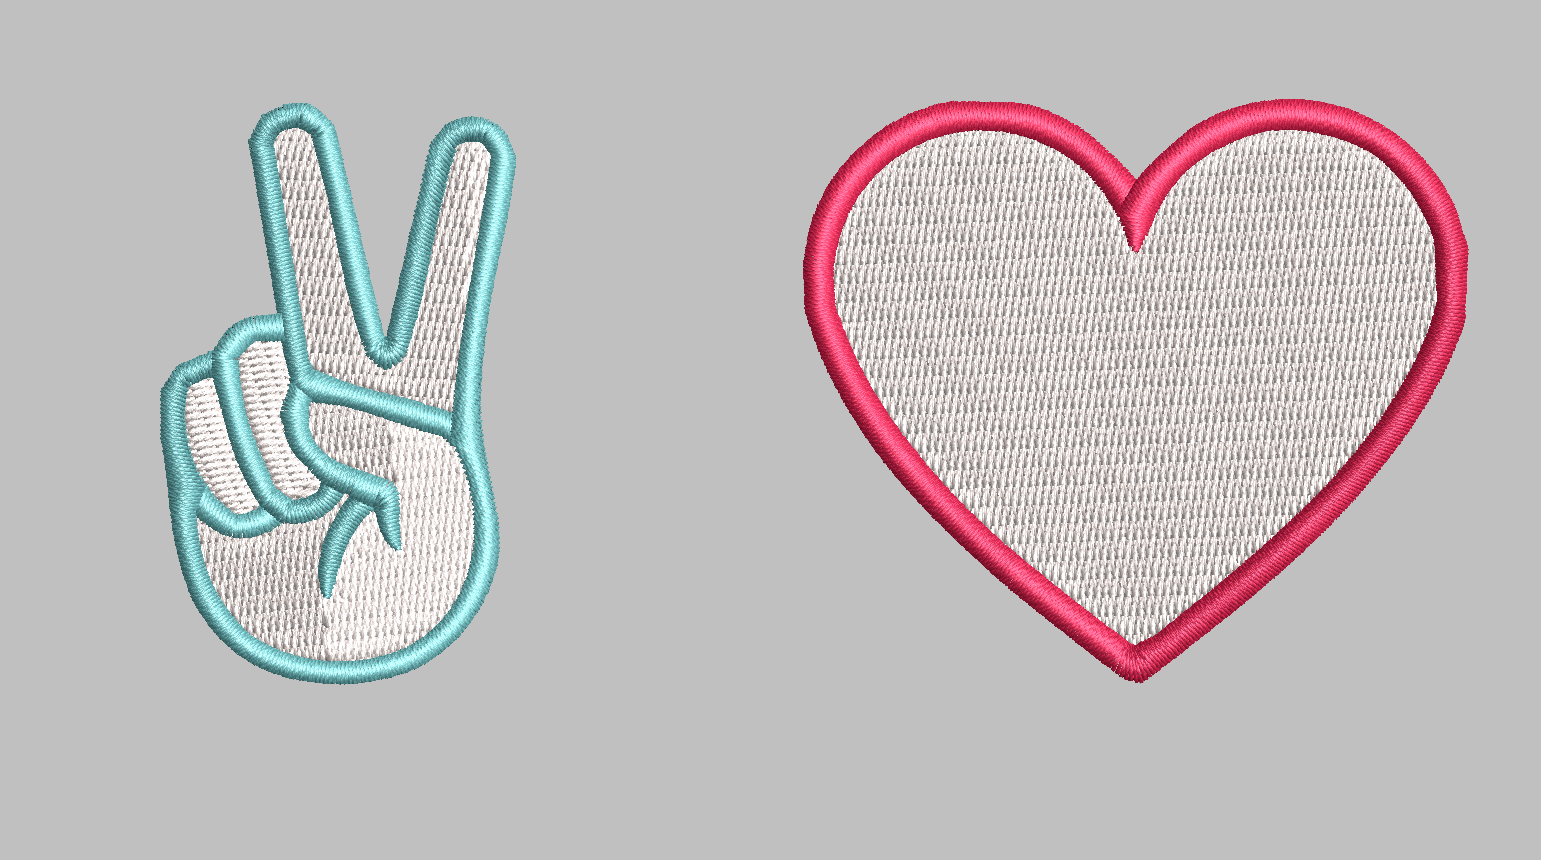
However, you can get much more creative than that with your own custom embroidery designs. Learning to add depth and dimension to your designs makes for more impressive embroidery. Try adding some raised details with stain stitches, or even a bit of shading using a thinner run stich and see how much more interesting your designs become!
In closing, learning to digitize can be a lot of fun, but practice makes perfect. So, don’t get discouraged if you don’t get it right away.
PS. Need some free embroidery programs to help you learn to digitize? We’ve got an article for that too!
Barb, our resident quilter and embroidery aficionado, weaves a thread of creativity through our collection. Serving as the curator of machine embroidery content, Barb infuses each design with a touch of her artistic expertise. The free embroidery patterns you discover on our site often bear the mark of Barb’s craftsmanship. Let’s get crafting!
