Have you recently purchased a new embroidery machine but are having trouble with the technical side of things? Here’s how to download embroidery designs for brother embroidery machines and start using them in your embroidery projects.
how to download embroidery designs for brother embroidery machines : Step by Step Instructions
Step 1: Find an embroidery design
There are lots of sites online where you can find free embroidery designs, and that includes this site! We currently have 100+ embroidery designs for brother machines in our free design library for you to download.
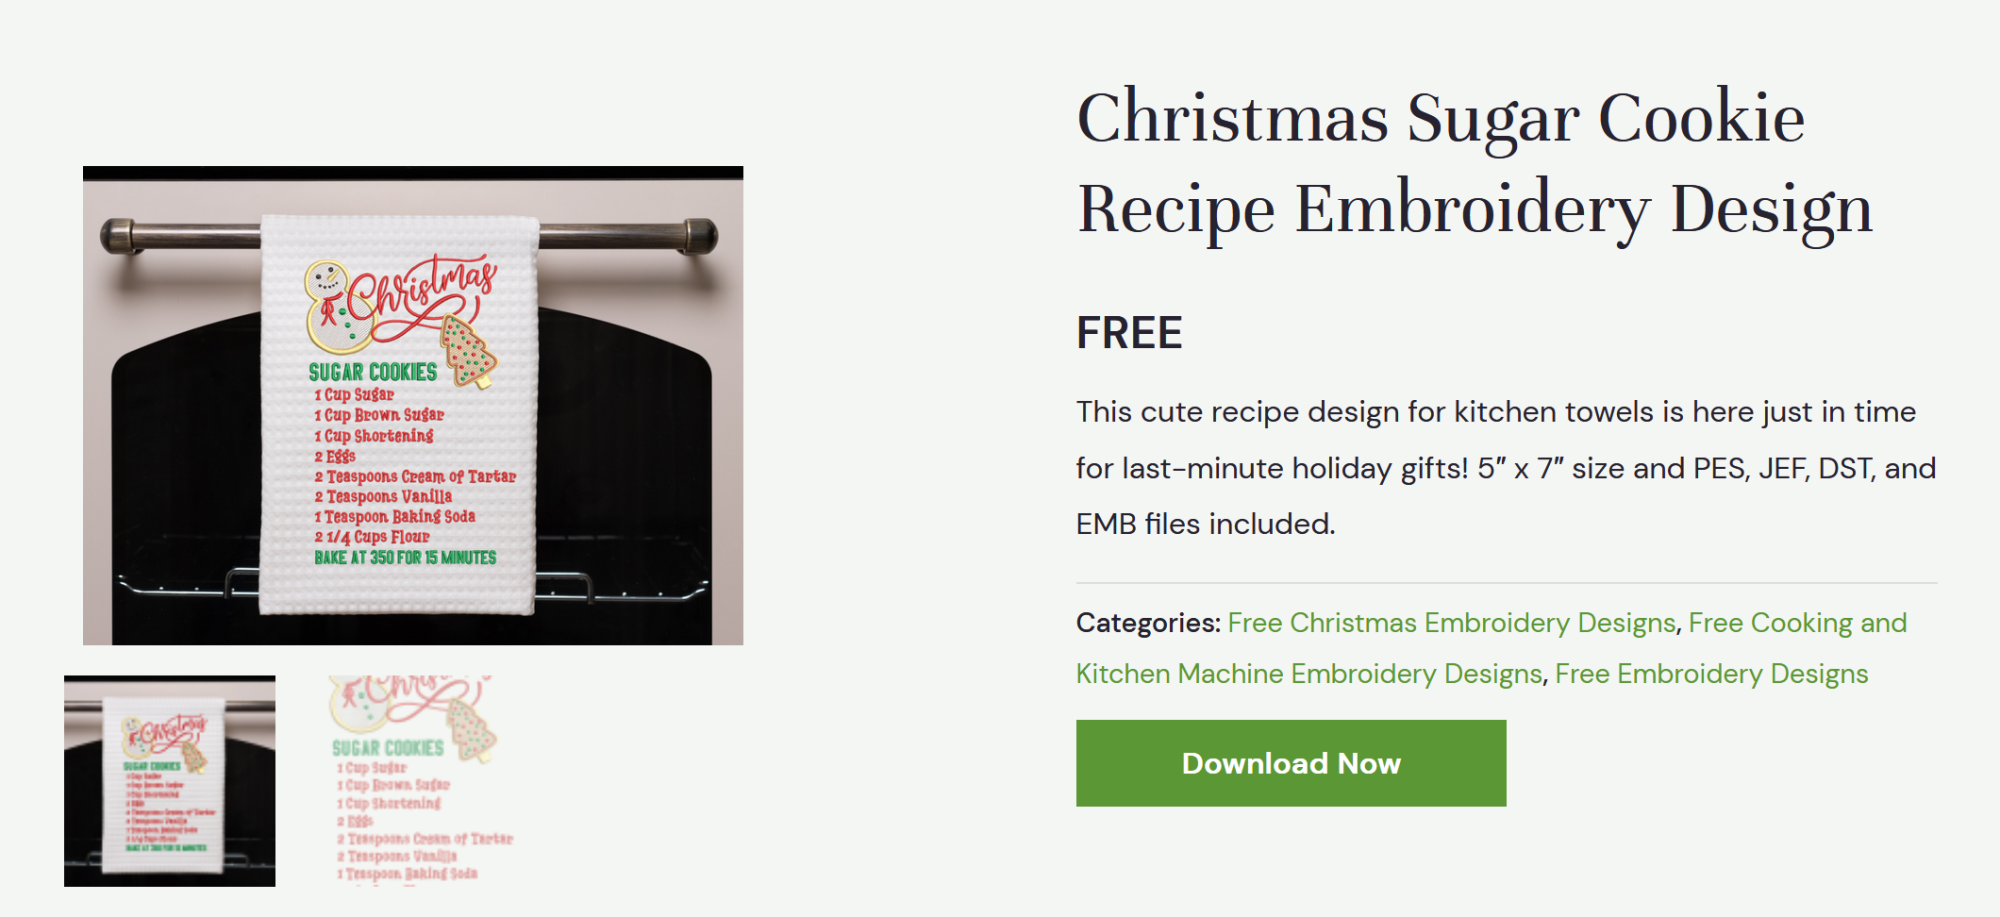
Downloading a design is easy! No registration is required, and you can download as many designs as you want. Just click on the big green “download button” on any design in our free machine embroidery patterns library and you’re good to go.
Step 2: Unzip the designs
Most sites, including ours, place designs into a zip file. This is a compressed folder that makes it quicker and easier to download multiple items in one file. But, before you can use the designs, you must unzip them. Otherwise your machine won’t be able to read the files.

Locate the file you’ve downloaded. By default, most browsers save it to your downloads folder. Or, when you are downloading, you can choose to save it to your desktop to make the files easier to find.
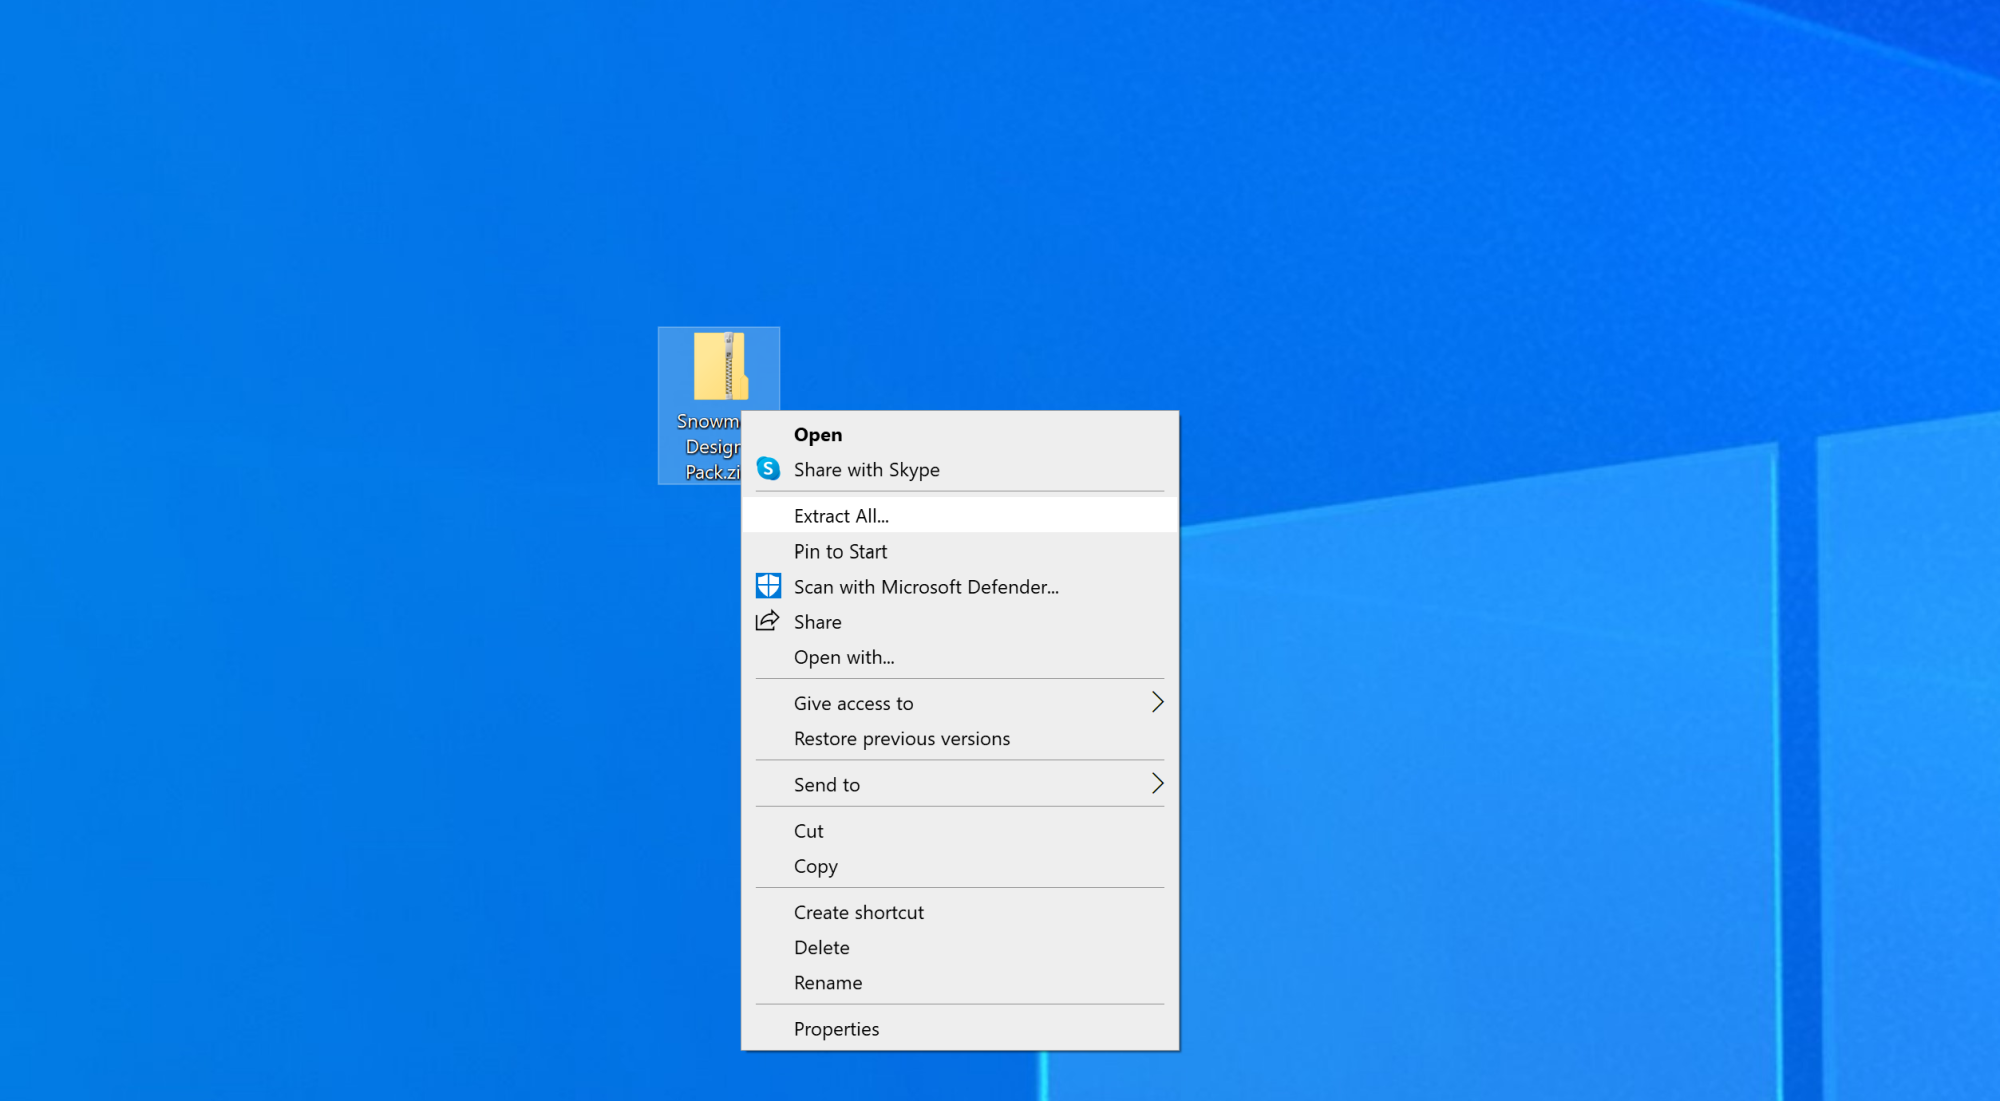
Right click on the zipped folder and select ‘Extract All’. Your computer will ask you if you want to extract the files to your desktop. Click ‘Extract’, and you will now have a zipped and an extracted version of the folder. Double click on the extracted folder to open it.
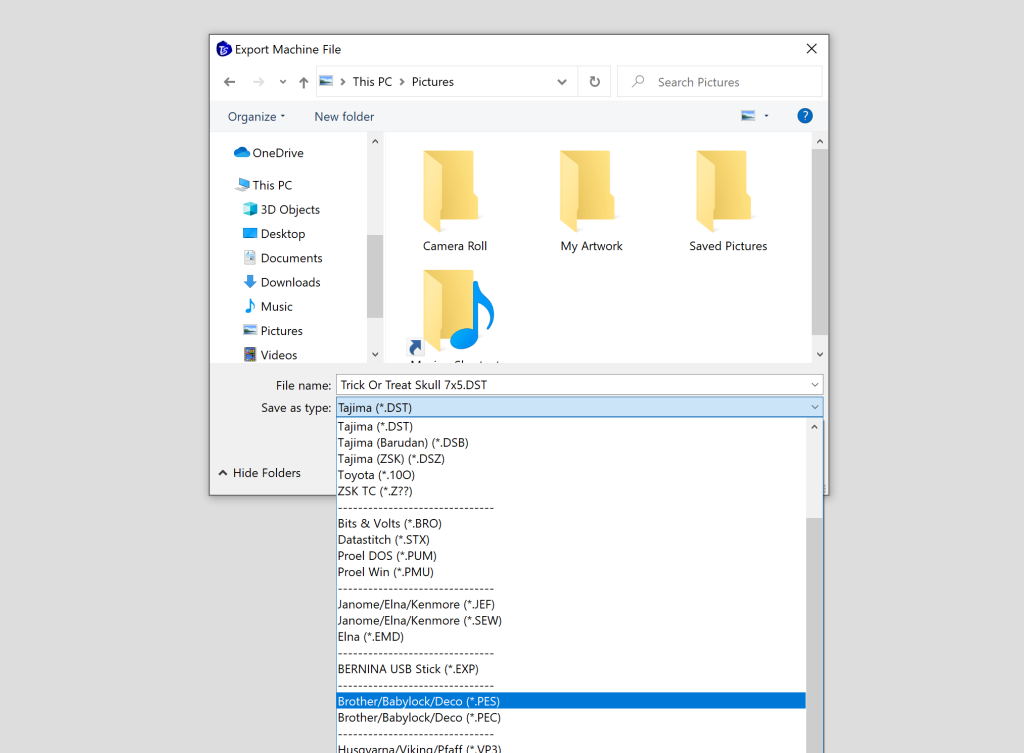
Step 3: Find the correct file type for your machine
If you have a Brother machine, you’ll want to select the PES file. However, we also offer DST and JEF formats for all our designs. (Read this article if you need to learn about other machine embroidery file formats.)

Step 4: Insert your USB stick into the computer
Insert your USB stick into the USB slot on your computer. You should get a little notification on the right-hand side of the desktop which asks you what you’d like to do with your USB, but if not, you can locate it using the search function, as shown below in Step 5.
Step 5: Locate your USB storage folder
Click the Windows start icon in the lower left, and in the search area – type ‘MyPC’.
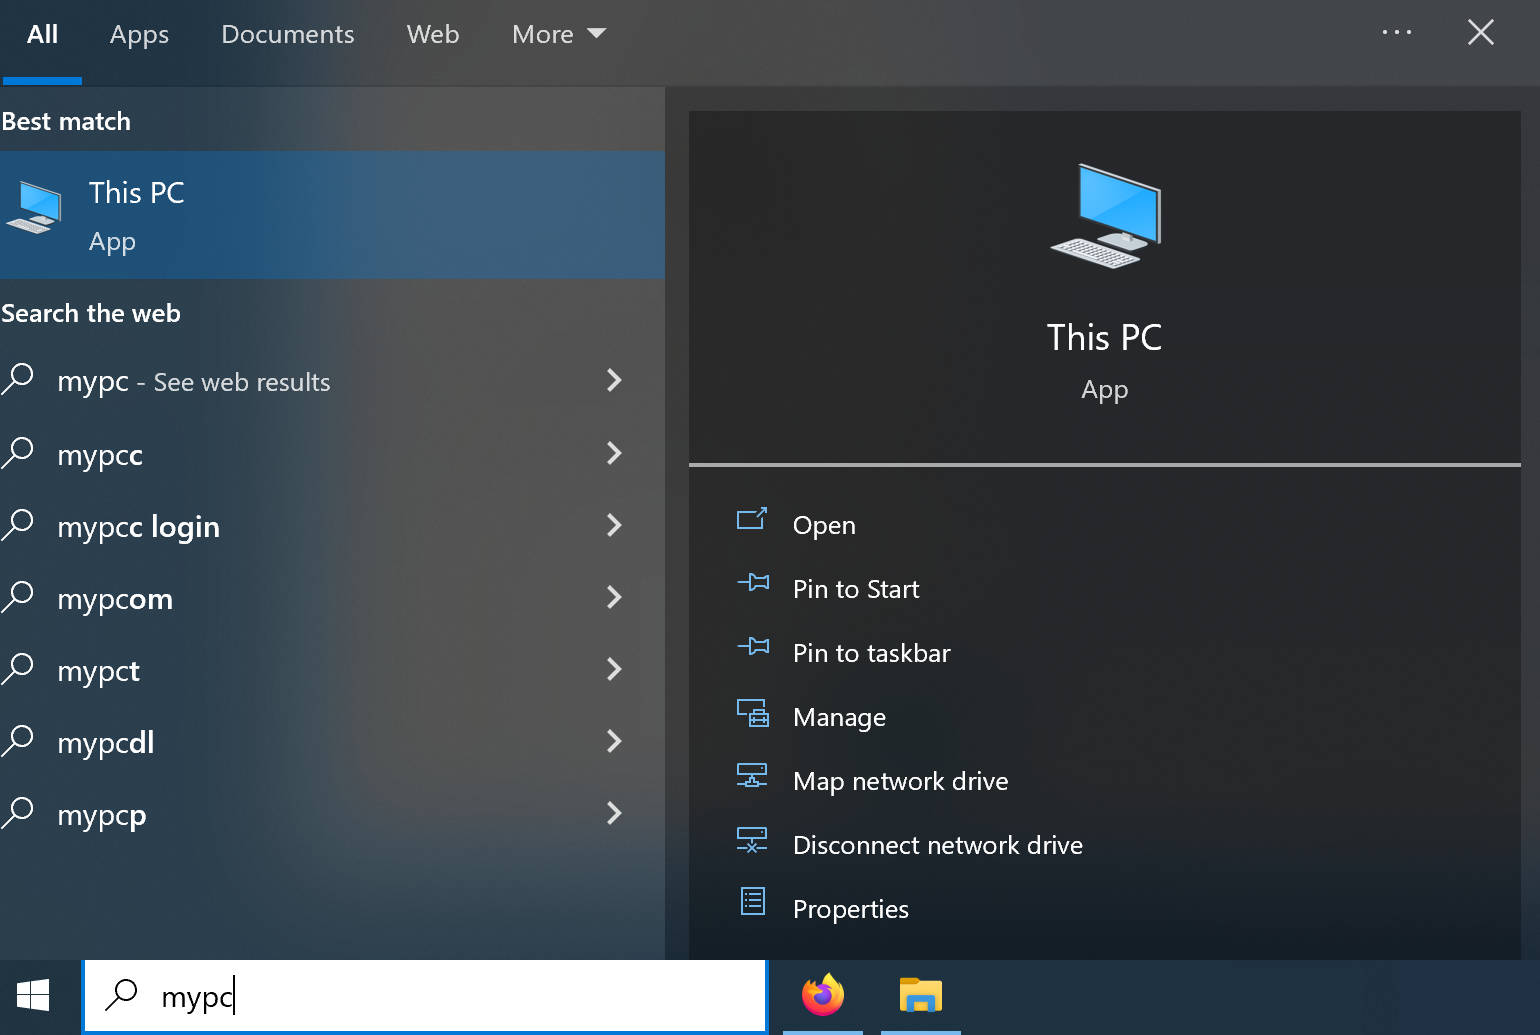
Then click on the ‘This PC’ app at the top of the window. You should be presented with the below window.
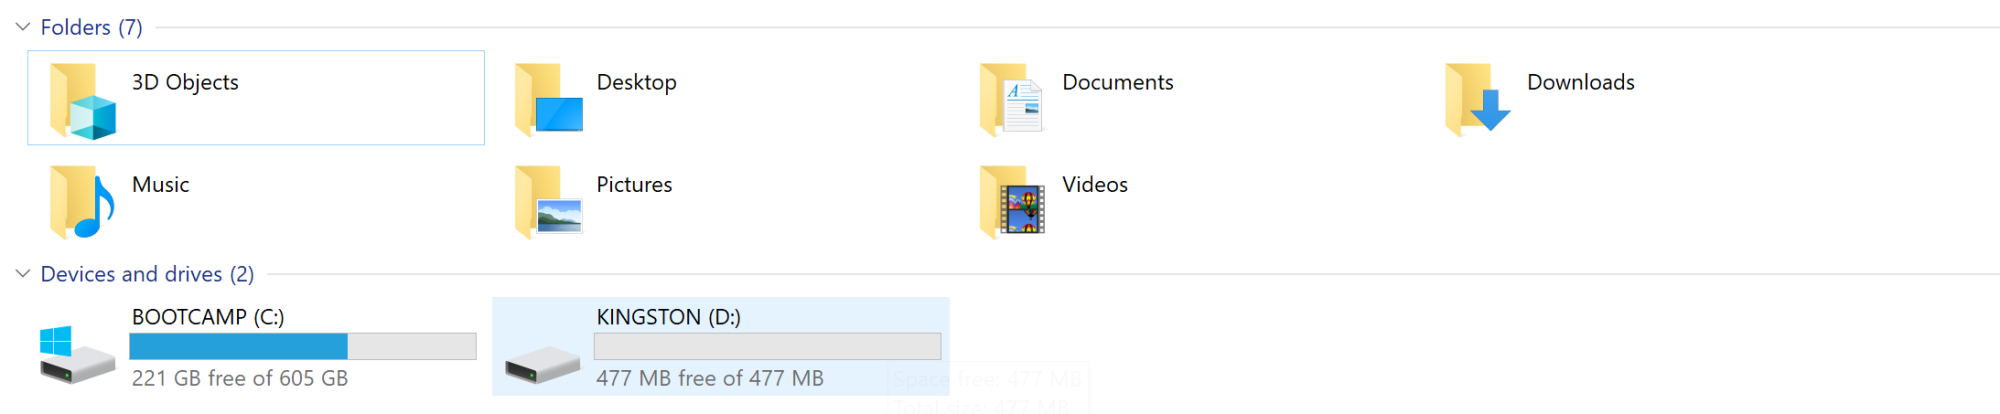
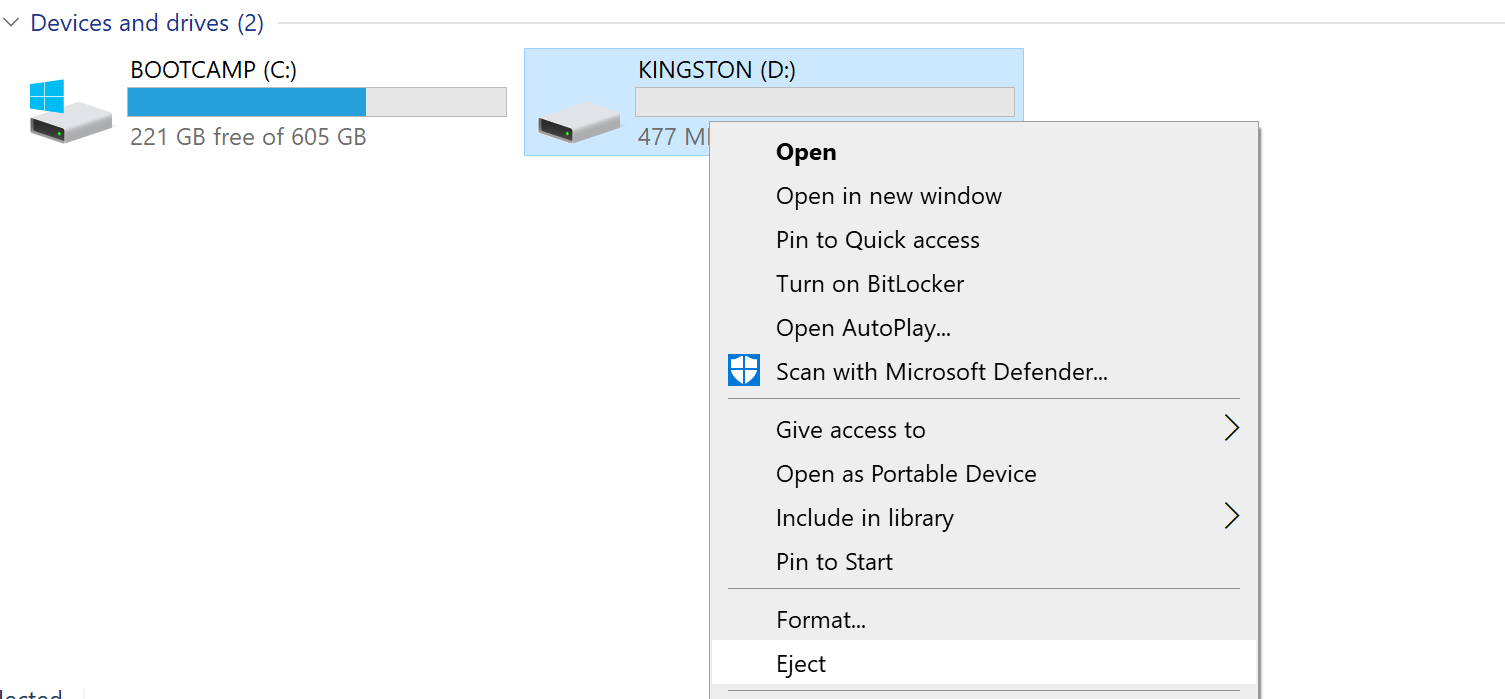
See where it says ‘Devices and drives’? This is where our computer’s storage media lives. The drive marked C: is the main hard drive of your computer. What we want is the drive marked D – this is the USB drive. Double click on it to open it up.
Step 6: Copy the file to your USB drive folder
Now, we need to have open both the folder for the USB drive, AND the folder we unzipped earlier with the designs in it! As you can see in the image, my USB drive folder is on the left, and the designs I want to copy are on the right!
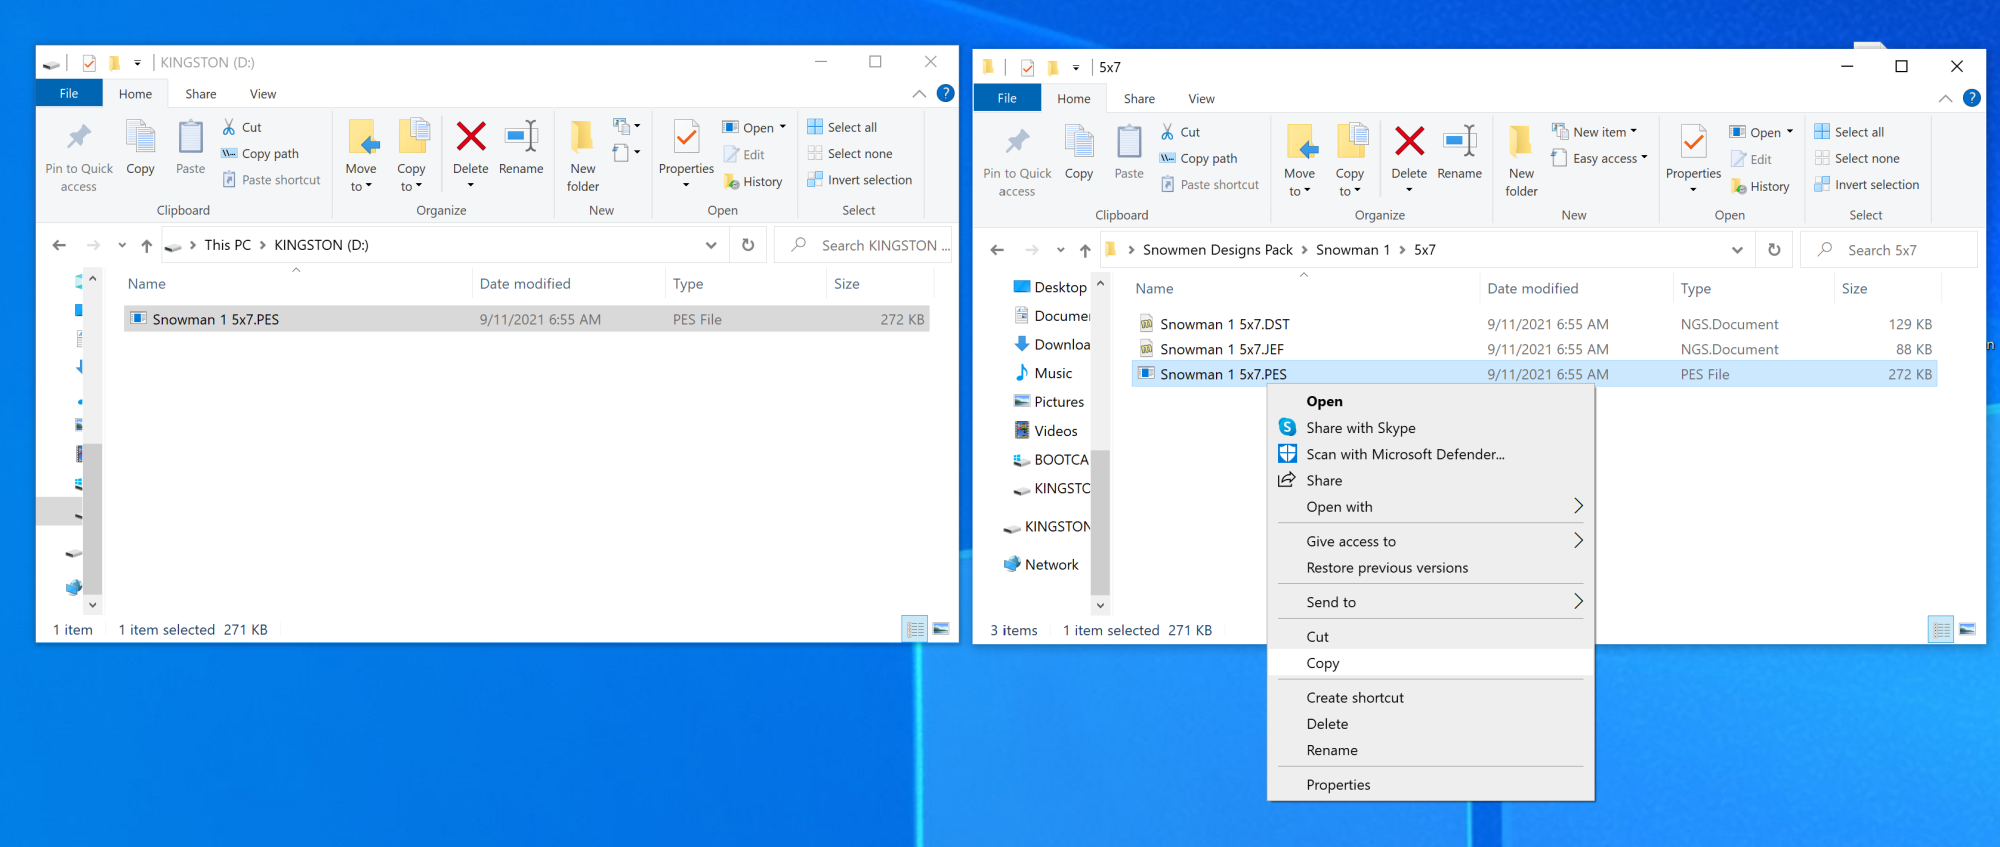
Right click on the PES file as shown above. Select ‘copy‘.

Now, right click again on the folder for your USB drive. This time, select ‘paste’. Now the embroidery file has been copied to the drive. You can also drag and drop the file rather than copy and paste if you prefer.
Step 7: Eject the USB from the computer
It’s always a good idea to ‘eject’ the USB before removing it from the computer. If you don’t, it’s possible that data loss could occur and your files may be lost. Just right on the drive in the ‘This Pc’ app and select eject.
Or, there is also an icon on the right tool bar you can right click to eject as well. It looks like a little USB stick, and when you hover over it you’ll see a message that says ‘safely remove hardware and eject media’.
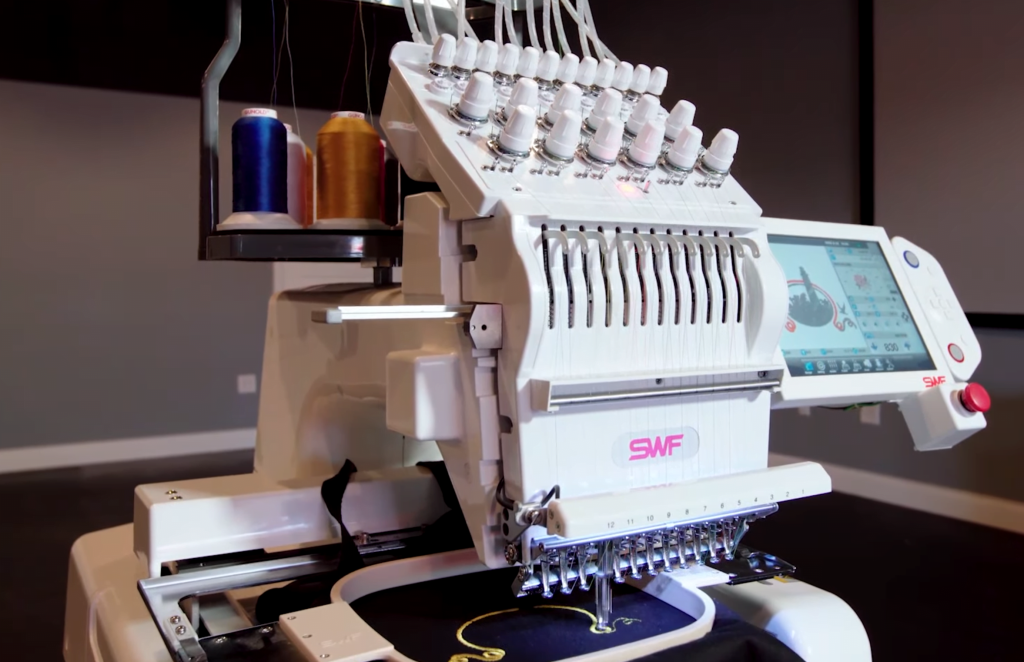
Step 8: Insert the USB into your embroidery machine
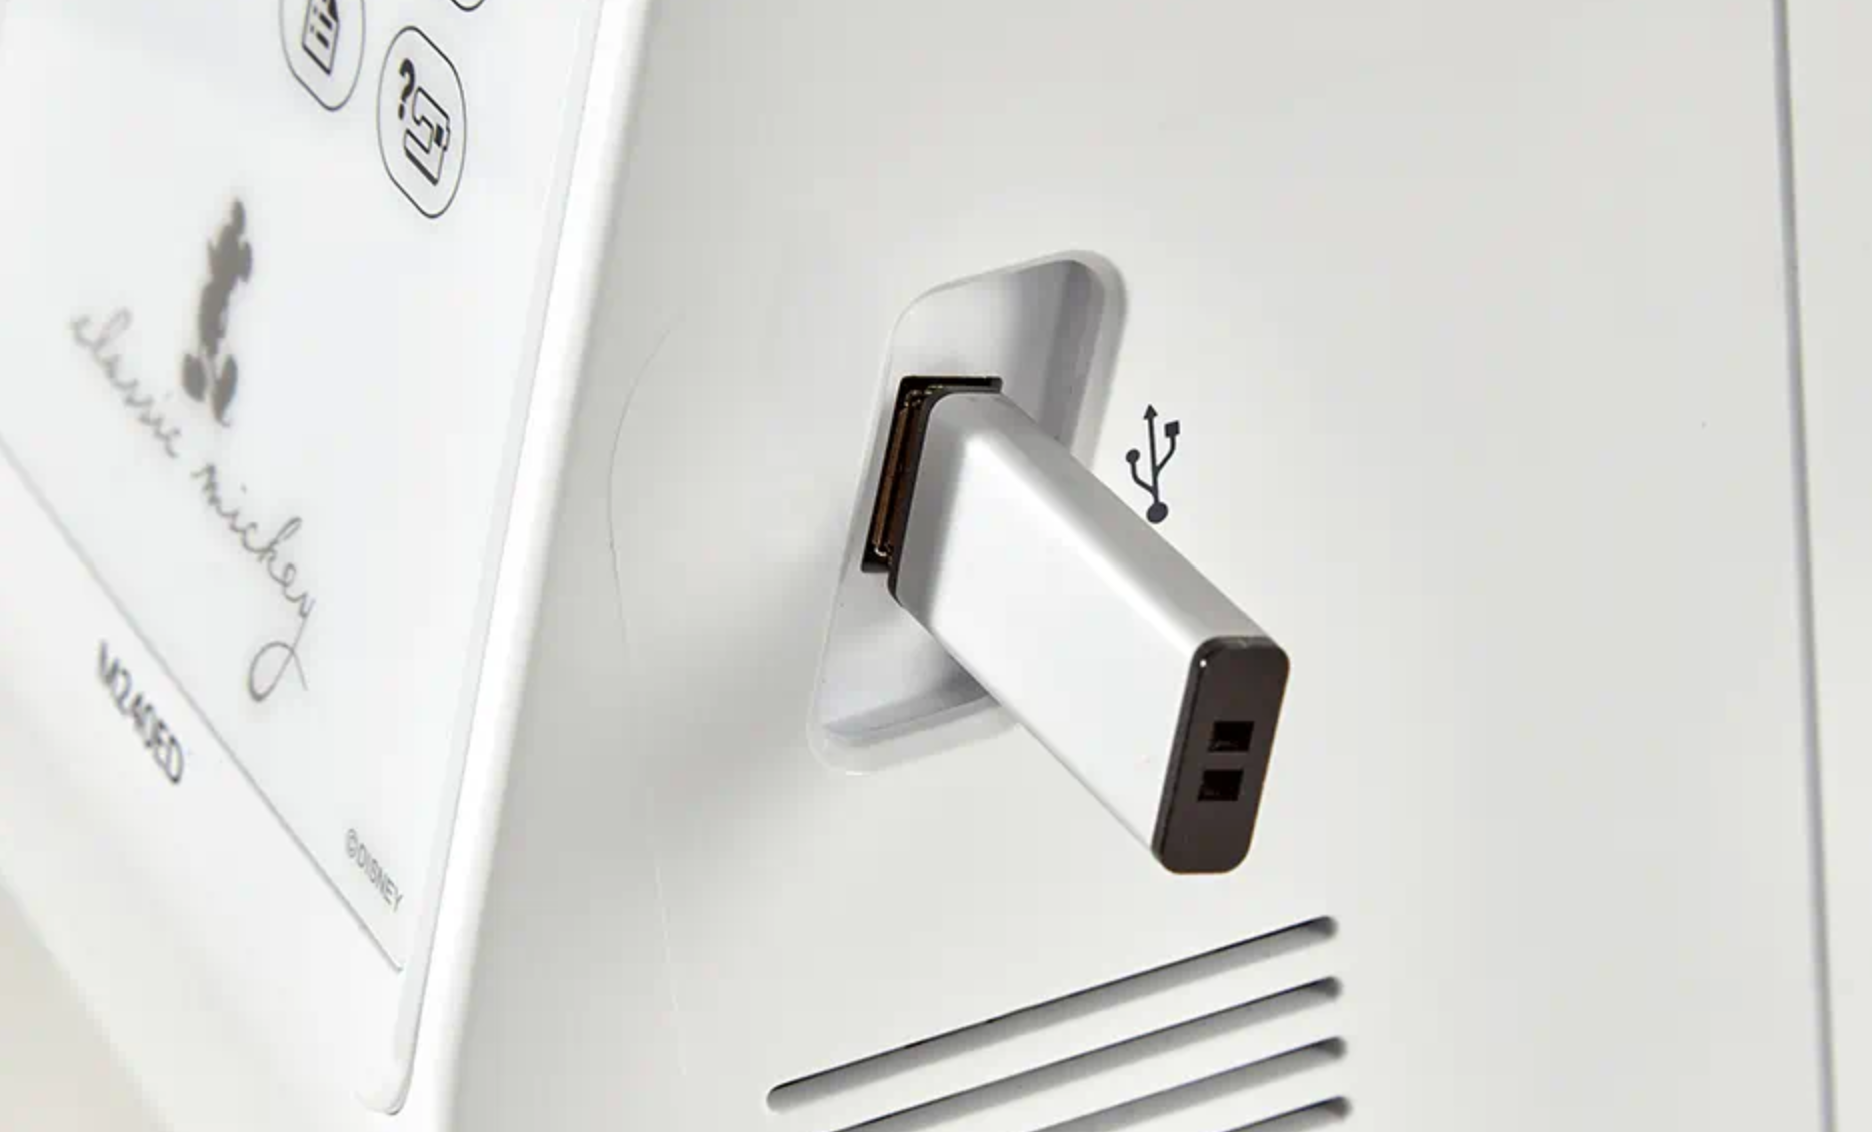
Next, locate the USB port on your embroidery machine and insert the USB stick. It will have a logo that looks like the one shown below.
Step 9: Select the USB storage on your embroidery machine
If you have a look at the screen on your Brother embroidery machine, you’ll notice that there is also a USB logo on there. Tap on it to select your USB storage.
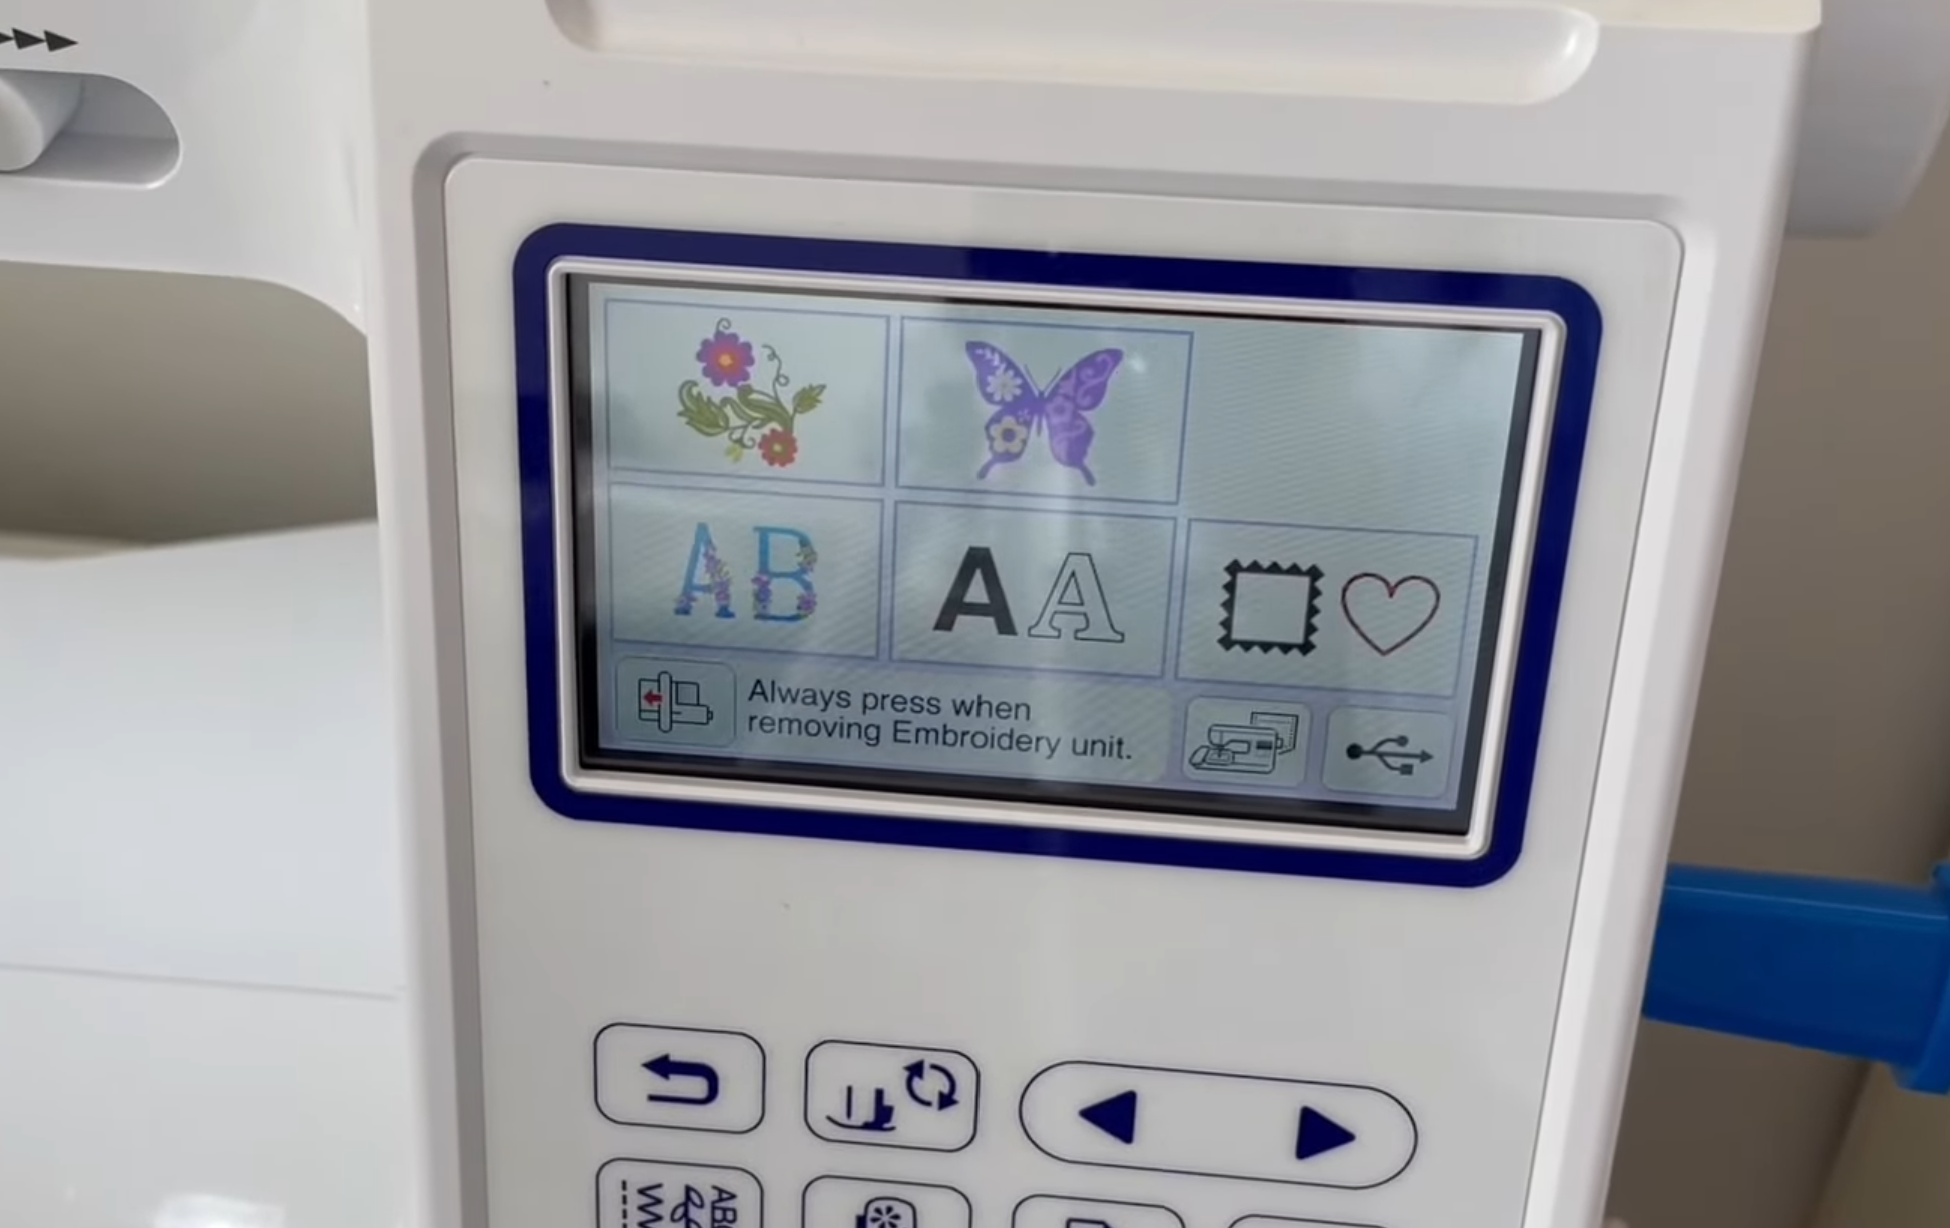
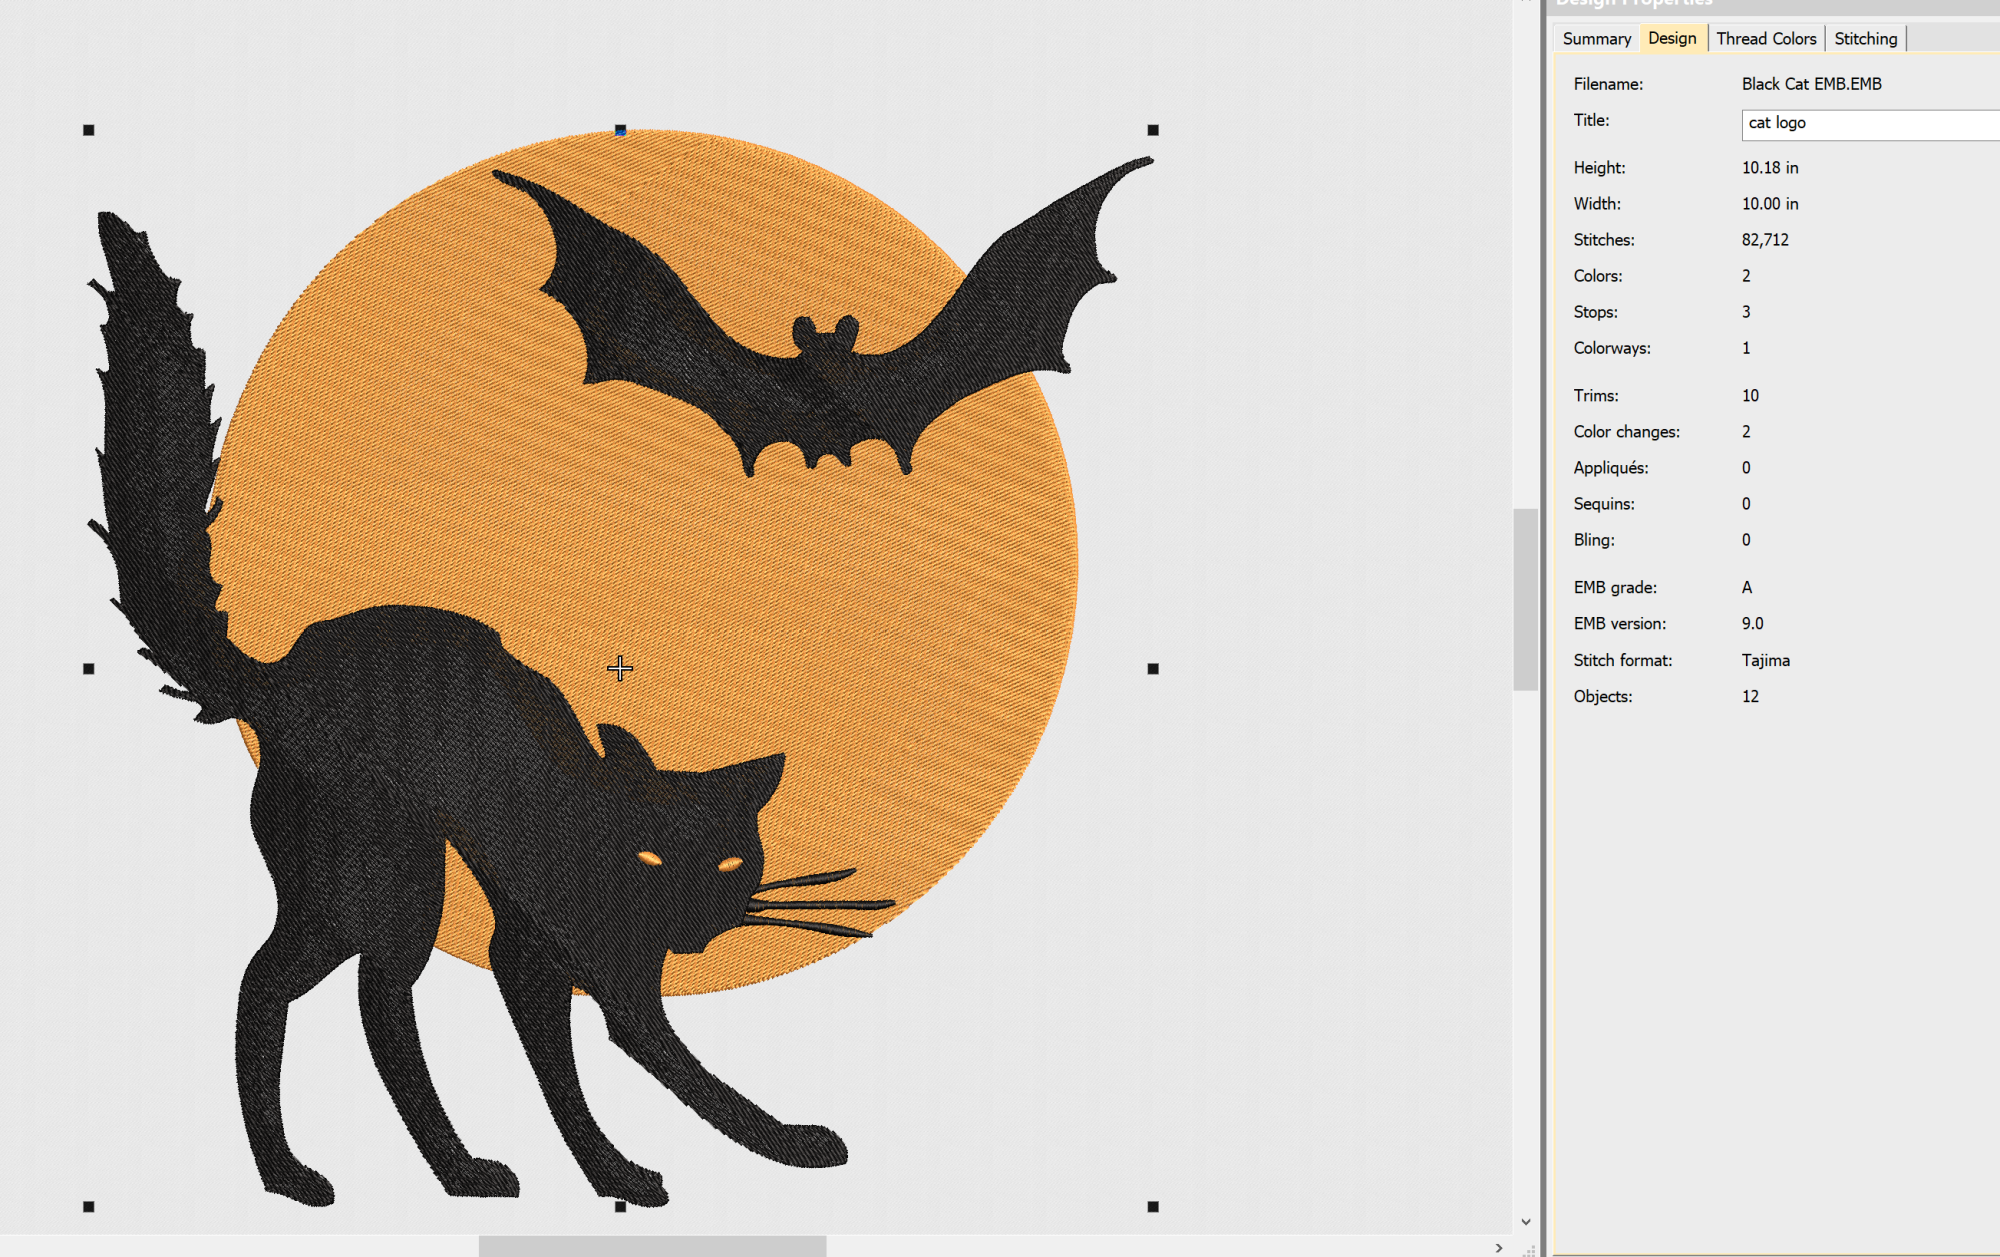
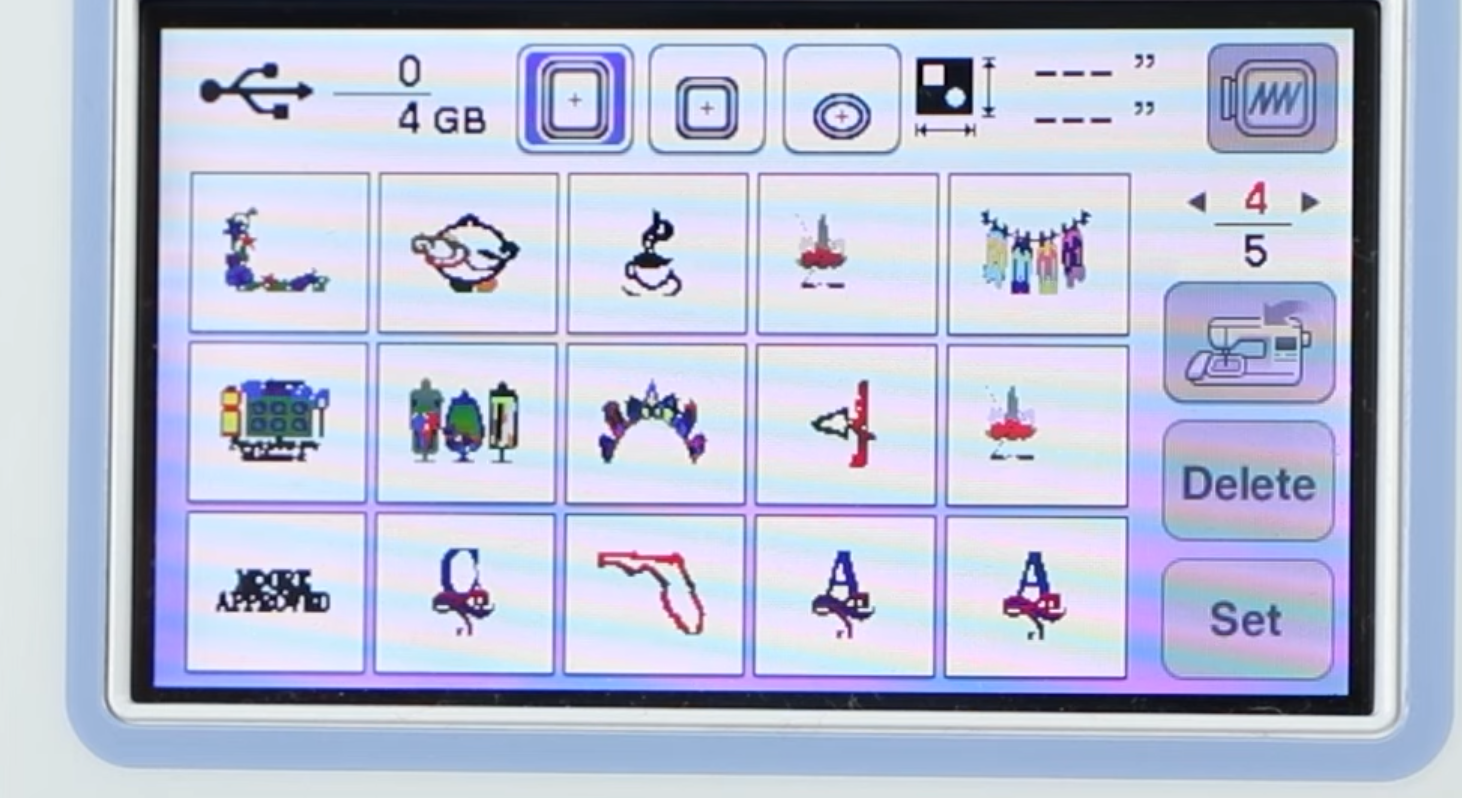
Step 10: Select the embroidery design you want to use
Your designs will load on to the screen. Just select the design you want to use and you’ll be able to edit it and prep it for embroidery!
That’s it!!! Now, a world of infinite designs is open to you thanks to the internet. So, get busy crafting!
PS. Having trouble getting your PES files to show on your machine?? Check this article to learn how to troubleshoot designs not showing up!

Barb, our resident quilter and embroidery aficionado, weaves a thread of creativity through our collection. Serving as the curator of machine embroidery content, Barb infuses each design with a touch of her artistic expertise. The free embroidery patterns you discover on our site often bear the mark of Barb’s craftsmanship. Let’s get crafting!