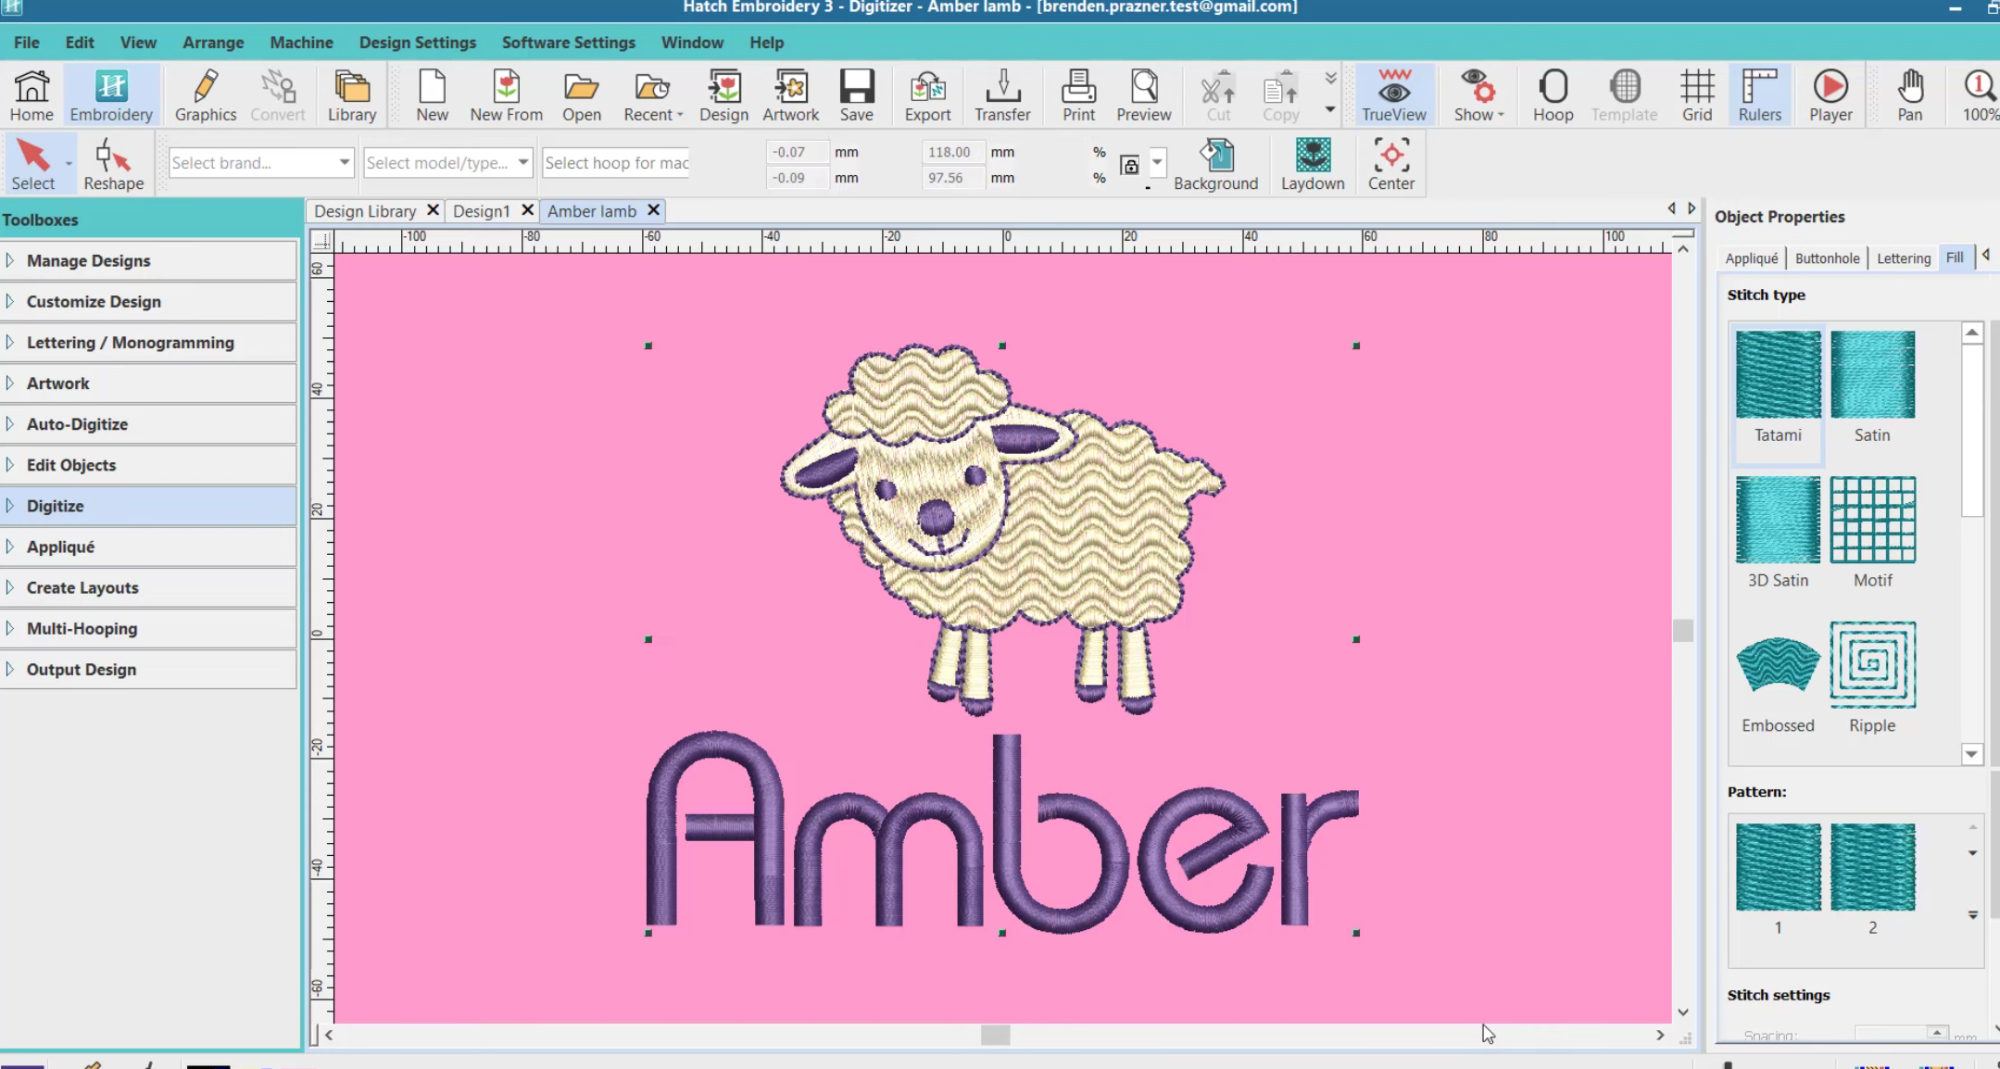
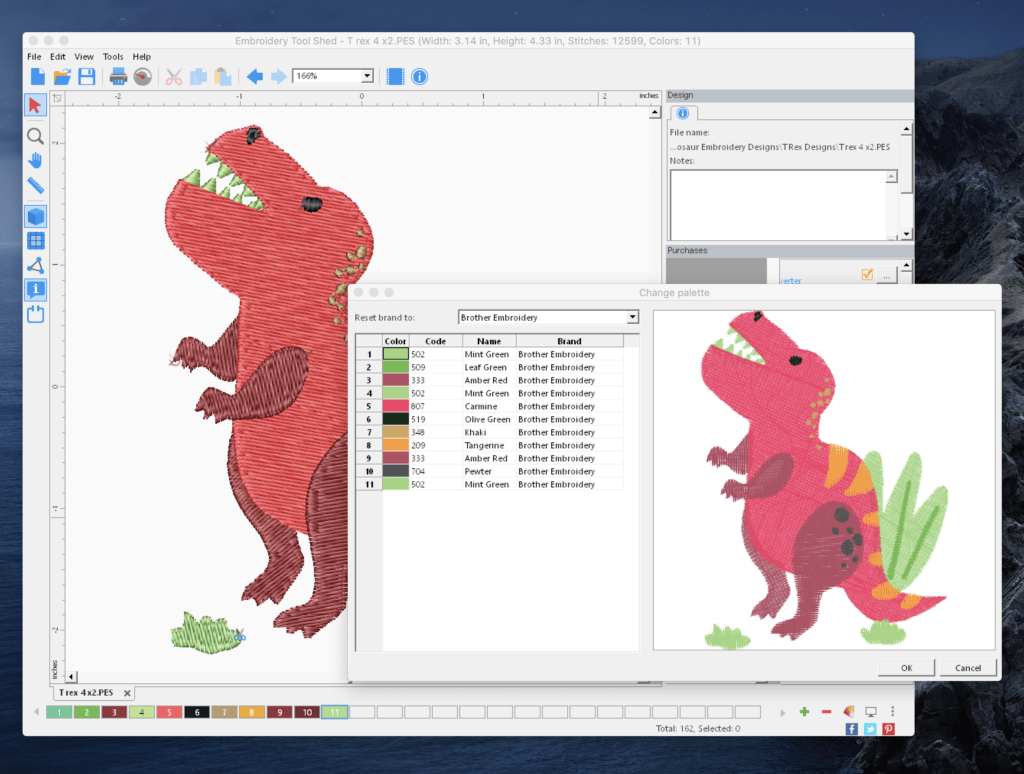
Have you found a cool free machine embroidery pattern but it’s not in the right embroidery file format for your Brother machine? Fear not crafters! Converting your chosen design to a new format is super easy, and you can even download the software for free!
In this article, I’ll share with you two free software converters to help you transform your found designs to PES format. I’ll also show you how to use my favorite free software to get the job done. Let’s get started!
Side note: These programs are only for editing existing designs. If you need to digitize pictures for embroidery, then you’ll need to use some free digitizing software for that.
Free Brother PES File Converter Software
First thing’s first! We need some software to do the work for us. If you’ve already got an embroidery digitizing program, such as Hatch, you can use that, but if you don’t have any software we’ll need a free download. There are a few software options available which you can get for free.
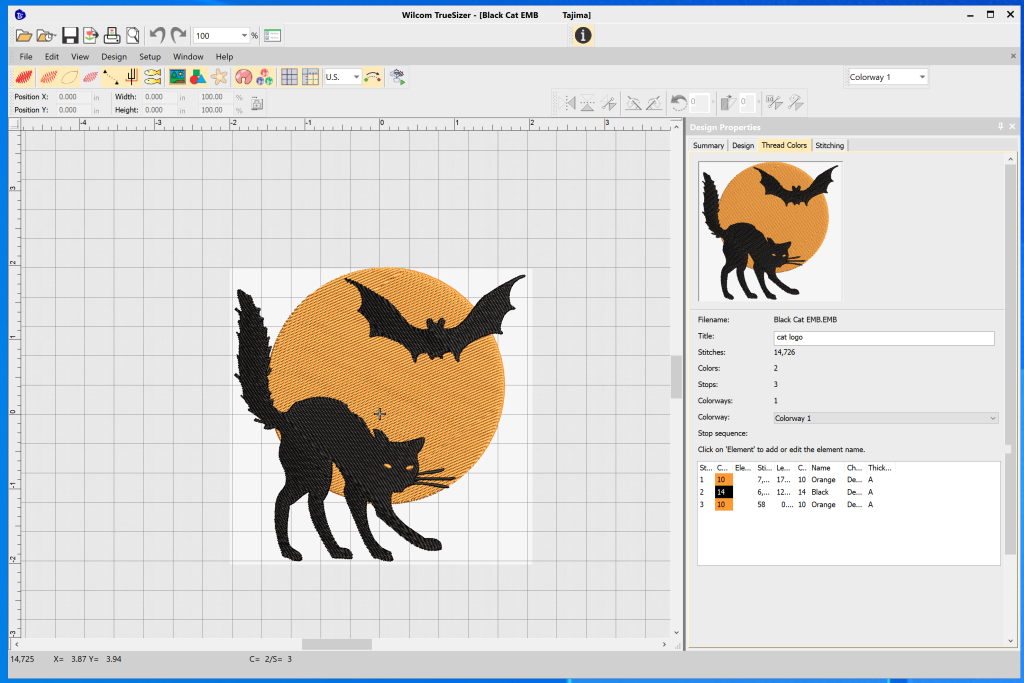
Wilcom Truesizer
This is my favorite free embroidery program for file conversion. Not only is it super easy to use, but it’s also free! This software used to be available at the official Wilcom site, but they have since discontinued support for it. Likely to push people toward their new subscription product. However, once something is on the internet – it’s there for good! Check out this article to see where you can still get this cool software freebie.
Embroidery Tool Shed
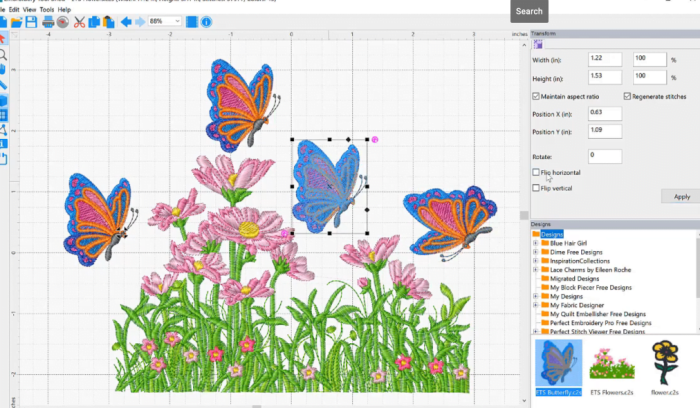
Embroidery tool shed is another great free software you can download to help you change embroidery file formats. Like Wilcom Truesizer, you can also resize embroidery designs, preview thread color swaps for different manufacturers. However, it’s not a full digitizing suite, meaning you can’t digitize your own custom designs.
How to swap your embroidery files to PES format
Okay, got your software ready? Here’s how you can use that program to convert your files to PES using Wilcom Truesizer.
Step 1.) Download Wilcom Truesizer
Truesizer is, unfortunately, no longer available at the official Wilcom site. Go to this blog post where I explain where to download it! You’ll need to use a 3rd party software repository to get it, but the download works. (I had to look through a LOT of sites to find the working one.)
Step 2.) Open up the software
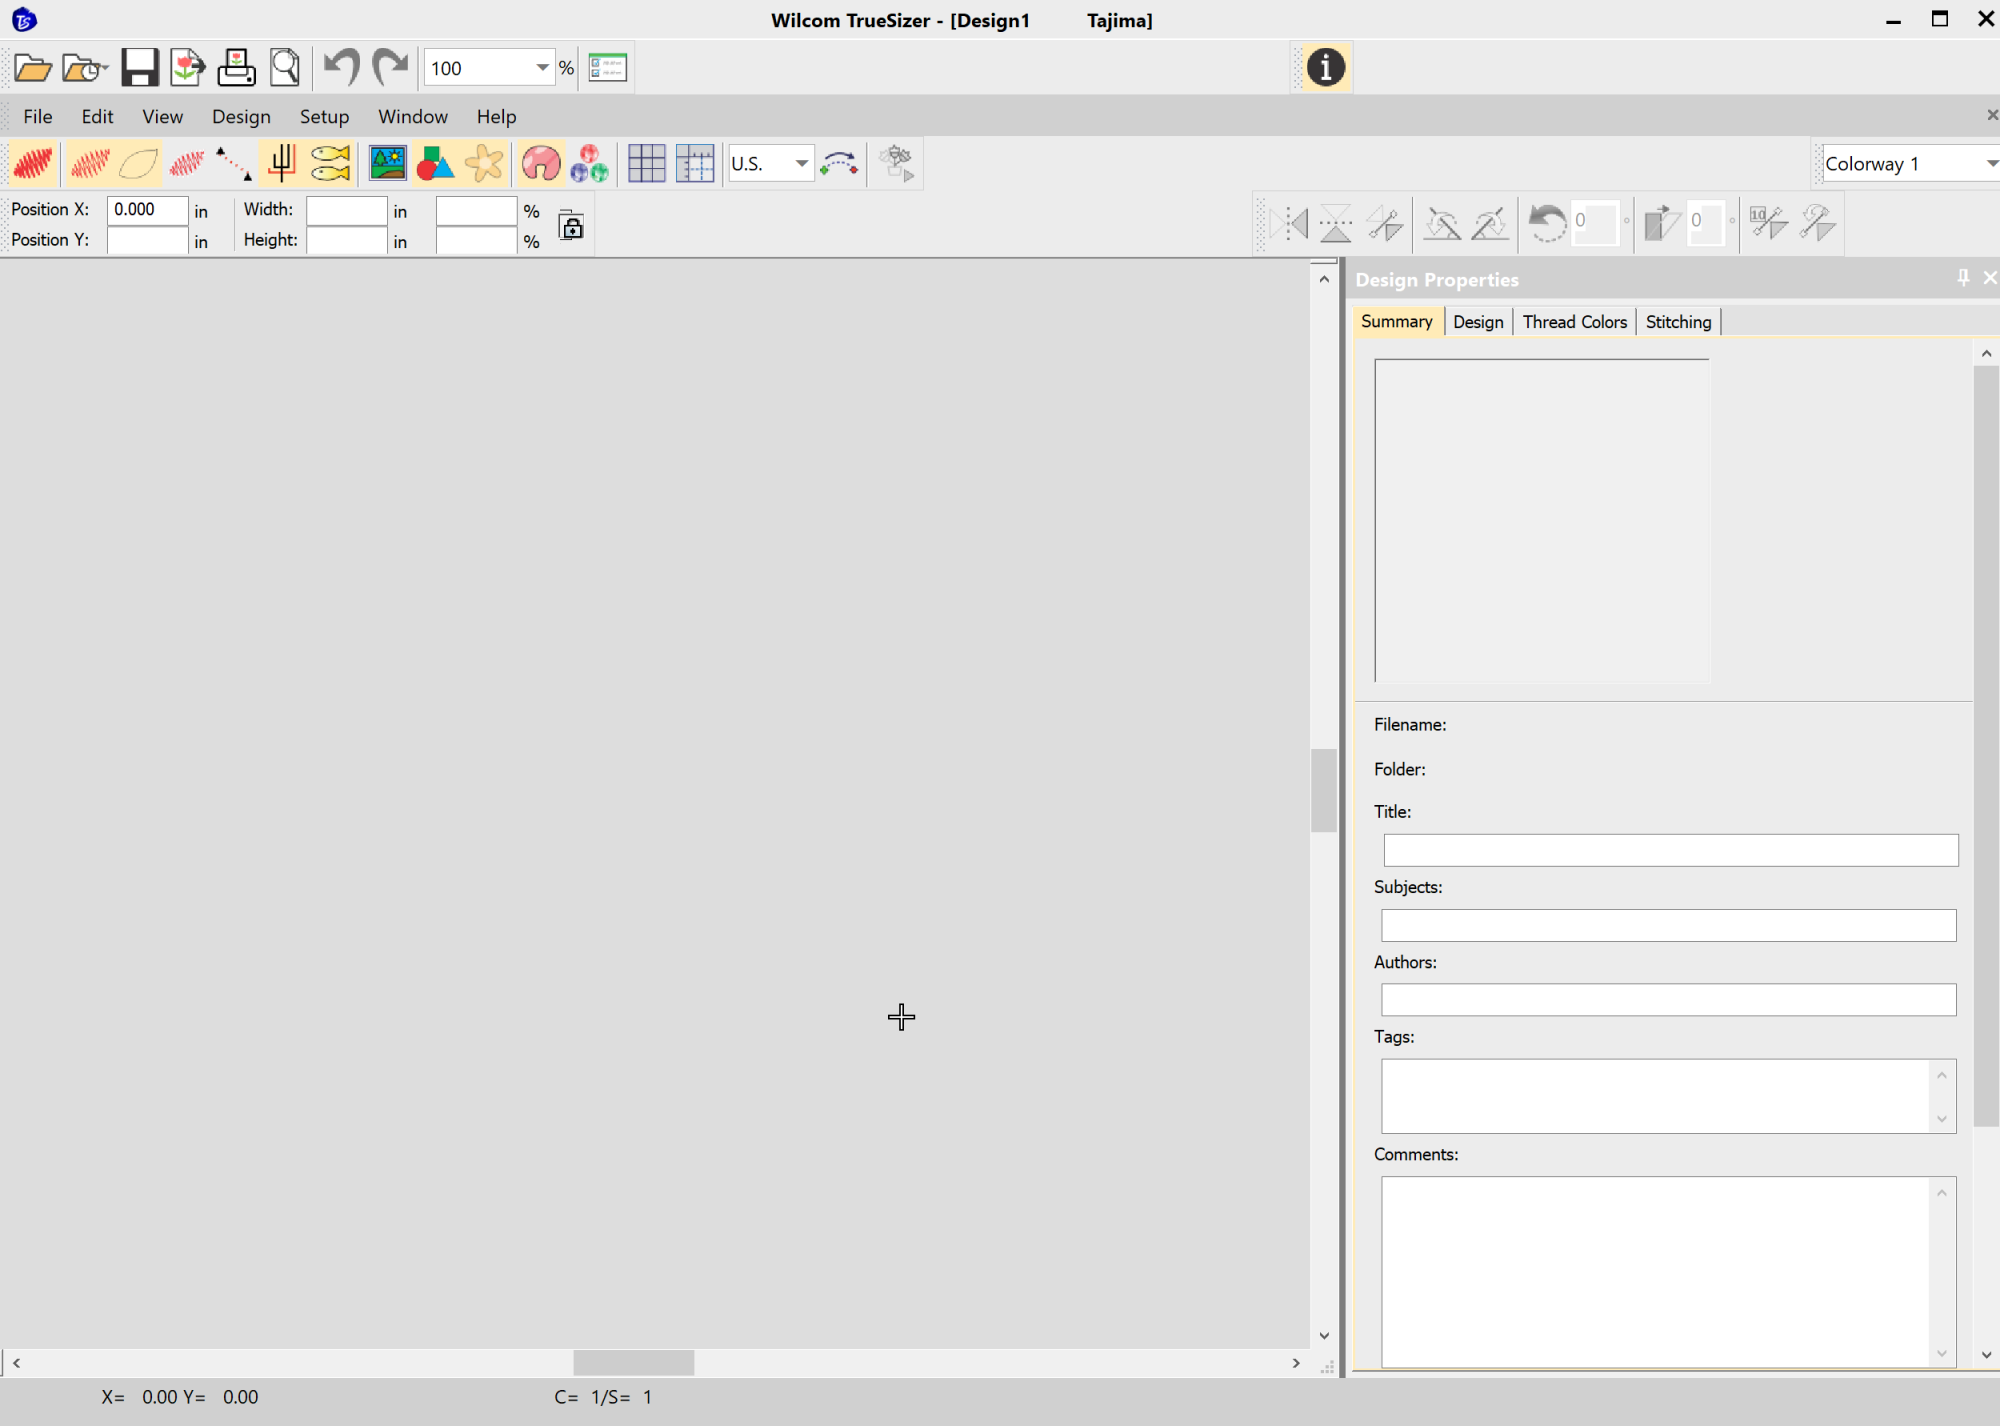
Once installed, load up your software and you should get a blank work area that looks like this.
Step 3.) Open your embroidery file
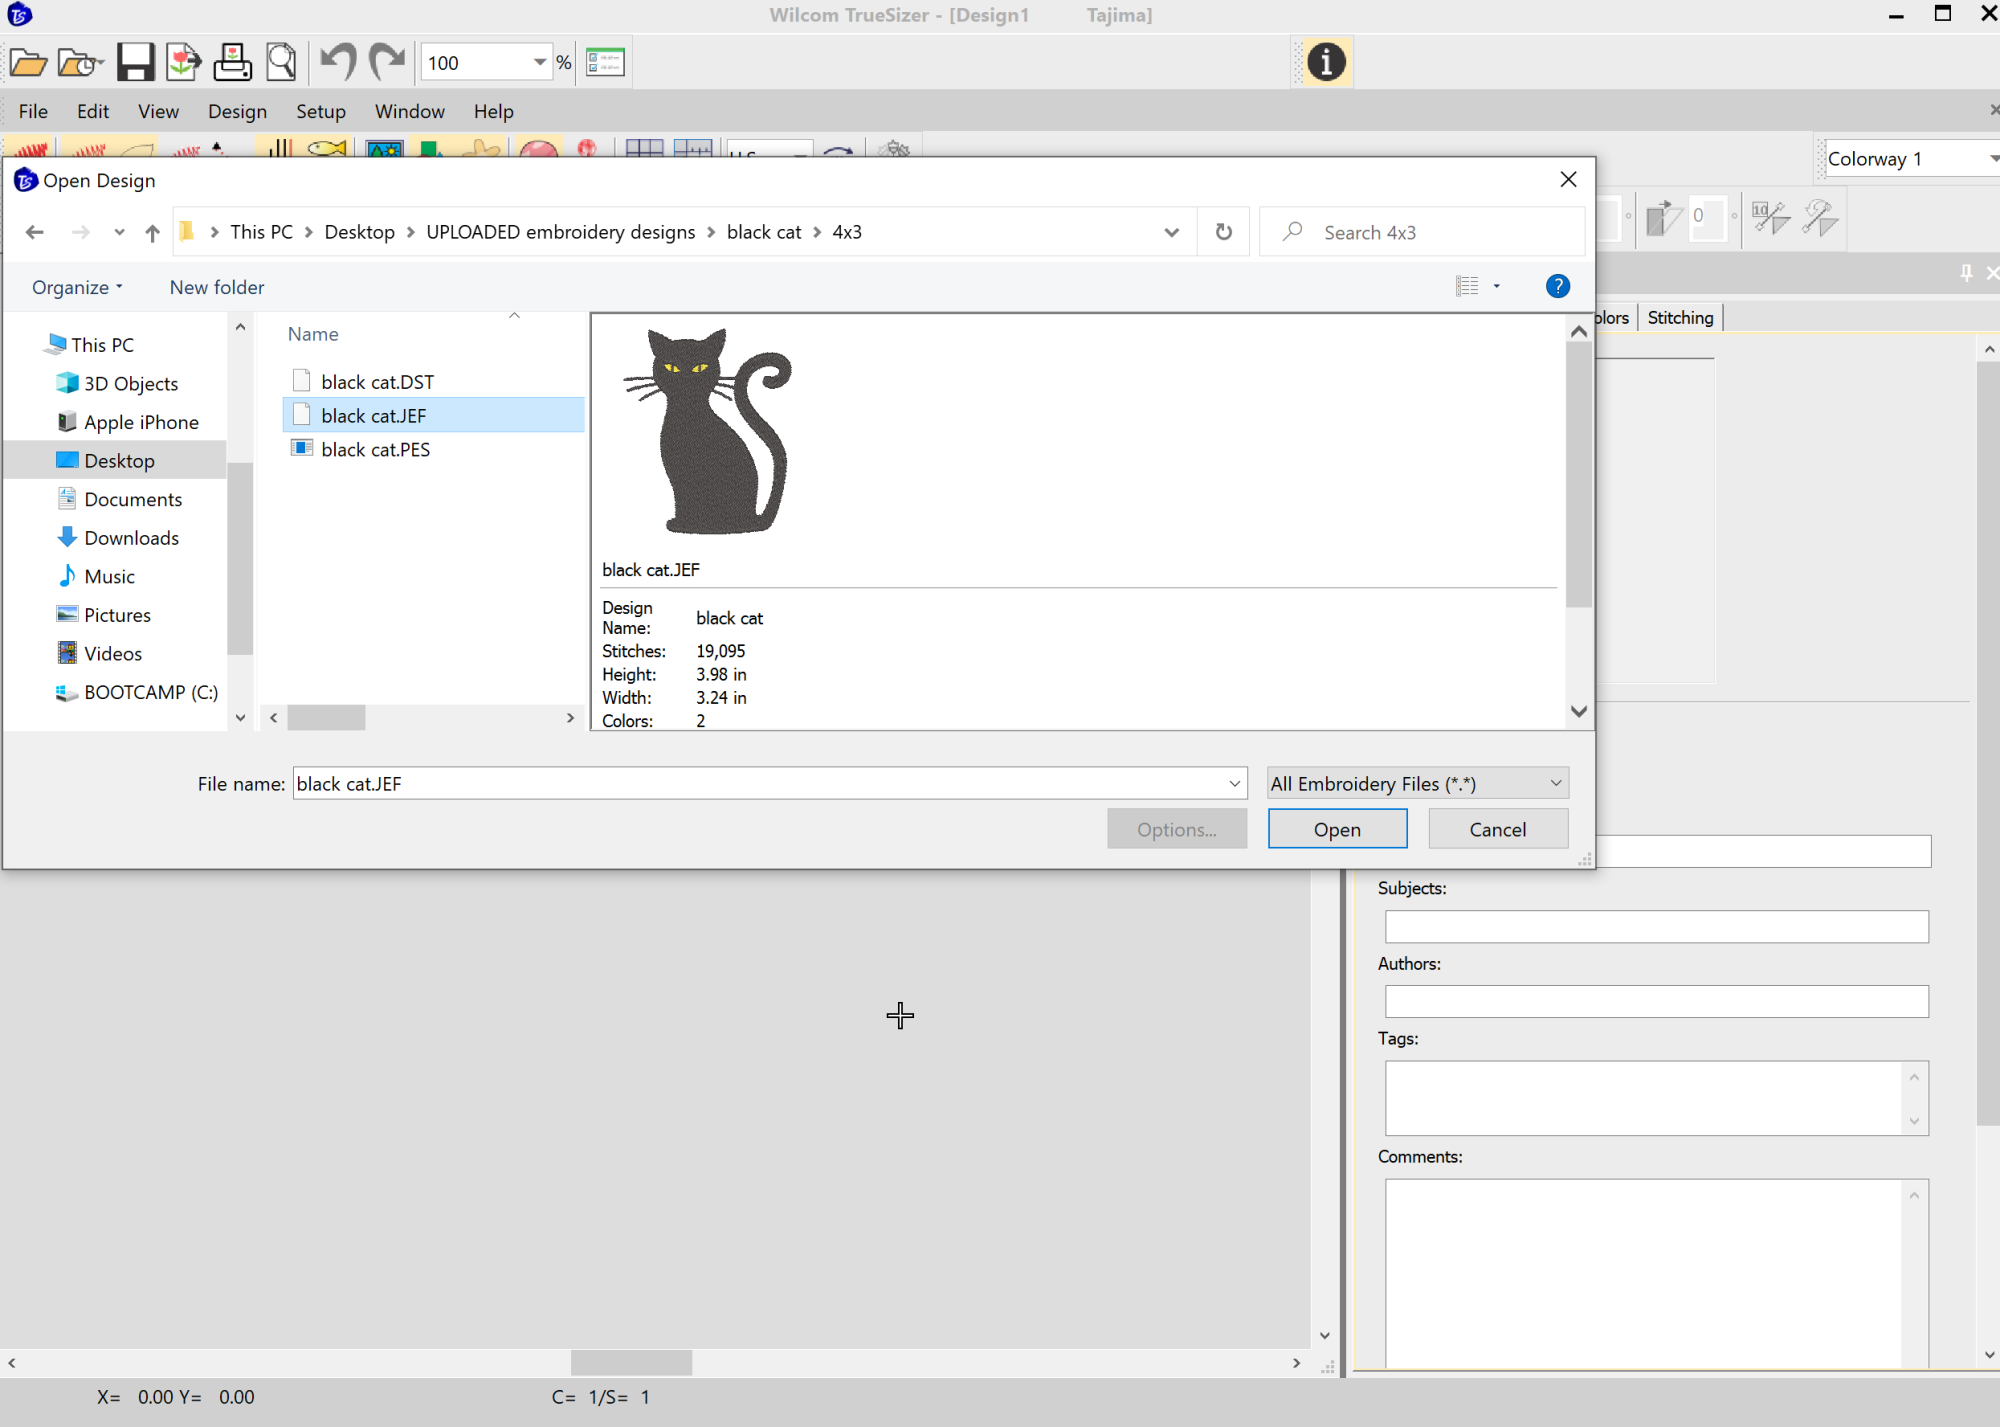
Head up to the top menu and click on ‘file’. A menu will pop up. Scroll down to ‘Open’ and you’ll be asked to select your embroidery file. Choose the one you need to change the format of and click ‘open’. In our case, it’s a black cat design in JEF format to be changed.
Step 4.) Export a new machine file
Your design will load and you should have a nice preview of your embroidery as seen in the screenshot! At this point, you can also make changes to the design, like re-sizing it. However, for this tutorial we only care about file types.
So, head back up to the top menu and click on ‘File’ again. This time, scroll down to ‘Export Machine File’ and click on it. When you do a new menu will pop up.
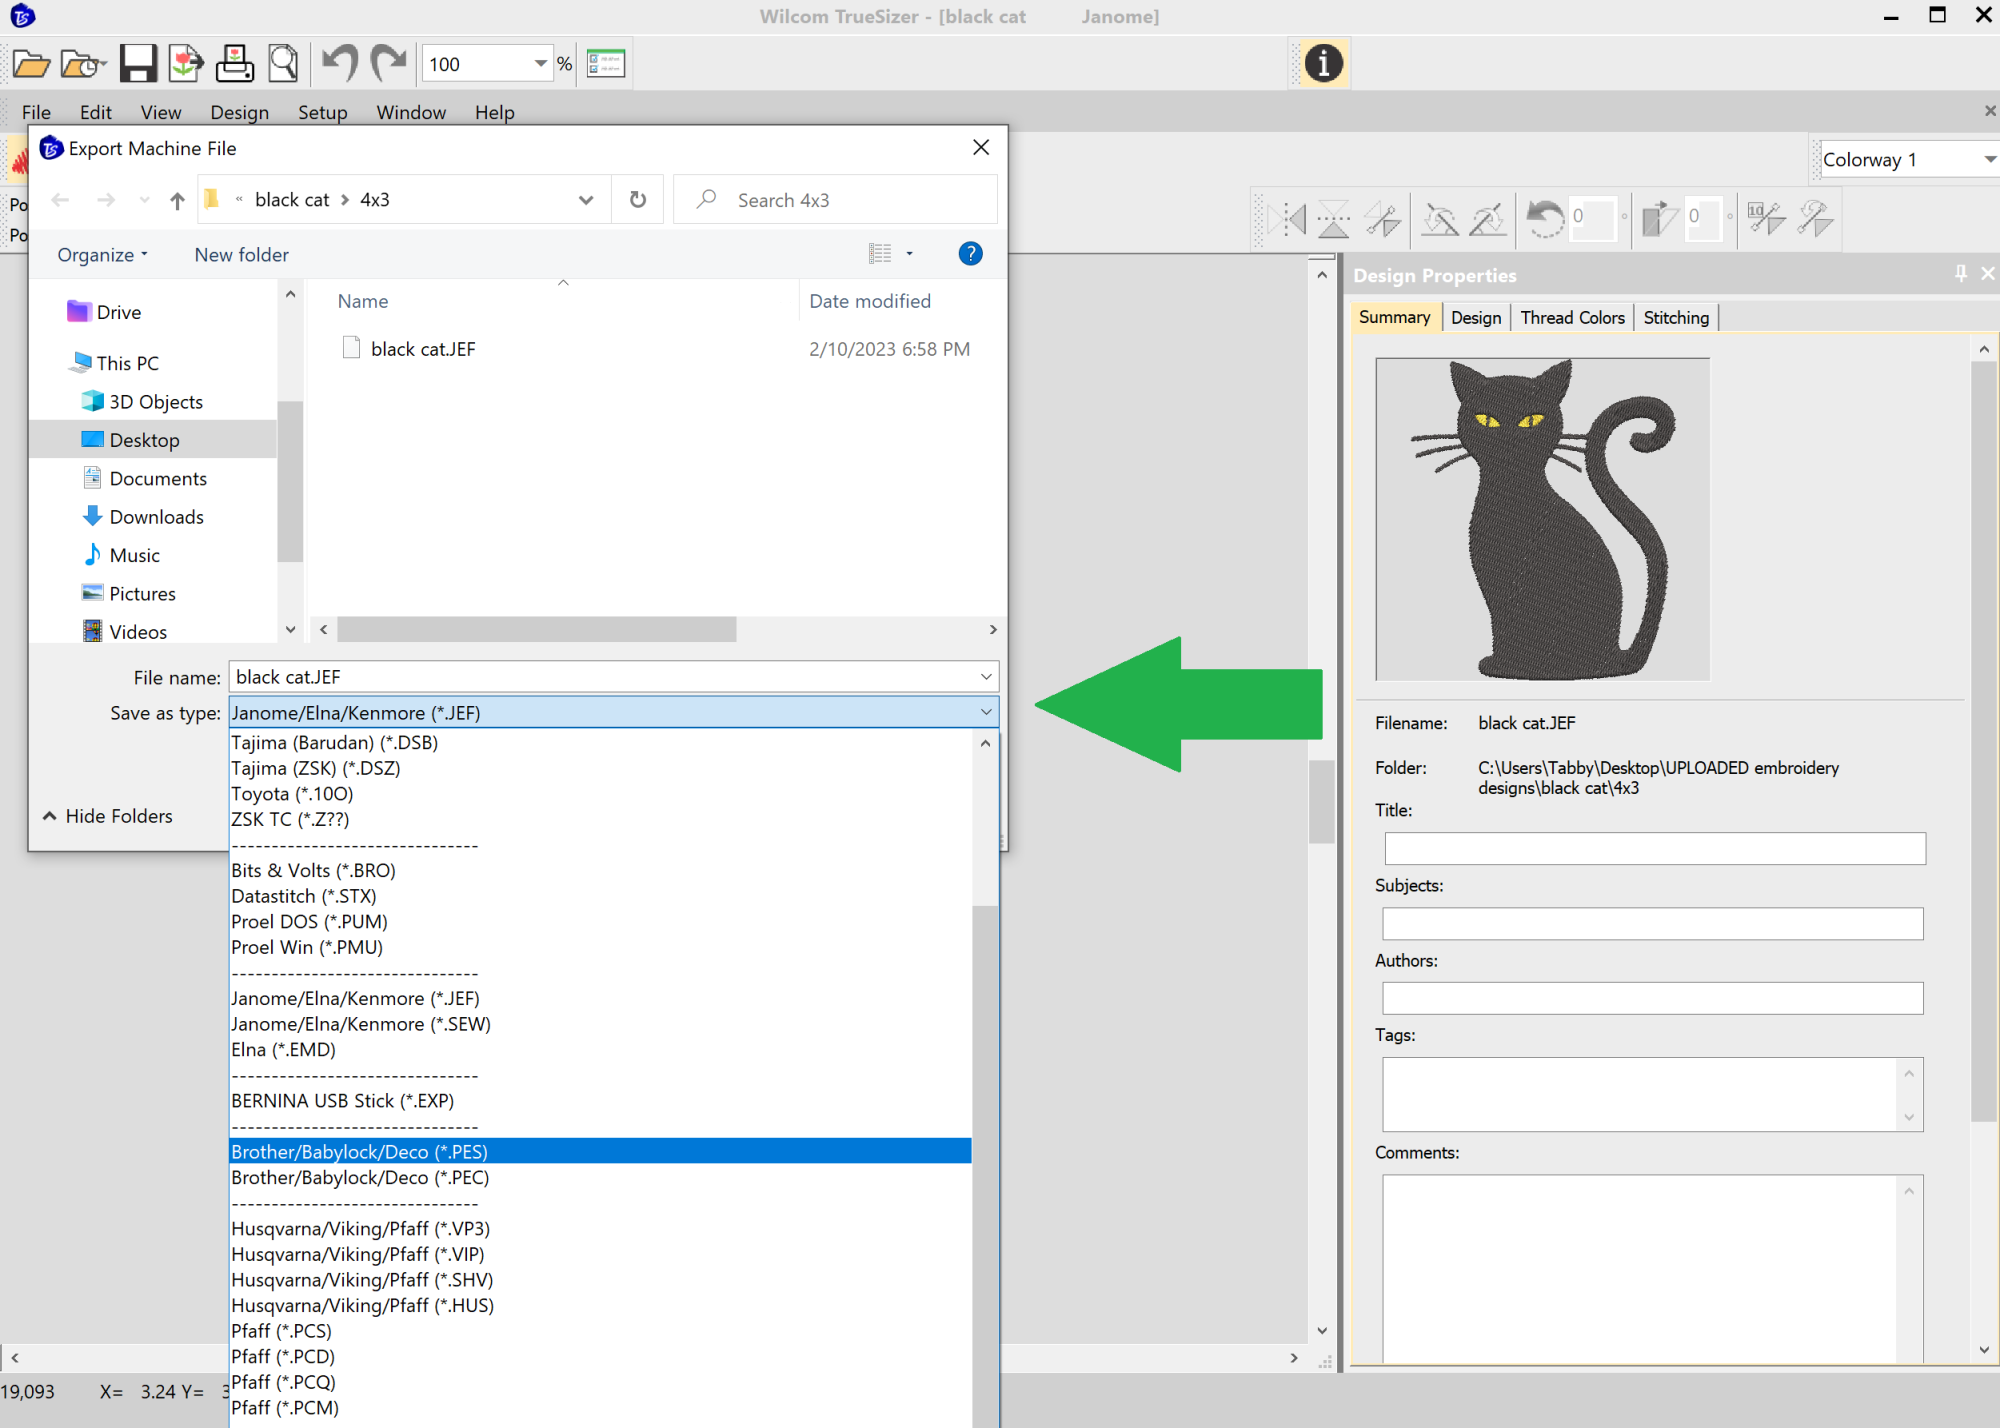
See in the screen shot where it says ‘save as type’? Currently, this says JEF as the design was previously exported for Janome Machine. Click on the drop down and scroll down to PES and select it. Click on ‘Save’ and your machine will save your design as PES.
And… that’s it!! Your embroidery design has been converted to PES format and you can now download this PES file to your Brother embroidery machine. I told you it was super easy. 🙂
Happy Crafting!

Tanya, both a nurturing stay-at-home mom and a skilled crafter, is the creative force behind our blog. As the co-founder of Romney Ridge Farms & Crafts, she’s the editor and curator. She also runs the Romney Ridge Farms & Crafts social media accounts where we post new patterns for you to enjoy.
