Wondering how to create your own DST files for embroidery? In this article, we’ll briefly talk about what a DST file is and how you can start making your own files for use with your embroidery machine.
What is a DST File?
DST (Data Stitch Tajima) is a binary file format commonly used in the embroidery industry to store design information for Tajima embroidery machines. This format doesn’t store graphic images but rather instructions for the embroidery machine on how to stitch the design.
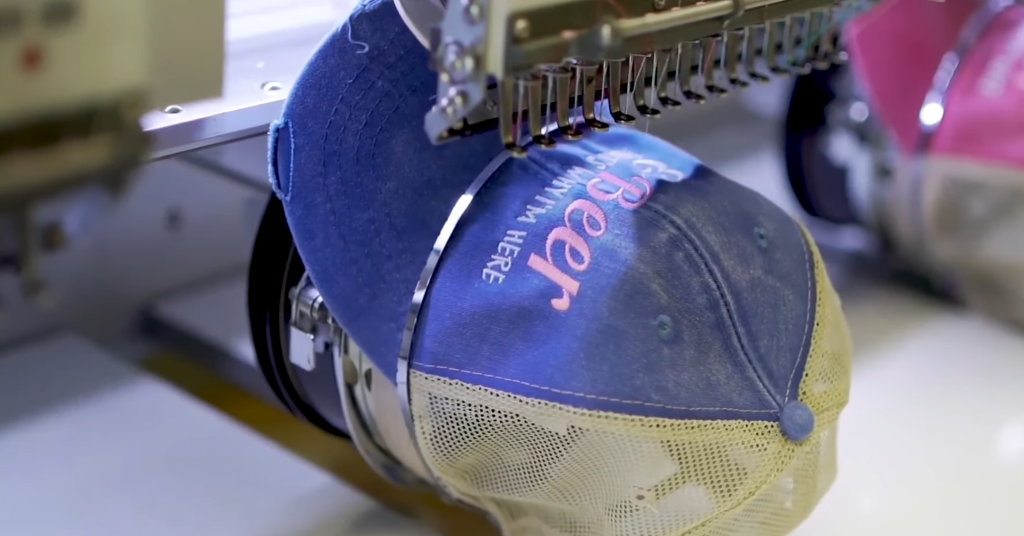
If you’re planning on using a multi-needle embroidery machine for your home business, chances are this machine will require a DST machine embroidery file format to function. When you digitize a design this file acts as a blueprint, telling the embroidery machine when and where to use what stitches.
Software for Creating DST Files
Creating a DST file requires the use of specialized software called digitizing software. While there are some free embroidery programs out there, they can have a steep learning curve and aren’t the best.
Hatch 3:
Hatch Embroidery is known for its versatility, catering to both beginners and experienced digitizers. It’s the most user-friendly embroidery digitizing software I’ve tried, but it will cost you around $1,000.
Pulse (PE-Design):
Pulse, often known as PE-Design, is widely used in the embroidery industry. It provides a user-friendly interface with tools for designing intricate embroidery patterns.
Tajima DG/ML by Pulse:
This software is specifically designed for Tajima machines. It offers tools for creating and editing embroidery designs with a focus on precision.
Creating DST Files Step by Step
Now, let’s walk through the process of creating DST files using embroidery digitizing software. For this example, we’ll use Wilcom as the digitizing software:
A. Importing Design or Image
- Open Wilcom Software:
- Launch the Wilcom digitizing software on your computer.
- Import Design or Image:
- Use the software’s import feature to bring in the design or image you want to embroider. Ensure that the imported file is in a compatible format like JPEG or PNG.
B. Digitizing the Design
- Setting Stitch Types:
- Begin digitizing by selecting the appropriate stitch types for different elements of the design. For example, use a satin stitch for text and fill stitches for larger areas.
- Defining Stitch Direction:
- Adjust the stitch direction to ensure a smooth and visually appealing embroidery. Consider the natural flow of the design.
- Adjusting Stitch Density:
- Fine-tune the stitch density to achieve the desired texture and coverage. This is crucial for maintaining the integrity of the design.
- Adding Color Information:
- Assign colors to different elements of the design. Use the software’s color palette to select thread colors that match your vision.
C. Editing and Refining the Design
- Resizing and Repositioning Elements:
- Resize and reposition design elements as needed. Ensure that the design fits within the designated hoop size.
- Fine-Tuning Stitch Details:
- Zoom in and examine the design closely. Make any necessary adjustments to individual stitches to enhance the overall quality.
D. Saving the Design as a DST File
- File Menu:
- Navigate to the file menu within the software.
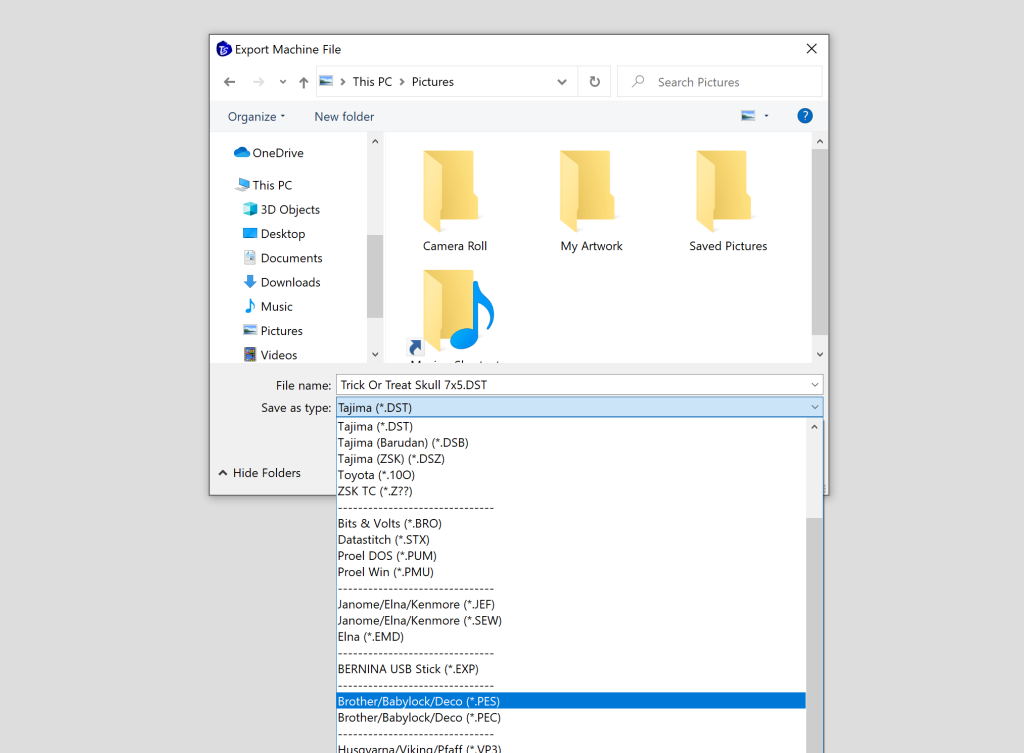
- Save As DST:
- Select the option to save the design in the DST file format. Choose an appropriate file name and location for saving.
By following these steps, you can create a DST file ready for use with your Tajima, or other commercial embroidery machine. Remember to consult the software’s user manual for specific instructions and additional features.
In the next section, we’ll explore tips and best practices to enhance your digitizing and embroidery experience.
Frequently Asked Questions About DST Files
How do you change an embroidery file to DST?
If you’ve already found an embroidery design you want to use but it’s not in DST format – changing it is easy! If you don’t have software for this you can download Wilcome Truesizer for free to change file formats. Read this article to learn how to change embroidery file formats.
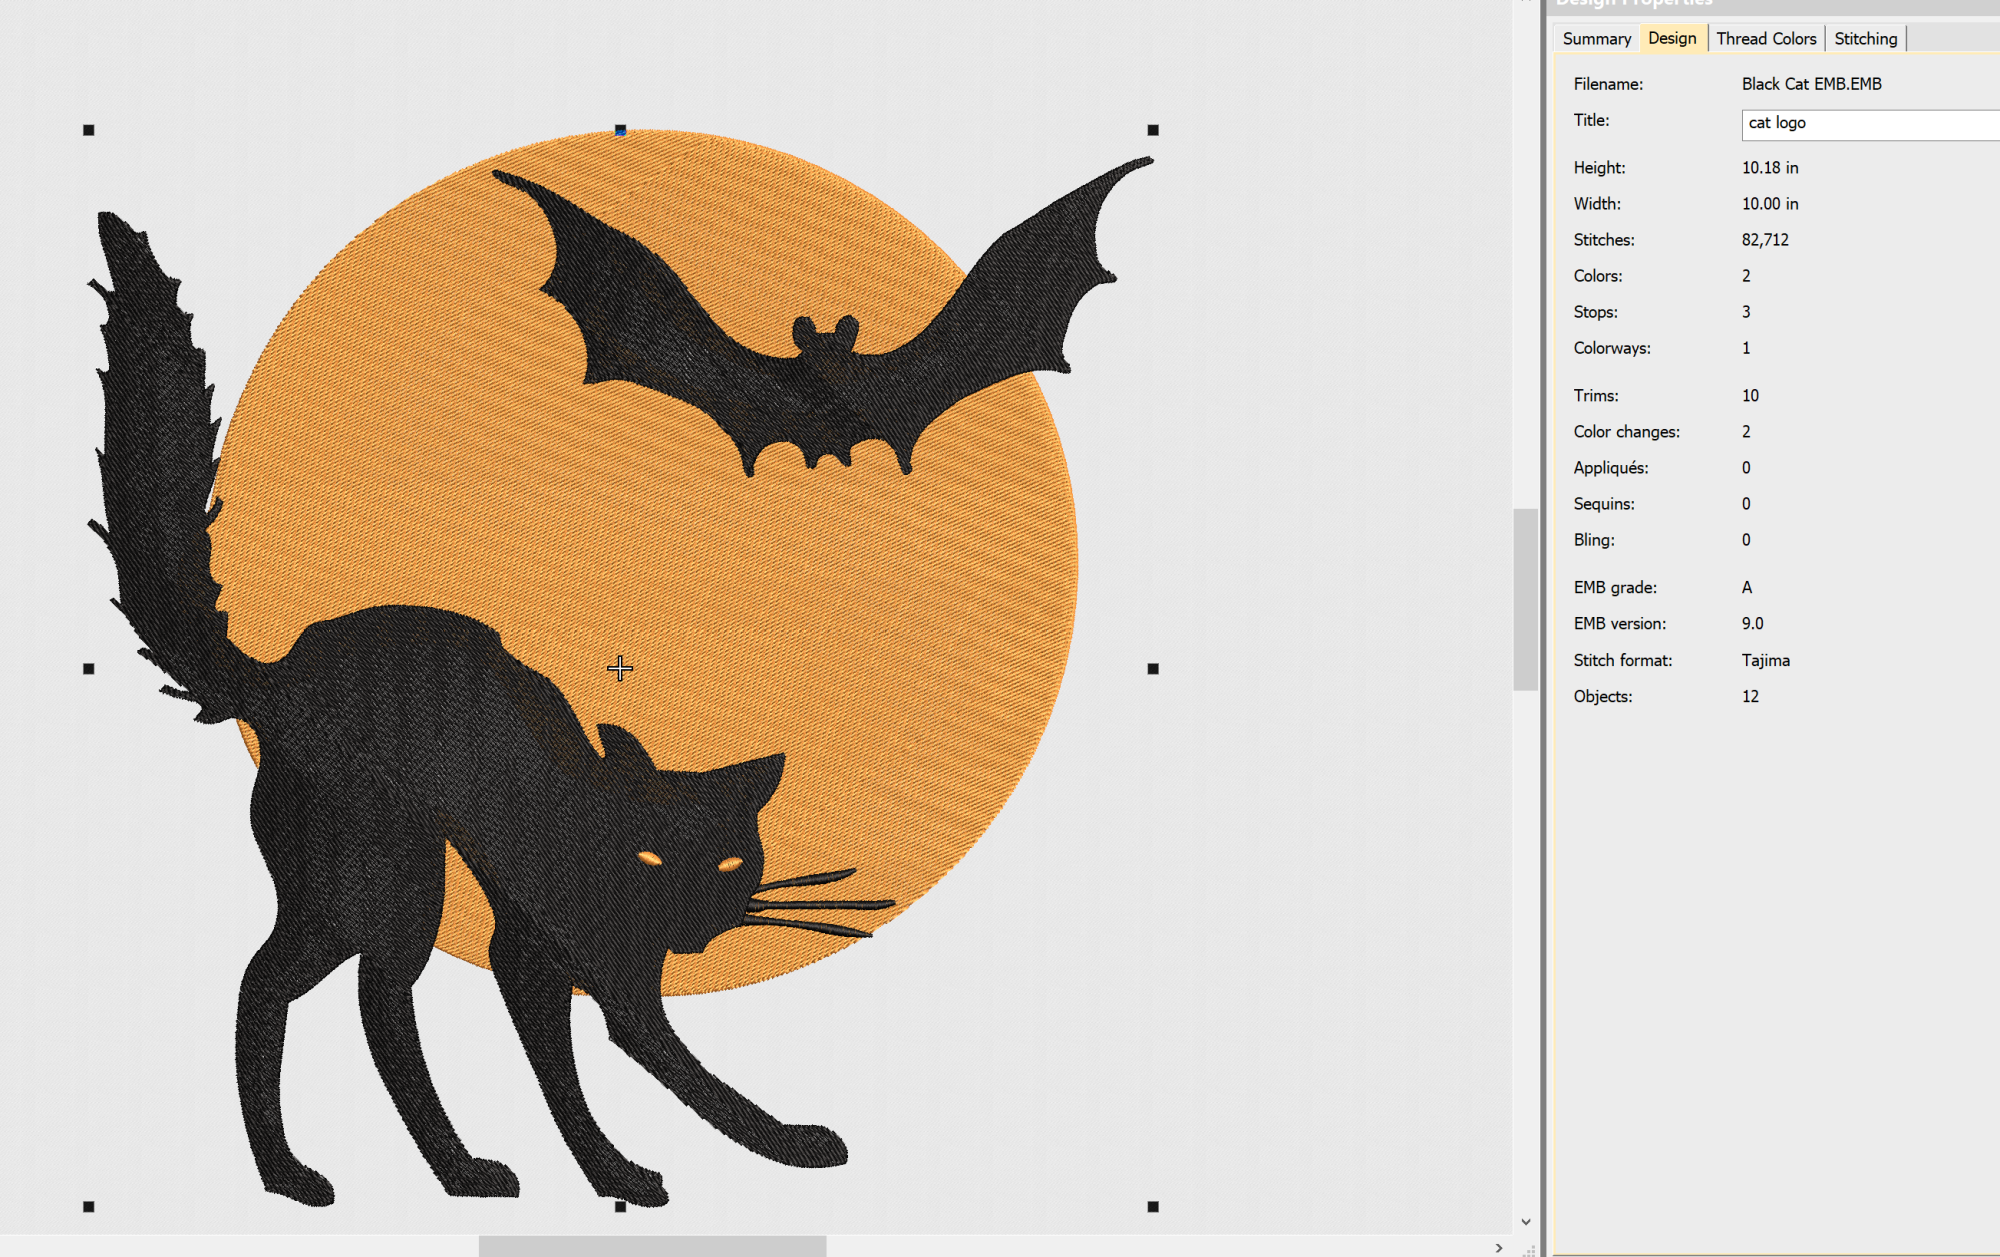
Why are the colors wrong on my DST Files?
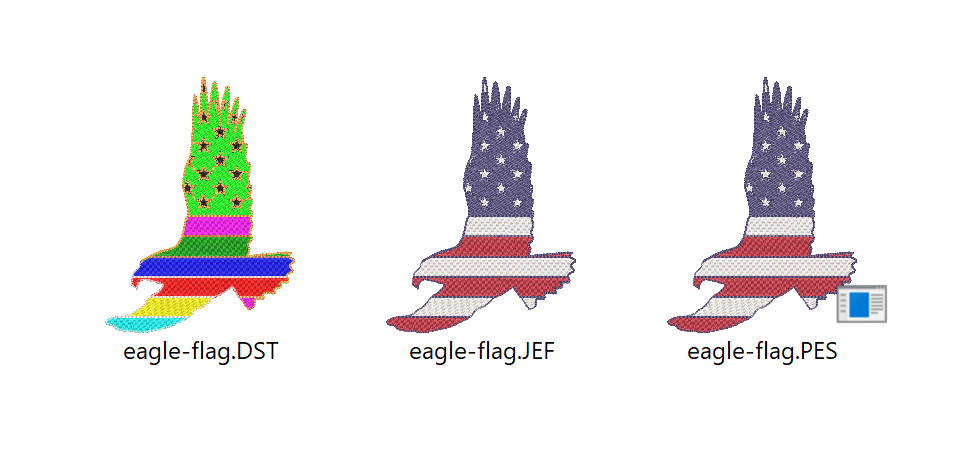
DST files function a little bit differently when compared to home embroidery formats. DST files do not store color information, and it’s up to you to have the right colors equipped on the machine. In the above design from our free embroidery design library, you can see how the DST file looks compared to the PES and JEF files.
Which embroidery machines support DST files?
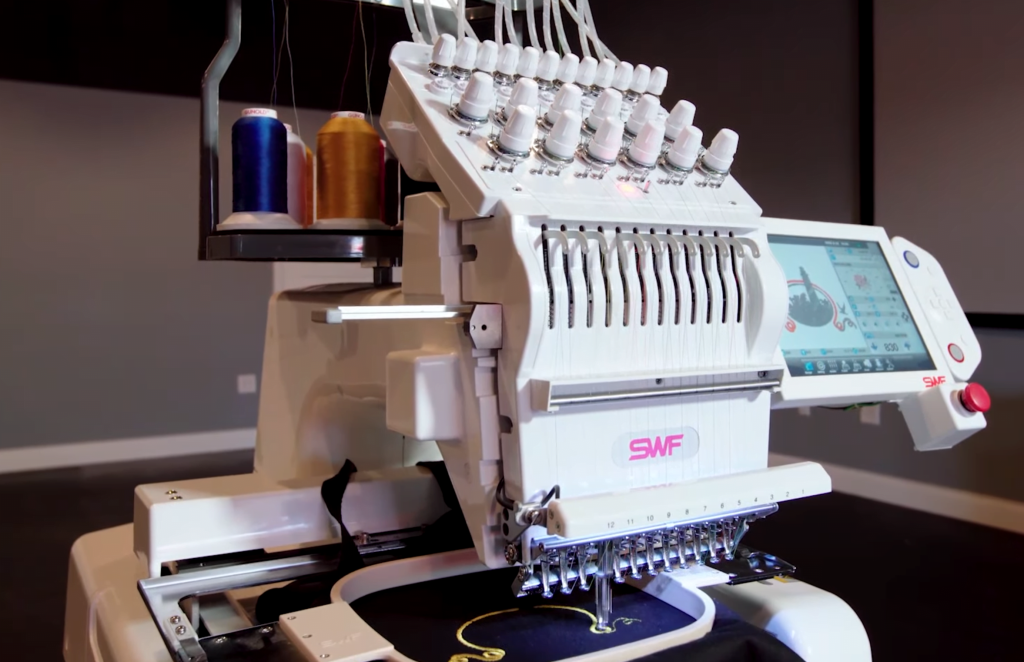
DST files are widely supported by industrial embroidery machines. Tajima, Barudan, SWF, and other popular commercial embroidery machine brands commonly use DST files. Some home embroidery machines may also be compatible with DST files.
Can I Edit a DST file?
DST files are typically not designed for direct editing. They are the output of digitizing software. If changes are needed, it’s recommended to edit the original design in the digitizing software and then generate a new DST file. However, you “can” make an embroidery design about 20% bigger or smaller without issues.
Why does my embroidery machine not recognize the DST file?
Ensure that the DST file is saved to the correct file path on the USB drive. Check the machine’s manual for specific file storage requirements. If issues persist, verify that the DST file is compatible with your machine model.
Can I use DST files for 3D or puff embroidery?
DST files can be used for 3D or puff embroidery, but specific adjustments may be needed in the digitizing software. Puff embroidery requires additional considerations for underlay stitches and spacing to accommodate the foam material.
Can I create a DST file from a scanned image or photo?
Creating a DST file from a scanned image requires advanced digitizing skills. It’s often more efficient to use vector graphics or high-quality digital images for digitizing. There are some machines and software that have features that do this, but results are often not great.
Barb, our resident quilter and embroidery aficionado, weaves a thread of creativity through our collection. Serving as the curator of machine embroidery content, Barb infuses each design with a touch of her artistic expertise. The free embroidery patterns you discover on our site often bear the mark of Barb’s craftsmanship. Let’s get crafting!