Velvet presents some unique challenges for machine embroidery, but it’s a beautiful fabric to work with once you get it right! That’s why in this article, we’ll be covering everything you need to know about embroidery on velvet.
The Unique Challenges of Embroidery on Velvet
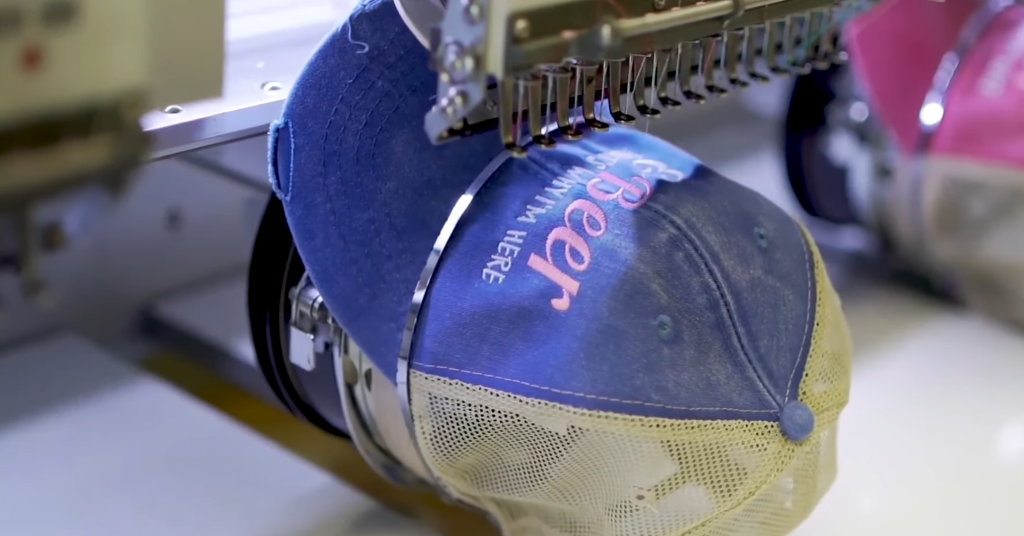
There are some unique challenges to deal with when it comes to using machine embroidery on velvet. This fabric has “pile” which can easily be impacted by pressure, and it can also shift easily. This means proper hooping techniques are essential for successfully placing machine embroidery designs on velvet fabrics.
Design Selection and Digitization Considerations
The success of your velvet embroidery project honestly starts with your design. When digitizing your design, it’s important to think about the unique characteristics of the fabric, especially when it is delicate like velvet.
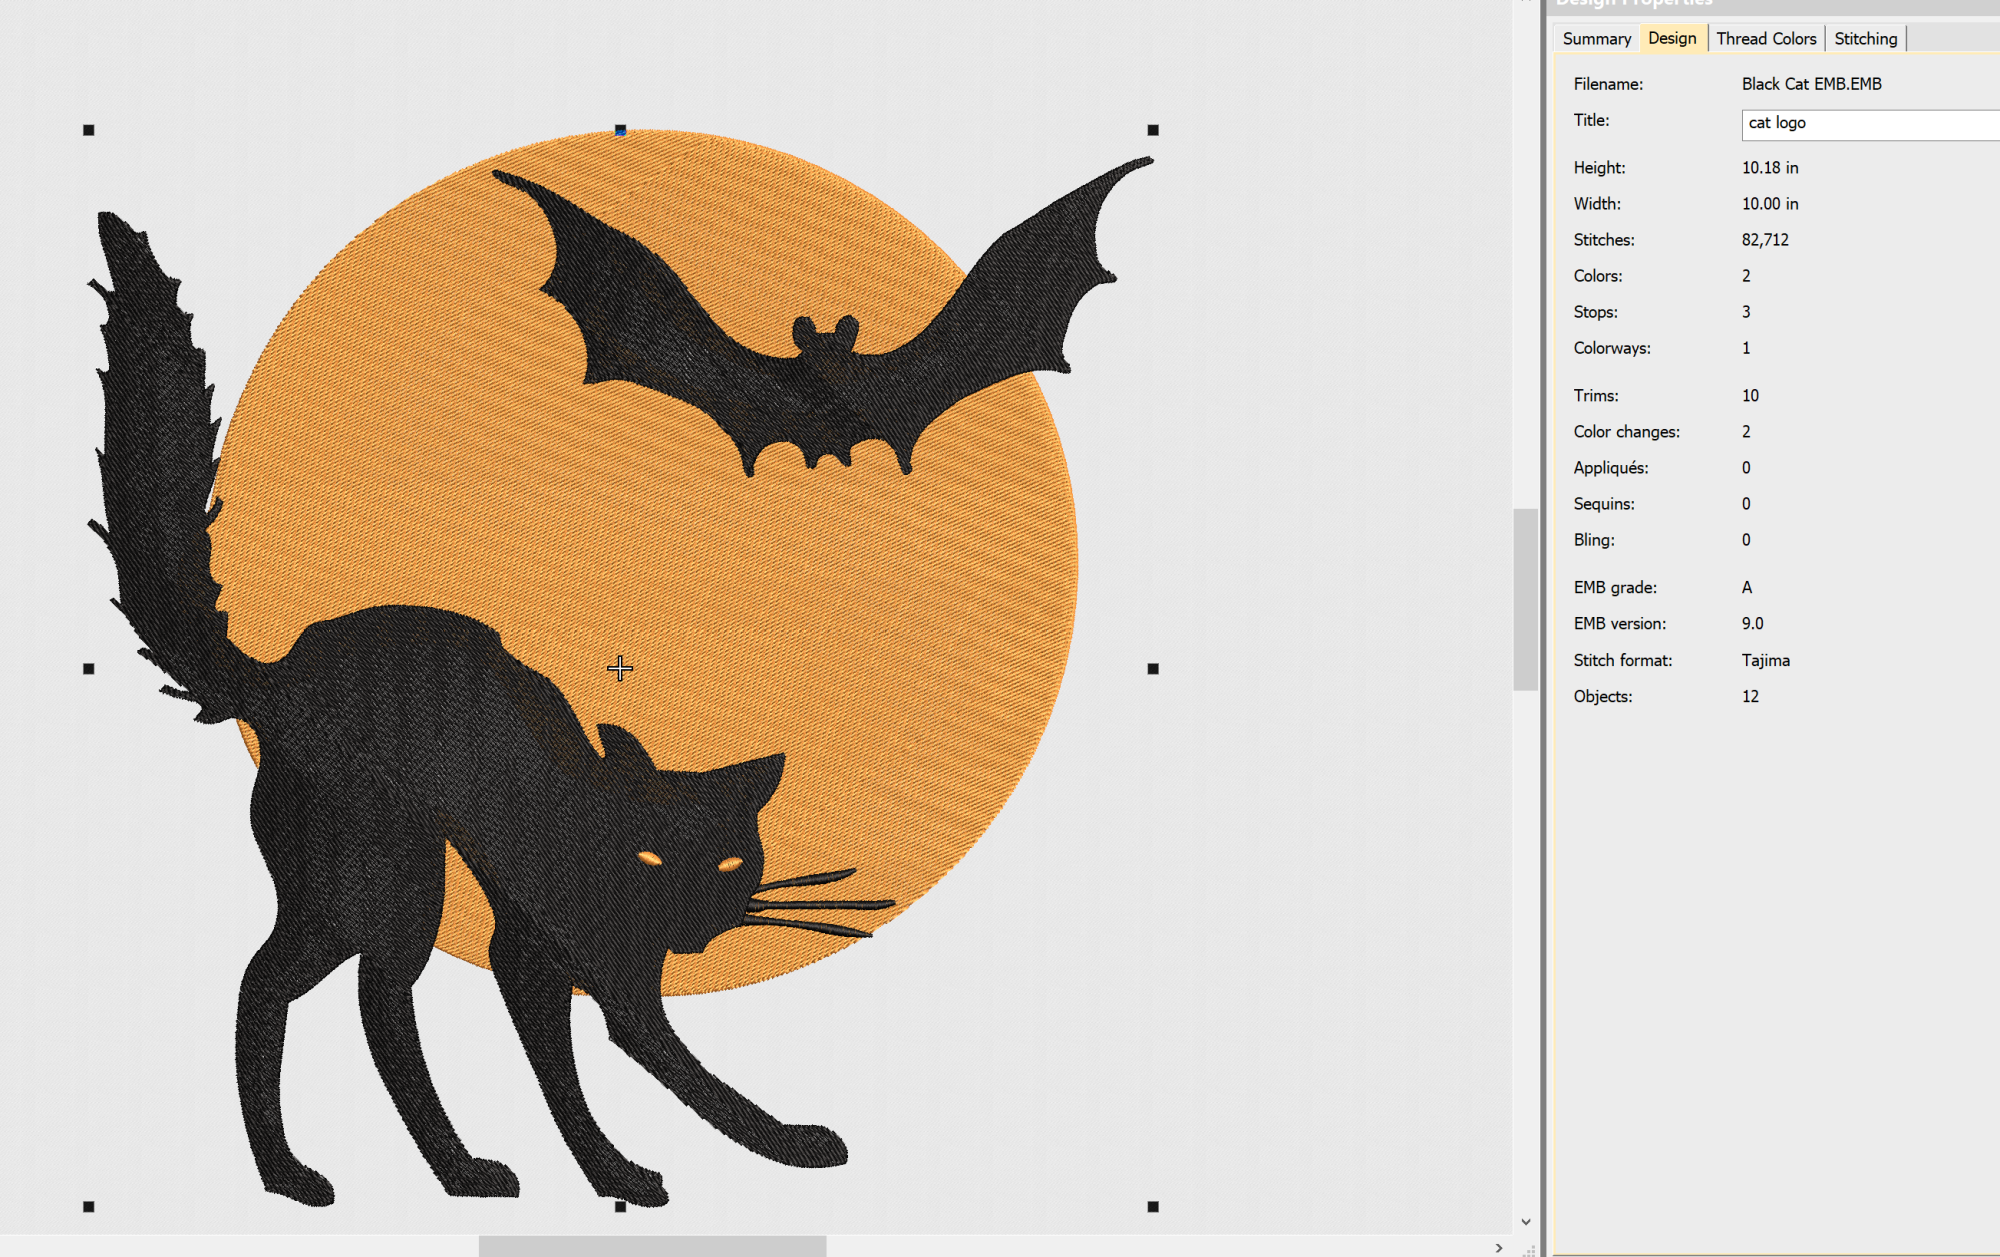
When creating machine embroidery designs for velvet, consider designs with more open space and less intricate detail. Simpler designs with bold, clean lines work well, and thicker threads, or metallic threads can look fantastic if you’re prepared to take on these finicky materials.
Thread and Needle Selection
Choosing the Right Thread
- Considerations for Thread Thickness:
- Opt for finer threads to prevent excessive buildup on the delicate velvet pile. Thinner polyester or rayon threads are a good choice for maintaining the fabric’s integrity.
- Exploring Specialty Threads:
- Metallic or textured threads can add a touch of luxury to velvet embroidery. Test these threads on scraps to ensure they run smoothly without causing snags.
Needle Types for Velvet
- Preventing Snags and Pulls:
- Use a sharp embroidery needle to minimize the risk of snags, and choose a needle size appropriate for the thread thickness and the density of the design. (Read our needle guide for more help.)
- Selecting the Appropriate Needle Size:
- Smaller needle sizes, such as 75/11 or 80/12, work well for fine velvet fabrics. Adjust the needle size based on the specific type and thickness of the velvet.
Machine Settings for Velvet Embroidery
Adjusting Tension
- Balancing Upper and Lower Tension:
- Velvet’s pile can be sensitive to tension changes. Test different tension settings on scraps to find the optimal balance. Ensure that the tension is not too tight, as it may cause the fabric to pucker or distort. (Read this article if you need more help with tension settings.)
Setting Stitch Speed
- Moderating Stitch Speed:
- Slow down the machine’s stitch speed to prevent friction and potential damage to the velvet. Adjust the speed based on the intricacy of the design and the density of stitches.
Tips for Success When Embroidering on Velvet Fabrics and Garments
Opt for Fabrics with a Shorter Pile
When choosing a velvet fabric to embroider on, opt for one with a shorter pile if you’ll be looking to embroider intricate designs, otherwise they may get lost. Light-weight tear-away stabilizers work well here but you can also opt for a wash-away stabilizer if your design requires less support.
Hoop the Fabric Securely to Avoid Slipping
In addition, make sure that you are securely hooping the fabric securely. It’s easy for velvet to shift during embroidery, which can leave your design misaligned! Pin or baste the velvet to the stabilizer, ensuring it stays in place. You can also use additional temporary adhesives to secure the fabric without leaving residue.
Avoid Hoop Marks with Extra Stabilizer
Place a layer of water-soluble stabilizer between the fabric and the inner hoop to minimize the risk of leaving hoop marks. This tactic also works well if you plan to embroider on leather in the future!
In closing, embroidering on velvet requires a little extra care, but it’s certainly worth it. This beautiful fabric is fantastic for creating formal wear or even lovely costumes, especially when combined with metallic threads. Hopefully these tips were helpful, and I wish you success with your projects!

Barb, our resident quilter and embroidery aficionado, weaves a thread of creativity through our collection. Serving as the curator of machine embroidery content, Barb infuses each design with a touch of her artistic expertise. The free embroidery patterns you discover on our site often bear the mark of Barb’s craftsmanship. Let’s get crafting!