If you want to learn how to create your own embroidery files, then you’ll need to learn about digitization. But, what is digitization, what do you need to get started with it, and how can you start using it for your embroidery projects?
What does digitization mean?
Merriam Webster defines digitization as:
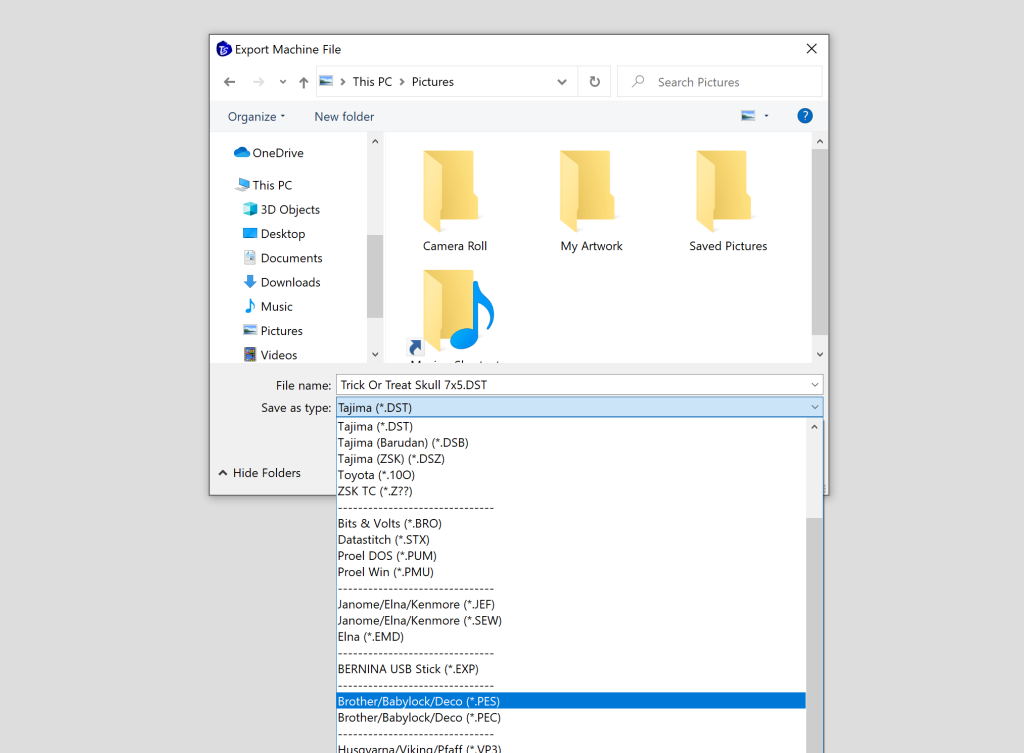
And, while digitization can refer to many different things, this is exactly what it means for machine embroidery as well. When you digitize something you’re simply converting an image to a digital form that an embroidery machine is capable of understanding.
However, this the process is not quite as simple as doing something like converting a JPEG to a PNG. Machine embroidery files are a lot more complicated than that.
The Role of Digitizing in Translating Designs to Embroidery Patterns for Machine
From Concept to Digital Format
An embroidery design typically originates from another image that you want to translate to embroidery. While you can technically digitize any image you wish, some are easier to do than others, and I often start with a very clean PNG image.
However, a PNG has all of the image information on one layer. This doesn’t work for embroidery machines, which must be able to process each color individually. Digitization helps break down individual elements in the design so they can be understood by the machine.
Creating a Digital Blueprint
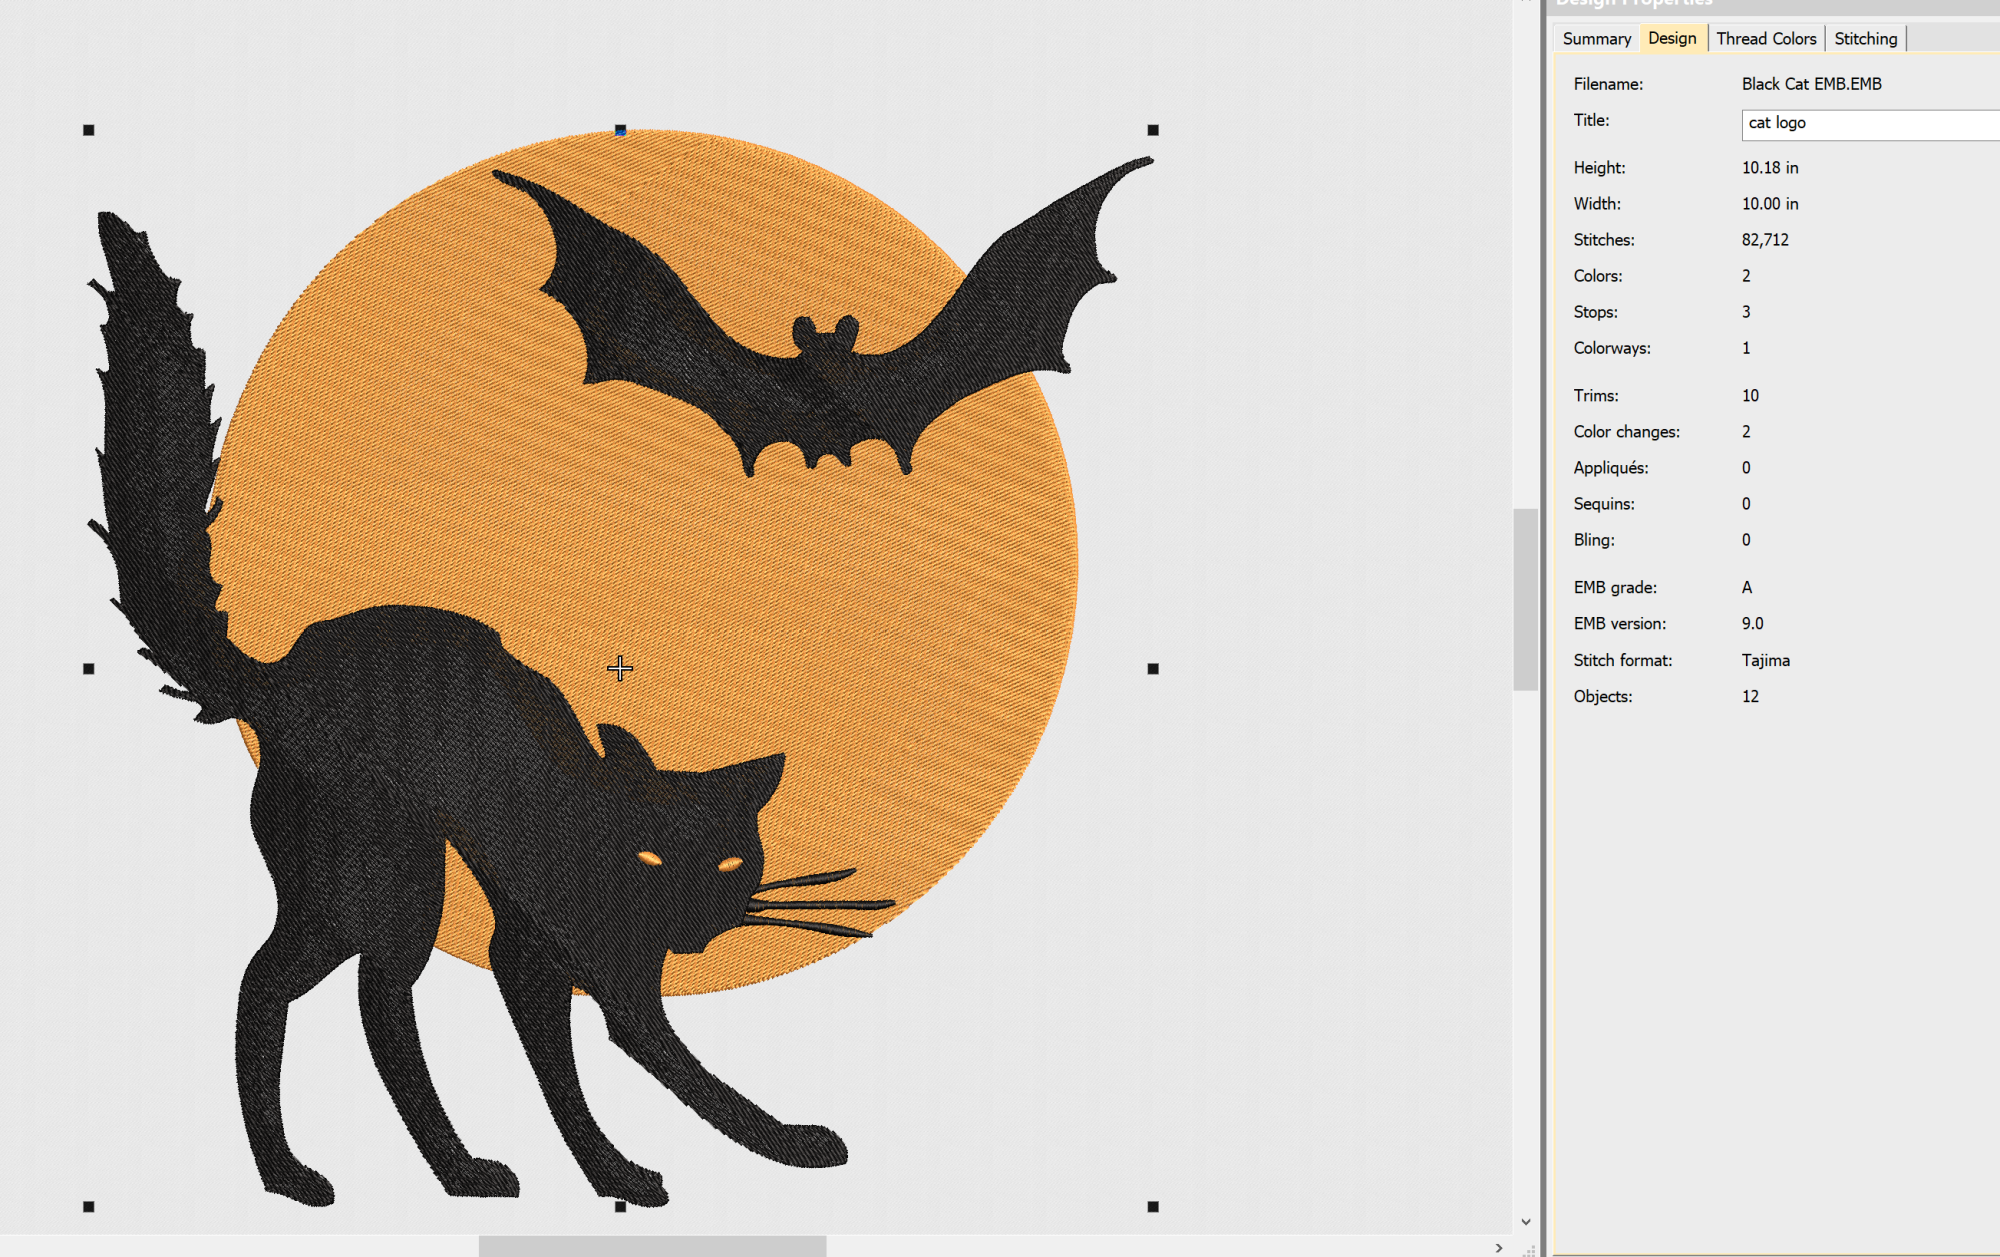
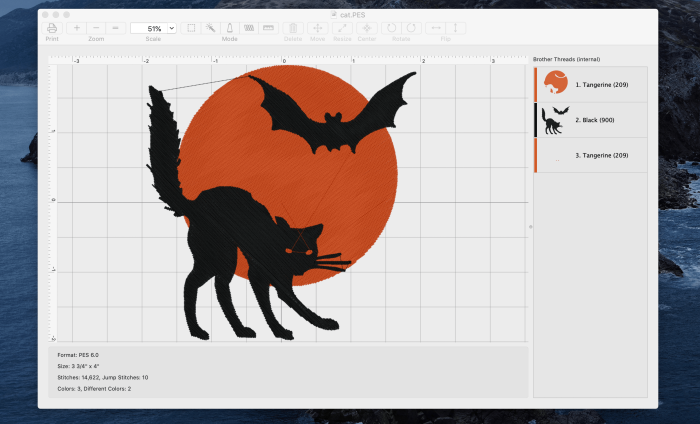
You can think of an embroidery design as a digital blueprint. Each element of the design, whether it’s a shape, line, or intricate detail, is assigned specific instructions within the digitizing software. Your embroidery machine will then be able to “see” the image and recreate it.

Machine embroidery software, such as Wilcom Truesizer, will allow you to see the exact path your machine will take when completing a design, too! It follows the blueprint like a map, stitching exactly where it needs to go to complete the design as you’ve intended.
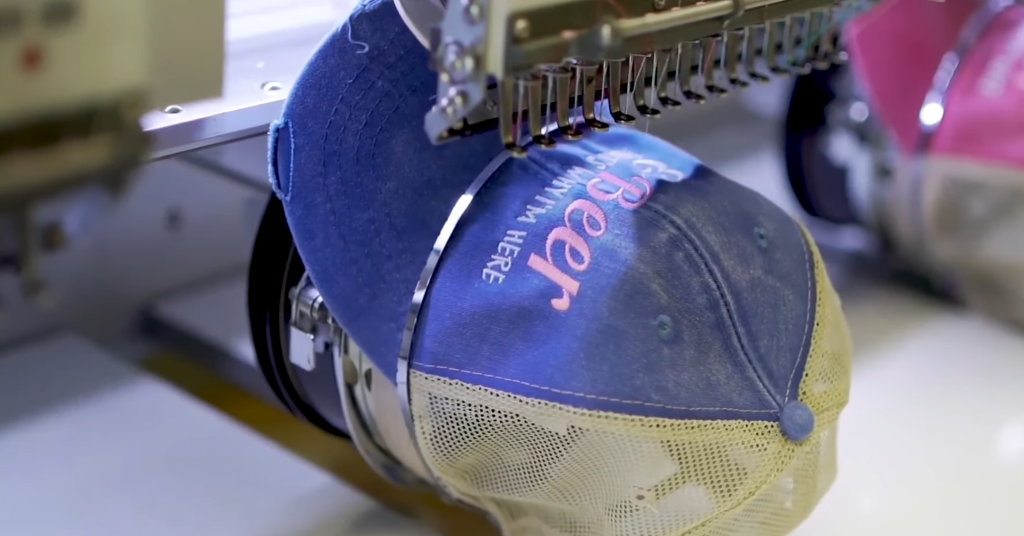
Embroidery machines are essentially sophisticated robots that follow instructions to create stitched patterns. The digitized file serves as the machine’s guide, translating the design into a language the machine can understand and execute, and once designed, you can use that design an infinite number of times to achieve the same results consistently.
The Components of Embroidery Digitization
At its core, digitizing in machine embroidery is the pivotal step that transforms a creative vision into a language machines can comprehend. However, as the designer, there are many different ways you can do this, and learning to use all of the tools available to you makes embroidery digitization an art form in itself.
Stitch Types and Patterns
Stitch types play a crucial role in determining the texture and appearance of the final embroidered piece. For instance, satin stitches create a smooth, glossy surface, while fill stitches provide coverage and density. The basic stitch types for machine embroidery include satin, fill, and running stitches.
However, In addition to basic stitch types, complex stitch patterns can be applied to enhance the visual appeal of the design. You can see some examples of these different types of stitches at work in our machine embroidery stitches article. Patterns like zigzag stitches, motif fills, or specialty stitches add artistic flair and uniqueness to the embroidery, making it stand out.
Thread Colors and Density
In addition to choosing the correct stitches, you can also program your design with other data which will impact the outcome of the design. This includes the ability to select specific thread colors, which the machine will be able to utilize, but more importantly, you can also set the density of the finished design.
Density settings determine how closely stitches are placed in a given area. Higher density creates a more solid appearance, while lower density allows more of the fabric to show through. While it seems that denser should be better in all situations, this is not the case, and designs which are too dense could create issues in some projects.
That’s why it’s important to think about where you’ll be using your embroidery design when you create it. Some fabrics, such as when embroidering on leather, may require some special considerations to achieve a good results.
Embroidery Digitization Software
The digitization of machine embroidery designs requires special software. These special art programs allow you to take your concepts and turn them into fully compatible machine embroidery designs. Using this software you can also edit existing designs, which includes the ability to further re-size a design if you have the master file.
How much does digitizing software cost?
Unfortunately, the best digitizing software is quite costly. You can expect to pay $1,000 or more if you want to purchase the best software. While there are some free embroidery programs out there, they leave much to be desired. There are, however, a few more affordable embroidery digitizing programs out there that are pretty good though.
Best Digitizing Software Options
Below you’ll find some of the more popular (and more usable in my opinion) embroidery digitizing software options. However, there is some degree of personal preference involved, and if you can find a free trial – try before you buy.
Hatch 3
Hatch 3 is my favorite machine embroidery software. It’s very easy to work with, but sadly, it is also quite pricey at $1,099. After using other software suites though, I definitely find it the least frustrating. Sometimes they do run deals where you can get it for around $800, and there is a 30 day unlimited free trial to test out.
Floriani Total Control U
Another pretty great but pricey software suite is Floriani Total Control. This software has a lot of options, but if you can believe it, it’s even more expensive than Hatch. It is a very nice software suite though if you can afford it. However, they do not have a free trial that I can find, sadly.
Embrilliance Stitch Artist
If both of the above software options are out of your budget, then you may want to look at Embrilliance Stitch Artist. This software is sold in “levels”, but you really only need to buy the cheaper Level 1 to do most of what you’d want to do. Level 2 and 3 has some more advanced features, but as a beginner you wouldn’t use them anyway.
If you decide you do want those features in the future, you can simply buy the upgrade. That makes Embrilliance a much more affordable way to get into digitizing than the first two options.
In closing, learning to digitize your own designs can be fun, but it can also be frustrating and quite costly to learn. So, if you’re not really passionate about learning the art of digitization, you may be better served just hiring someone to digitize for you.
Barb, our resident quilter and embroidery aficionado, weaves a thread of creativity through our collection. Serving as the curator of machine embroidery content, Barb infuses each design with a touch of her artistic expertise. The free embroidery patterns you discover on our site often bear the mark of Barb’s craftsmanship. Let’s get crafting!