Machine embroidery is a lot of fun, but there’s also a ton of stuff to learn! While the basic operations of the machine are pretty straight forward, there are also many variables that can impact the outcome of your project. The materials your using, your machine’s settings, how the design is digitized, and other external factors can make a big difference in your finished project.
That’s why I’ve written “The Ultimate Machine Embroidery for Beginners Guide”! In this blog post, you’ll find everything you need to know about using your embroidery machine to its fullest potential. Let’s get crafting!
PS. This guide is pretty big so you can use the TOC below to navigate if you already know some of this stuff.
Table of Contents
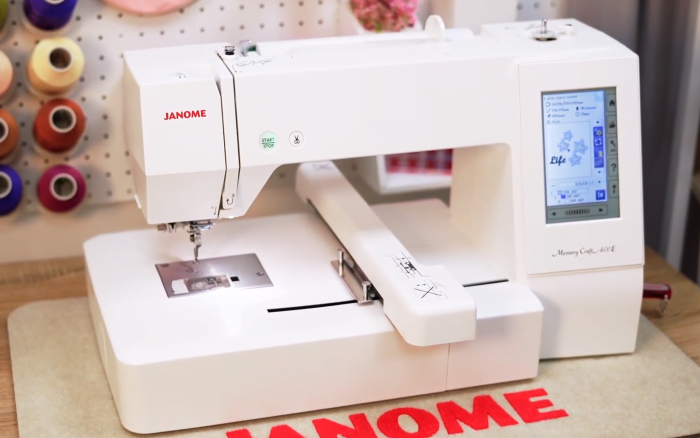
Understanding the Different Types of Embroidery Machines
If you’ve haven’t yet chosen an embroidery machine to purchase, it’s important to learn about the different types of embroidery machines out there, how they work, and what kind of projects you’ll be able to complete on each. Embroidery machines generally fall into three categories: single-needle, multi-needle, and multi-head.
Single Needle vs Multi-Needle
The majority of consumer machines are single-needle machines. This means the machine has, well, one needle to embroider with. The most inexpensive embroidery machines will be single needle, and it’s a great way to get started in the hobby!
However, since it has only a single needle that means you’ll need to change out the thread spool and re-thread the machine for every color in the design. This is not a big deal, and for most home users a single-needle machine is just perfect for the projects they want to complete.
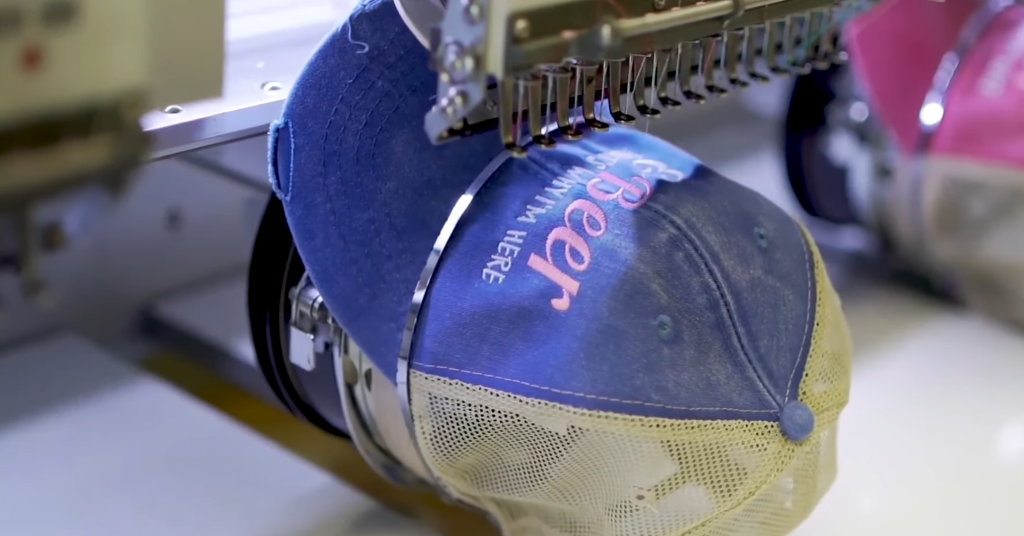
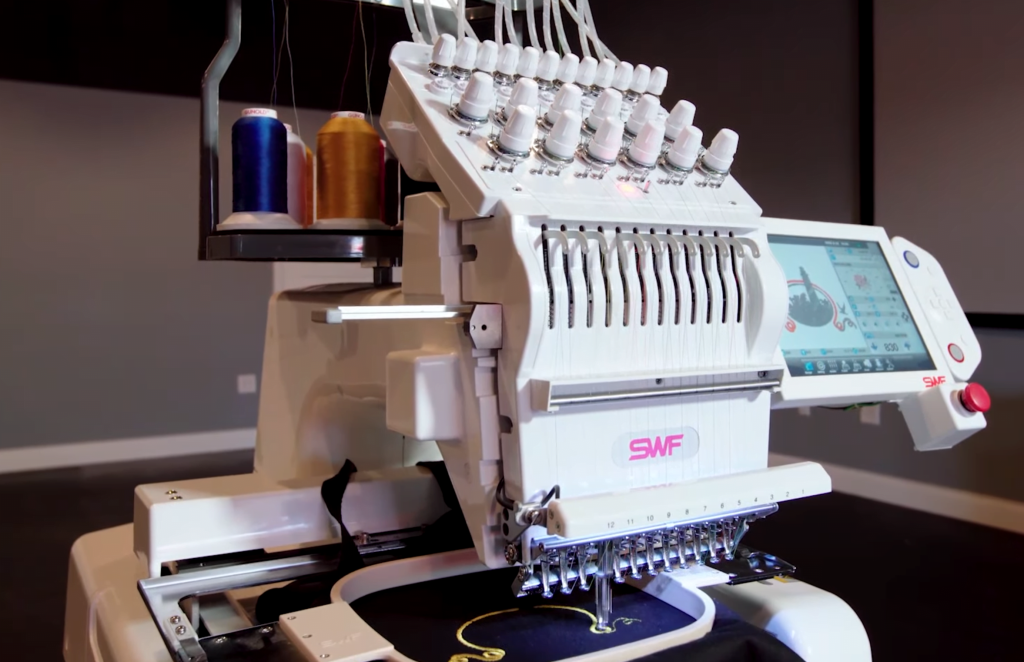
A multi-needle machine, as its name implies, has multiple needles. Unlike the single needle machine you won’t need to re-thread for every color change! This makes it faster and more efficient if you’re doing something like creating custom hats with a few different colors for a customer.
However, a multi-needle embroidery machine is quite pricey in comparison to a single needle machine! This makes it a tough sell for many at-home embroidery enthusiasts, especially those who are new to embroidery.
The cheapest multi-needle embroidery machine on the market will still run you about $4,000, while cheap single needle embroidery machines can be had for under $500.
Multi-Needle vs Multi-Head
There are also multi-head embroidery machines! A multi-head machine is meant for commercial purposes, and it allows you to basically mass-produce the same design on multiple items to sell, one on each head.All multi-head machines are multi-needle, but not all multi-needle machines are multi-head.
However, some multi-needle machines can be networked together and run as a multi-head machine. Multi-head machines are very expensive, so doing this allows you to get started for a lot cheaper if you’re a small business. You can add more machines as your business grows and network them together, or you also have the option to run each machine separately depending on your business needs.
Flat-Bed vs Free Arm Embroidery Machines
It’s also very important to know the difference between a flat-bed and a free arm embroidery machine, because it will greatly impact what kind of embroidery projects you can take on.
Most consumer machines, even multi-needle ones, are flatbeds! This means that anything you embroider on these machines will need to be pressed flat and secured in the hoop. For most projects this is fine. However, they don’t work well for embroidering on many types of items that you may not expect!
This includes structured hats that can’t be flattened, shirt pockets, sleeves, socks, shoes, bulky bags, and stuffed animals. For a flat bed machine, these projects will be either very frustrating or near impossible to complete.
A free arm machine however makes quick work of these projects. These machines are always more expensive than a flat-bed, but they have a rotating free arm cylinder. Basically, anything you can fit on the cylinder and under the machine can be embroider on!
This is obviously a huge plus, but you can expect to pay at least $4,000 for a free-arm machine.
How to Choose an Embroidery Machine
So, how do you choose an embroidery machine? There are a few factors to consider.
Get the Biggest Hoop Size You Can Afford
The largest factor that impacts the cost of an embroidery machine is the embroidery field. You should buy a machine with the largest embroidery field you can afford to avoid limiting yourself for future projects, but I’d recommend at least going with a 5″ x 7″ embroidery field.
The cheapest machines are 4″ x 4″, but that’s really just too small. It’s doesn’t give you any room to grow, and you’ll pretty much be limited to doing small pocket logos or towel designs. Though it is, of course, possible to sell and upgrade later if a 4″ x 4″ is all you can afford.
Cheap Embroidery Machines Work Fine
While going for the absolute cheapest machine with a tiny hoop is probably a bad move, you also do not need to buy the most expensive machine. The truth is a cheap embroidery machine will embroider just as well as an expensive one.
So, what’s the difference between a cheap and expensive machine? More expensive machines tend to have some quality of life features, but they aren’t essential. A lot of it you may not even use.
Buy an Established Brand From a Reputable Seller
Make sure you’re buying a good brand from a reputable seller. If you buy a good, brand-name machine you’ll always be able to sell it later to upgrade if you want, and you’ll always be able to get it repaired. Many sites like Alibaba claim to have machines for unbelievable prices, but they are counterfeit or knock offs.
If you need to buy a machine online, Sewing Machine Plus has many great deals on new and refurbished machines, they offer warranties on purchases, and they will help you trade-in your machine later if you want.
Essential Supplies For Machine Embroidery
To get started with machine embroidery you’ll also need some supplies. While in some cases you can get a bundle deal during special sales, for the most part these will have to be purchased separately.
Machine Embroidery Thread
Machine embroidery thread is one of your most essential supplies. Choosing the right threads for your machine embroidery project can save you a lot of frustration, and even choosing the right thread brand matters. You can check this article to read more about machine embroidery thread.
PS. You’ll need both a top thread and a bobbin thread. Bobbin thread is different than your top thread, which you can read more about in the above linked article. However, I can recommend this bobbin thread.
Stabilizers
In machine embroidery, a stabilizer acts as a foundation for your design. They prevent distortion, puckering, and stretching of the fabric while your machine does its work. There are quite a few different kinds of machine embroidery stabilizers to be aware of which is talked about in more detail in this article.
The type of stabilizer you need to use will differ on many factors which include the fabric you’re trying to embroider on and the way your chosen design has been made. So, be sure to read up on it at the above link.
Needles
Another important supply which may be overlook by someone new to the hobby is the importance of choosing the right type of needle. For example, you’ll need a much different needle to embroider on leather than you would if you were trying to work with metallic threads.
However, if you’re looking for a “standard” needle size then a 75/11 is commonly chosen for light-weight to medium-weight. For most beginner projects, this size should suffice, or check our needle chart.
Hoops and Accessories
Hoops help keep your fabric from moving around during the embroidery process. Most machines should come with the hoops you need so not much to worry about here. However, it should be noted that some pricier accessories are not included.
So, if you purchase a machine that says it can use a cap driver, in many cases it does not come with it. You’ll likely have to pay extra for it. However, this is really only the case for really pricey multi-needle machines.
Blanks
Of course, you need something to embroider on! You can get blanks all over the place, and you could even pick up some cheap blank shirts or something at Goodwill to practice on.
USB Drive
If you want to download free machine embroidery designs from the internet then you’re going to need a way to transfer those designs to your embroidery machine. In most cases, this is done using a USB drive.
Please be aware that some USB devices are not compatible with a lot of embroidery machines. You can get some guidance from your user manual (here’s advice from Brother) on choosing the right USB device.
Spray Adhesive (Optional)
Spray adhesive can be helpful in certain situations to get fabrics to stick to the embroidery stabilizer. It’s not always necessary, but it’s not very expensive and nice to have on hand.
Software (Optional)
Interested in creating your own embroidery files? Unfortunately, most embroidery machines do not come with software to do this. This is something you’ll need to buy separately, and some software can cost hundreds of dollars. There are some free embroidery programs to play with though.
Setting Up Your Machine
Threading the Machine
- Refer to the Manual: Consult your embroidery machine’s manual for specific threading instructions. Each machine may have slight variations in the threading process.
- Thread Quality: Use high-quality embroidery thread appropriate for your machine. Thread the machine following the designated thread path, ensuring proper tension adjustments. Make sure you’re using a top and a bobbin thread as defined in this guide.
- Check Thread Path: Ensure the thread is correctly seated in all guides and tension disks. Incorrect threading can lead to tension issues and poor stitch quality.
Choosing and Installing the Right Needle
- Needle Compatibility: Verify that the needle type and size are suitable for your chosen fabric and thread type. Certain materials will require different needle sizes. 75/11 is your standard for light to mid-weight cottons.
- Installing the Needle: Carefully insert the needle into the needle holder, making sure it is fully seated and facing the correct direction. Tighten the needle screw securely.
Loading the Bobbin Correctly
- Bobbin Compatibility: Ensure you are using bobbins specifically designed for your machine. Using the wrong type can lead to tension issues and affect stitch quality.
- Winding the Bobbin: Wind the bobbin with your bobbin thread, following the machine’s instructions. Make sure the thread is evenly wound to prevent uneven tension.
- Inserting the Bobbin: Place the wound bobbin into the bobbin case according to your machine’s instructions. Pull the thread through the bobbin case’s threading path.
Attaching the Hoop and Hooping the Fabric
- Hoop Selection: Choose an embroidery hoop that accommodates the size of your design and is compatible with your machine model. Most consumer machines should come with all the hoop sizes you need.
- Hoop Preparation: Loosen the hoop screw and separate the inner and outer rings. Place the inner ring under the fabric and the outer ring on top, securing the fabric in place.
- Attaching the Hoop: Insert the hoop into the machine, ensuring it is securely attached. Verify that the fabric is taut within the hoop to prevent puckering during embroidery.
Testing the Machine Setup
- Practice Stitches: Run a few practice stitches on a scrap piece of fabric to check for proper tension, thread color coordination, and to ensure the needle is correctly aligned.
- Adjustments: Make any necessary adjustments to tension, stitch length, or other settings based on the test stitches. Refer to your machine’s manual for guidance on making these adjustments.
Selecting and Importing Designs
Built-In Designs
Most consumer embroidery machines come with at least 100 free embroidery designs for you to play with. They also typically have on-screen editing options that allow you to manipulate and combine these designs with built-in fonts as you please.
Take some time to learn how these functions work and you’ll be able to do a lot, even just using the included designs, frames, and alphabets on your machine. Your manual can help a bit, but most of the functions are pretty straight forward and just playing around on your own is a worthwhile venture to gain experience.
What to Know Before Importing Embroidery Designs
All machines these days come with a USB port that will allow you to import custom designs to your machines by transferring them via a USB stick. However, there are a few things to be aware of here.
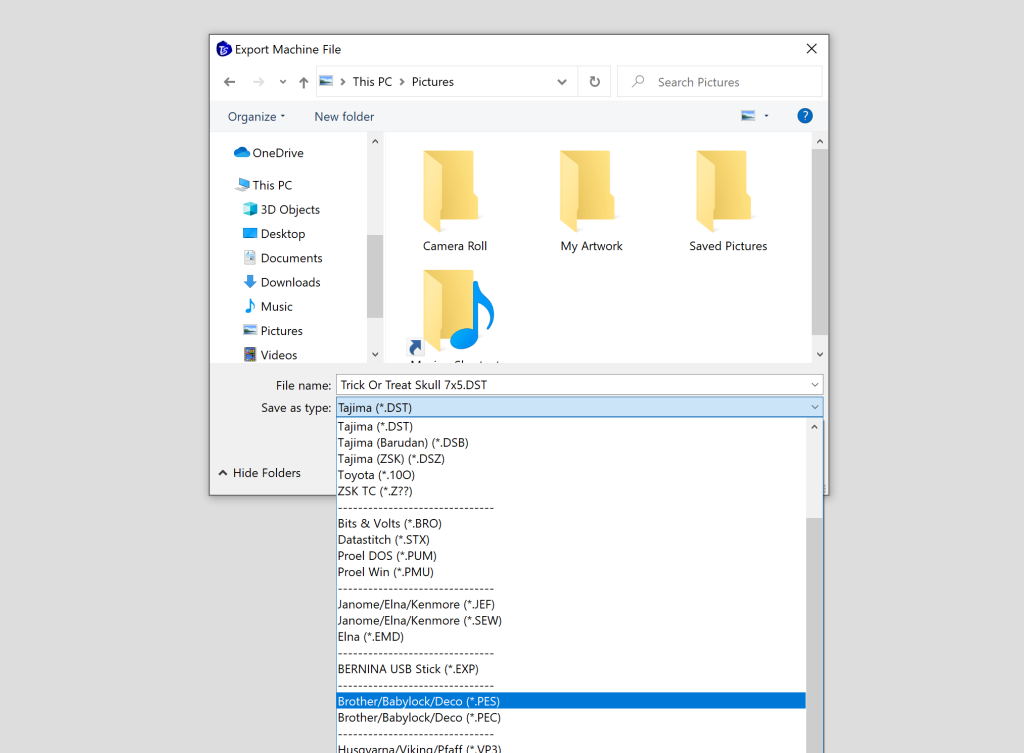
There Isn’t a Universal Embroidery File Format
Embroidery machines use a lot of different formats, and the design format you need will depend on the brand of your machine. For Brother and Babylock use PES, Janome uses JEF, and most commercial machines use DST, but there are others as well.
If you try to upload a file format that does not match your machine, in most cases the machine simply won’t display it and there won’t be an indication of why it’s not working.
Size Matters For Designs
Likewise, if you import a 5″ x 7″ design to a 4″ x 4″ machine it will likely just not display at all. So, also make sure you’re importing a design that matches your maximum embroidery area size!
Having trouble getting your machine embroidery files to load? Check this article for additional reasons your machine may not be showing the designs. You can also read this article if you need help transferring designs to your embroidery machine.
Hooping the Fabric Properly
Not hooping your fabric properly can lead to poor stitch outs. Your fabric needs to be tight enough not to move around but not so tight that it will pull the fabric and distort your final result.
- Selecting the Right Hoop:
- Choose a hoop size that matches the dimensions of your design. Ensure that the fabric fits securely within the hoop without stretching or distortion.
- Refer to your machine’s manual for guidance on recommended hoop sizes for different projects.
- Centering the Design:
- Mark the center of your fabric and align it with the center of the hoop. This ensures that your embroidery design is centered on the fabric and prevents misalignment during stitching.
Understanding Thread Tension
- Upper Thread Tension: This refers to the tension on the thread coming from the spool. If the upper thread tension is too tight, it can result in puckering and distortion of the fabric. If it’s too loose, the stitches may appear sloppy, and the threads may not lock properly with the bobbin thread.
- Lower Thread Tension (Bobbin Tension): The bobbin tension is equally crucial. If the bobbin tension is too tight, it can cause the fabric to pucker, and the upper thread may be pulled to the underside of the fabric. If it’s too loose, the stitches may be loopy or uneven.
Adjusting Upper Thread Tension:
- Thread Path Inspection: Before adjusting tension, ensure that the upper thread is correctly threaded through all guides, tension disks, and the needle.
- Test Stitch on Scrap Fabric: Stitch a sample on a piece of scrap fabric using the same type of fabric and thread you plan to use in your project.
- Evaluate the Stitches: Examine the test stitches. If the upper thread is too tight, the stitches may be pulling the fabric and appear raised. If it’s too loose, the stitches may be loose and uneven.
- Adjust Tension Settings: Most embroidery machines have a tension dial or digital tension controls. Gradually adjust the tension setting in small increments until you achieve balanced stitches. Refer to your machine’s manual for guidance on which direction to turn the tension dial for adjustments.
- Re-Test: Stitch another test on scrap fabric to assess the impact of the tension adjustment. Continue making small adjustments until the stitches are even and the fabric lays flat.
Adjusting Bobbin Tension:
- Accessing the Bobbin Case: Follow your machine’s manual to access the bobbin case. Some machines have a small screw on the bobbin case that can be adjusted to change the tension.
- Test Stitch with Bobbin Thread: Wind a bobbin with the same thread you’re using in the needle. Stitch a sample, and observe the stitches on the fabric’s underside.
- Evaluate the Stitches: Similar to adjusting upper thread tension, assess the quality of stitches. If the bobbin tension is too tight, the upper thread may be visible on the underside of the fabric. If it’s too loose, the bobbin thread may be pulling to the top.
- Adjust Bobbin Tension: If your machine allows for bobbin tension adjustment, use a small screwdriver to make minute changes. Turn the screw clockwise to increase tension and counterclockwise to decrease it.
- Re-Test: Stitch another test, and check for improvements. Continue making small adjustments until the upper and lower threads create well-balanced stitches.
Tip: Once you find the ideal tension settings for a particular project, record them for future reference. This can save time when starting new projects with similar materials.
Embroidery Machine Maintenance
Embroidery machines have a lot of intricate moving parts and those parts require maintenance. Taking care of your machine not only helps to promote consistent performance, but it can also positively impact the longevity of your embroidery machine. Read this article to learn more about maintaining your embroidery machine.
Embroidery Machine Troubleshooting
Having problems with your embroidery machine? I’ve also written up a separate guide to help with that. Our embroidery machine troubleshooting guide can help with many issues including thread breaks, design puckering, software issues, and more.
Can I use regular thread for machine embroidery?
No. Sewing thread and machine embroidery thread are very different. Please refer to our machine embroidery thread guide for more information on choosing threads.
How do I choose the right embroidery machine?
Choosing the right embroidery machine as a beginner can be confusing, but we’ve written up some guides to help you. Check this article on the best starter embroidery machines.
What types of fabrics are best for machine embroidery?
Machine embroidery works on a wide range of fabrics, but some are definitely harder to work with than others. Cotton and linen are great choices for beginners. Avoid overly stretchy or sheer fabrics until you have more experience.
What are stabilizers, and why are they necessary?
Stabilizers are the foundation of your embroidery design. They add support, either permanently or temporarily, that prevents distortion of your design.
Can I create my own machine embroidery designs?
Yes. The process of creating machine embroidery designs is called ‘digitization’. This requires specialized software that is often not included with the machine. Read this article to learn more about this process.
Are there any free embroidery programs?
Yes. There are some free embroidery programs out there to use.
How do I transfer designs to my embroidery machine?
Design transfer is done using a USB thumb drive. You can read this article for more help with transferring designs to your embroidery machine.
How do I clean and maintain my embroidery machine?
We’ve written a separate guide on embroidery machine maintenance here.
How do I choose the right stabilizer for my project?
Choosing a stabilizer will depend on the a couple different factors. We’ve done a more in-depth guide on choosing the right stabilizer here.
Do I need a thread stand? What does it do?
A thread stand can prevent thread tangling and provide smoother thread delivery. While not mandatory, it can enhance thread performance, especially for metallic or specialty threads.
What are embroidery file formats, and why do they matter?
Embroidery file formats (e.g., .pes, .dst) are specific to embroidery machines. Using the correct format ensures compatibility and proper design rendering. Read more about machine embroidery file formats here.
What should I do if the machine freezes or encounters an error?
Consult your machine’s manual for error code explanations. In case of a freeze, restarting the machine and rethreading may resolve the issue.
How can I prevent puckering or distortion in my embroidery designs?
Proper hooping, stabilizer choice, and maintaining balanced tension are crucial to preventing puckering or distortion during embroidery.
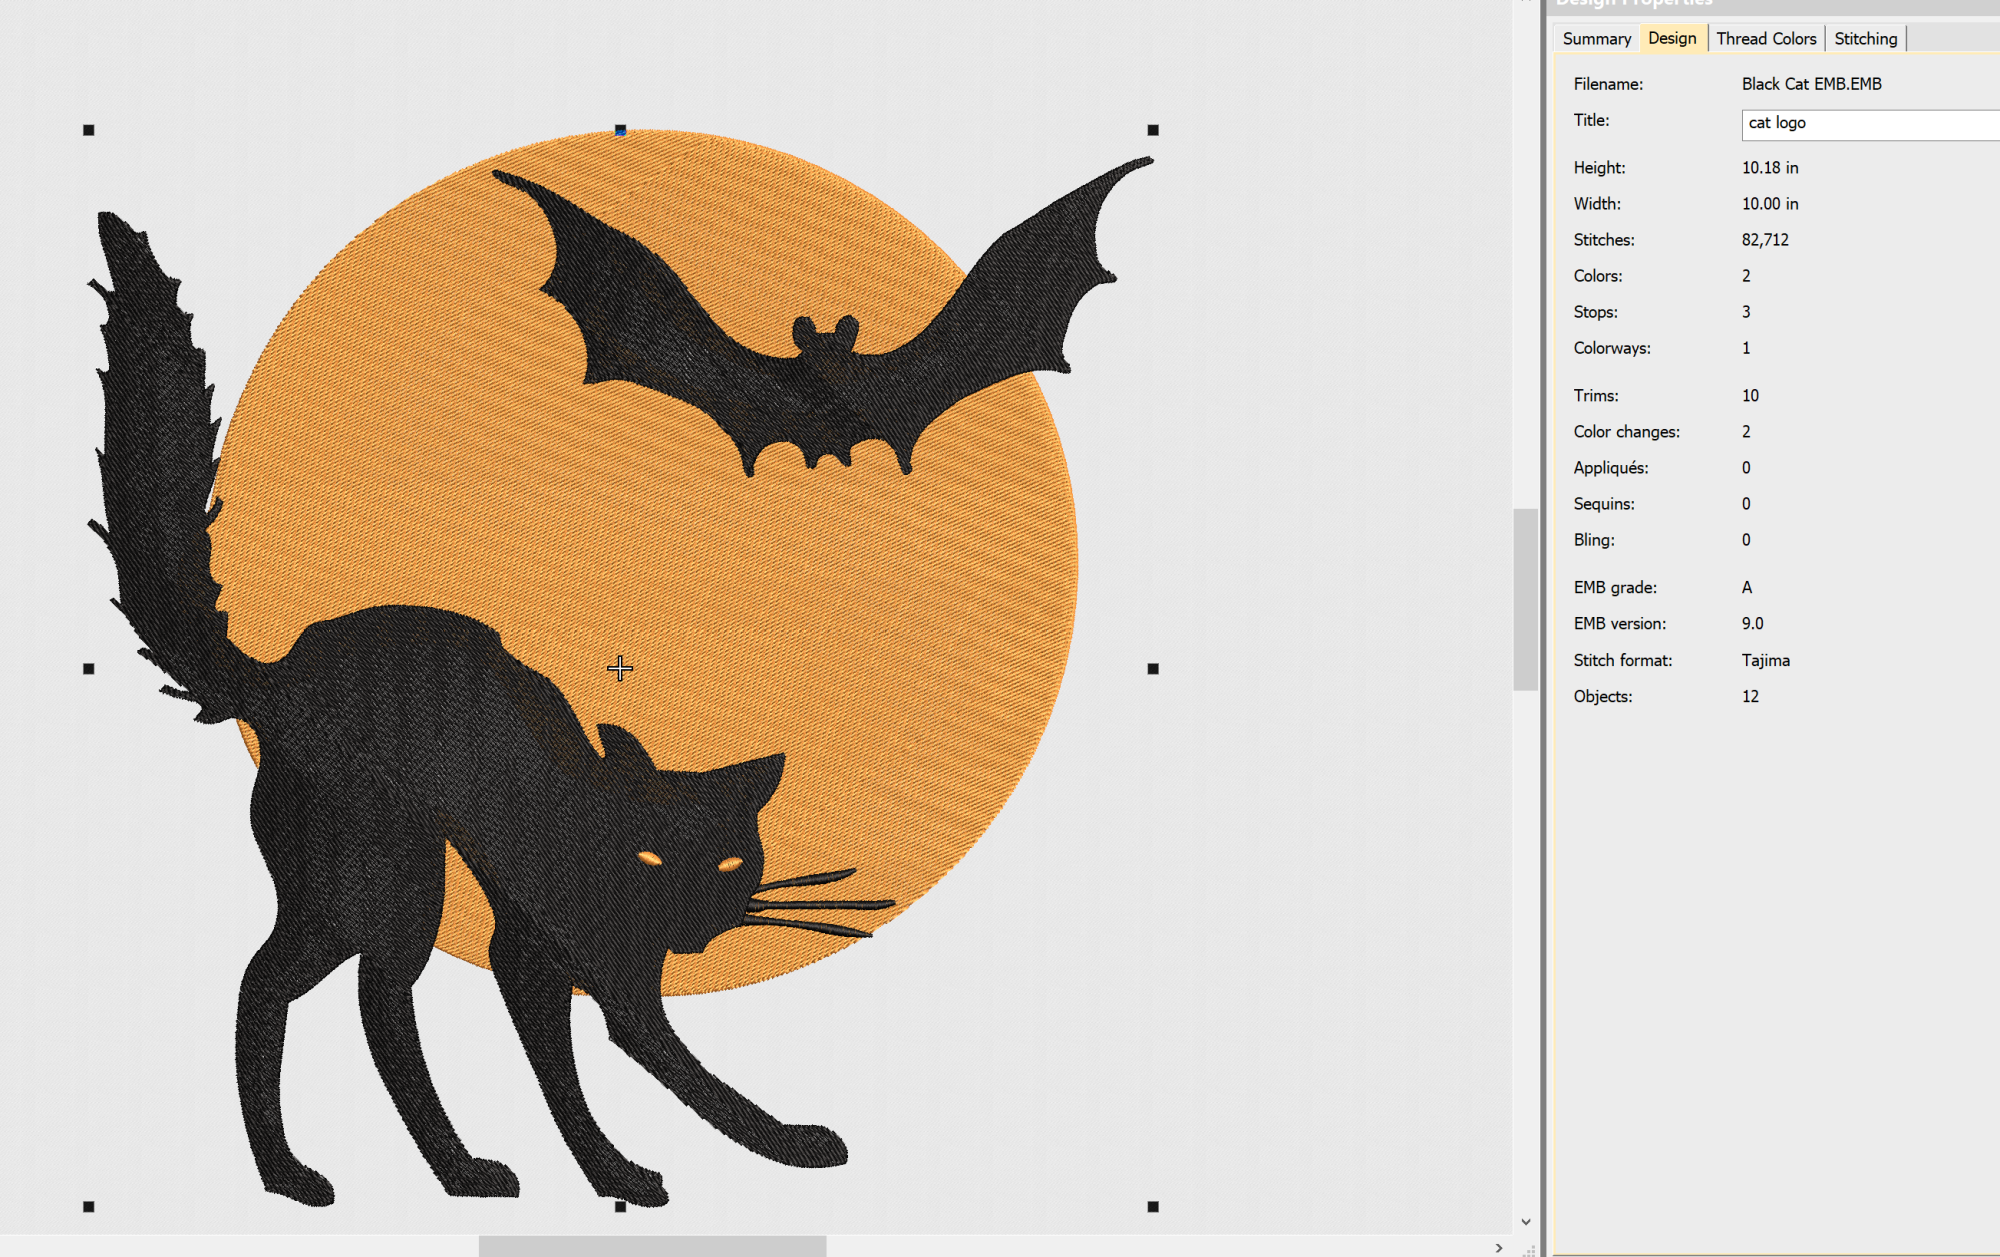
What is “density” in machine embroidery, and how does it impact my designs?
Density refers to the closeness of stitches. Adjusting density affects the appearance and feel of the embroidery. Very dense designs may not work well for some projects or fabric types.
How do I choose the right needle?
The standard needle size is 75/11. This size works well for light to mid-weight cottons. However, you may need a different size for thicker fabrics, like leather, or specialty threads, such as metallic. Check this article for a machine embroidery needle chart.
How can I create 3D or puff embroidery effects?
Puff embroidery requires embroidering over specialty foam sheets. You’ll need this product if you want to make 3D embroidery.
Can I resize an embroidery design?
Yes and no. Most designs can be made bigger or smaller by about 20%, but you can encounter issues any more than that. This article explains why and what you can do if you need to resize further than that.
Can you embroider on leather?
Barb, our resident quilter and embroidery aficionado, weaves a thread of creativity through our collection. Serving as the curator of machine embroidery content, Barb infuses each design with a touch of her artistic expertise. The free embroidery patterns you discover on our site often bear the mark of Barb’s craftsmanship. Let’s get crafting!